By Clark Jason Ngo
This guide was created because it was so hard to find a way to play around with a sample database using AWS RDS MSSQL Server. I hope you find this helpful.
If you haven't set up your AWS RDS Microsoft SQL Server and Azure Data Studio, check this guide first: How to Connect your AWS RDS Microsoft SQL Server using Azure Data Studio.
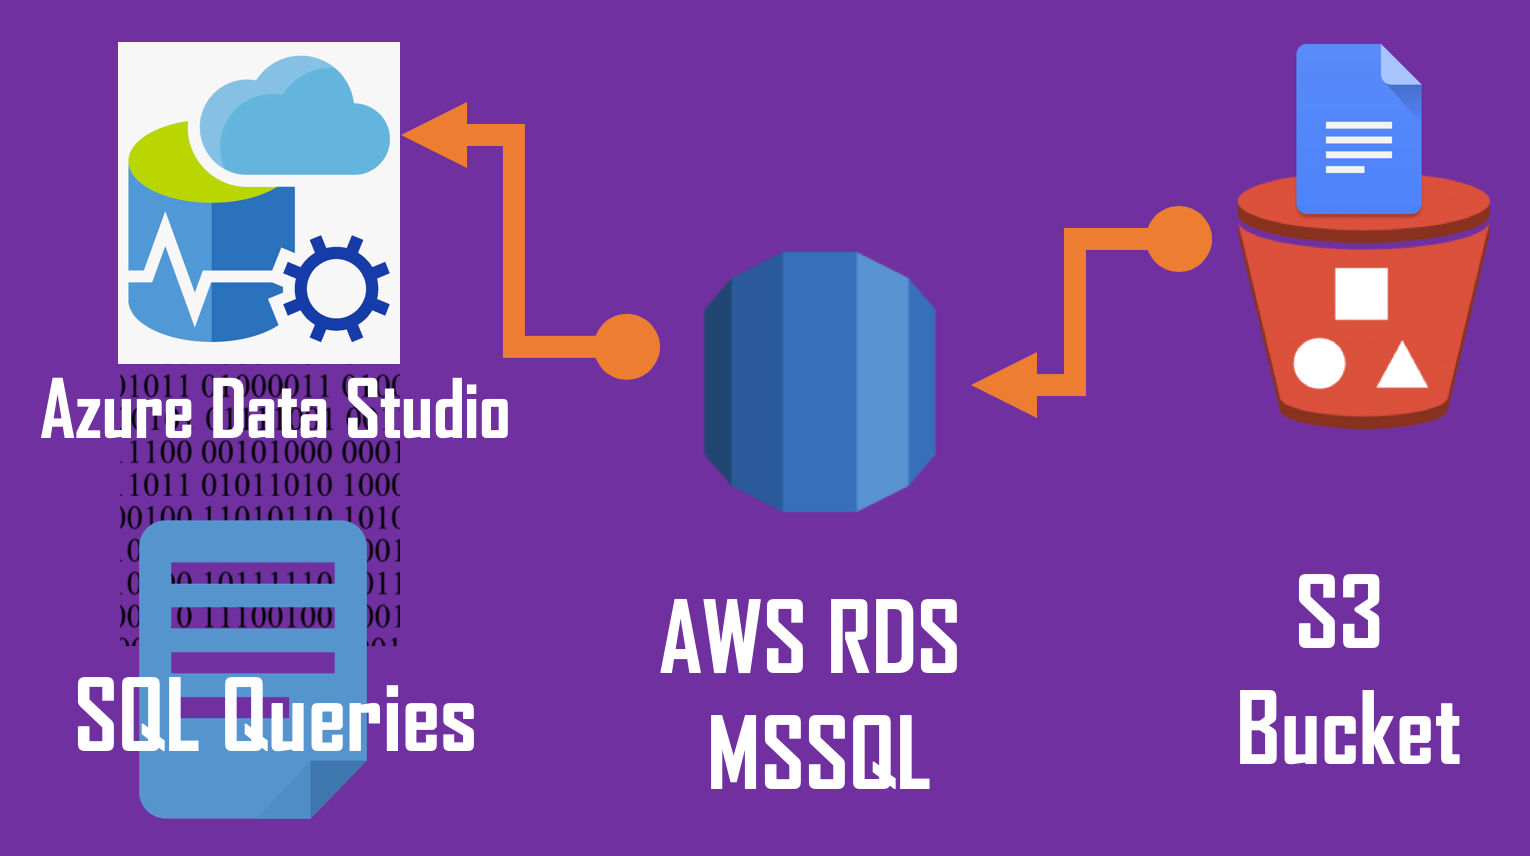
We will be touching the technologies shown below:
- Database: AWS RDS Microsoft SQL Server Express Edition
- Database tool and GUI: Azure Data Studio
- Sample database backup copy: Amazon S3 Bucket
AdventureWorks sample database backup copy
To get the OLTP downloads of AdventureWorks, go to this link and choose any sample database. In my example, I choose AdventureWorks2017.bak. We will upload this to the S3 Bucket.
Amazon S3 Bucket
Creating the S3 Bucket
- Create a bucket. You can choose any bucket name (example: yourname-sample-dbs).
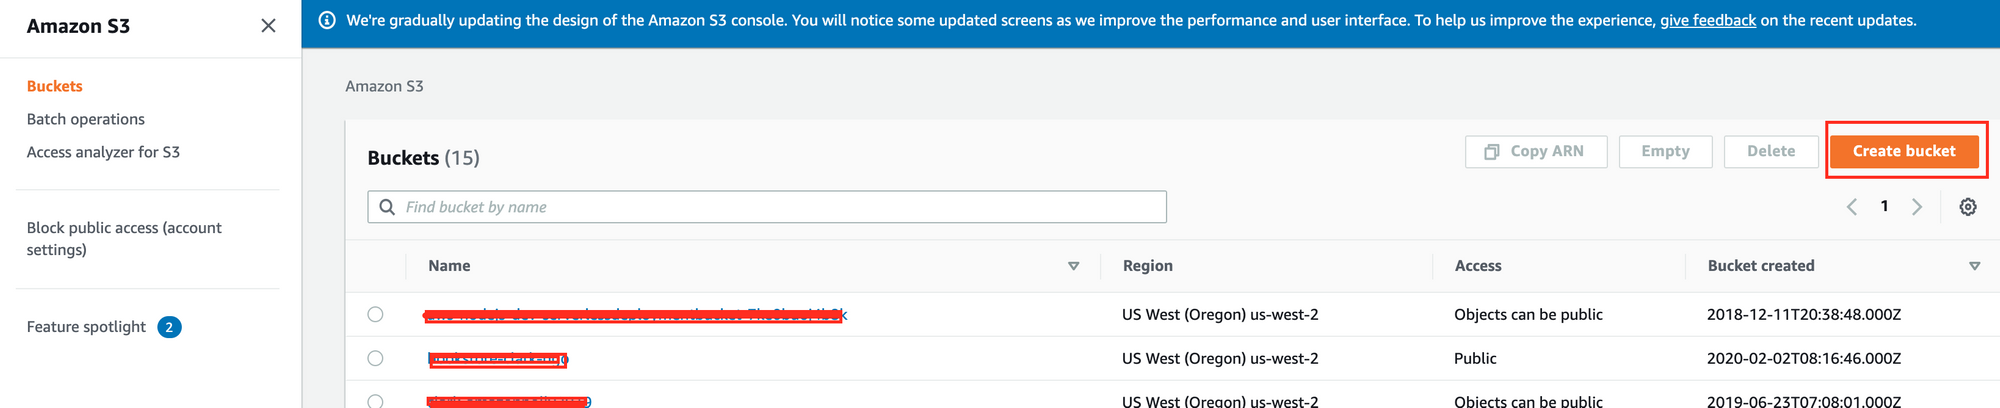
- Make sure the region is same as the AWS RDS instance.

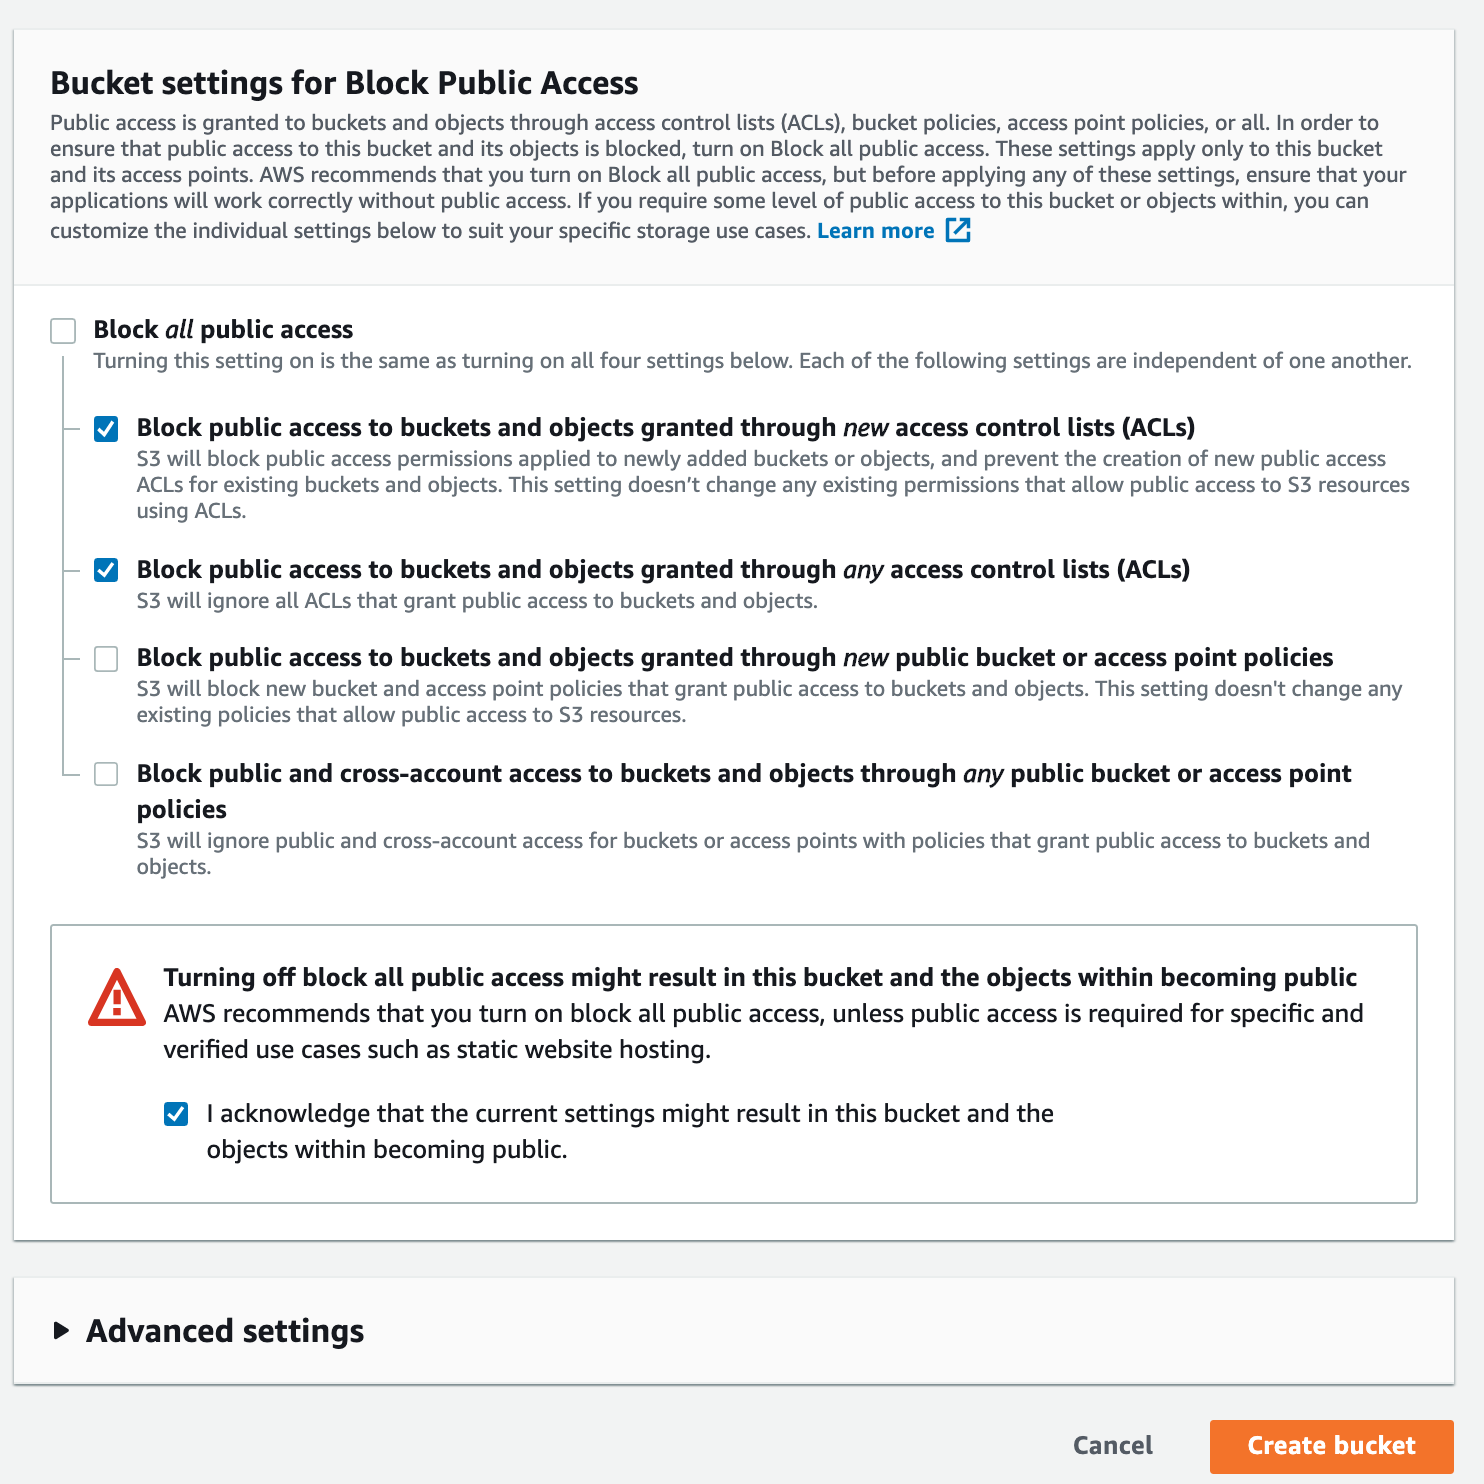
Tick the following checkboxes:
Block public access to buckets and objects granted through new access control lists (ACLs)
- Block public access and objects granted through any access control lists (ACLs)
- Access your bucket again by clicking on your created bucket.

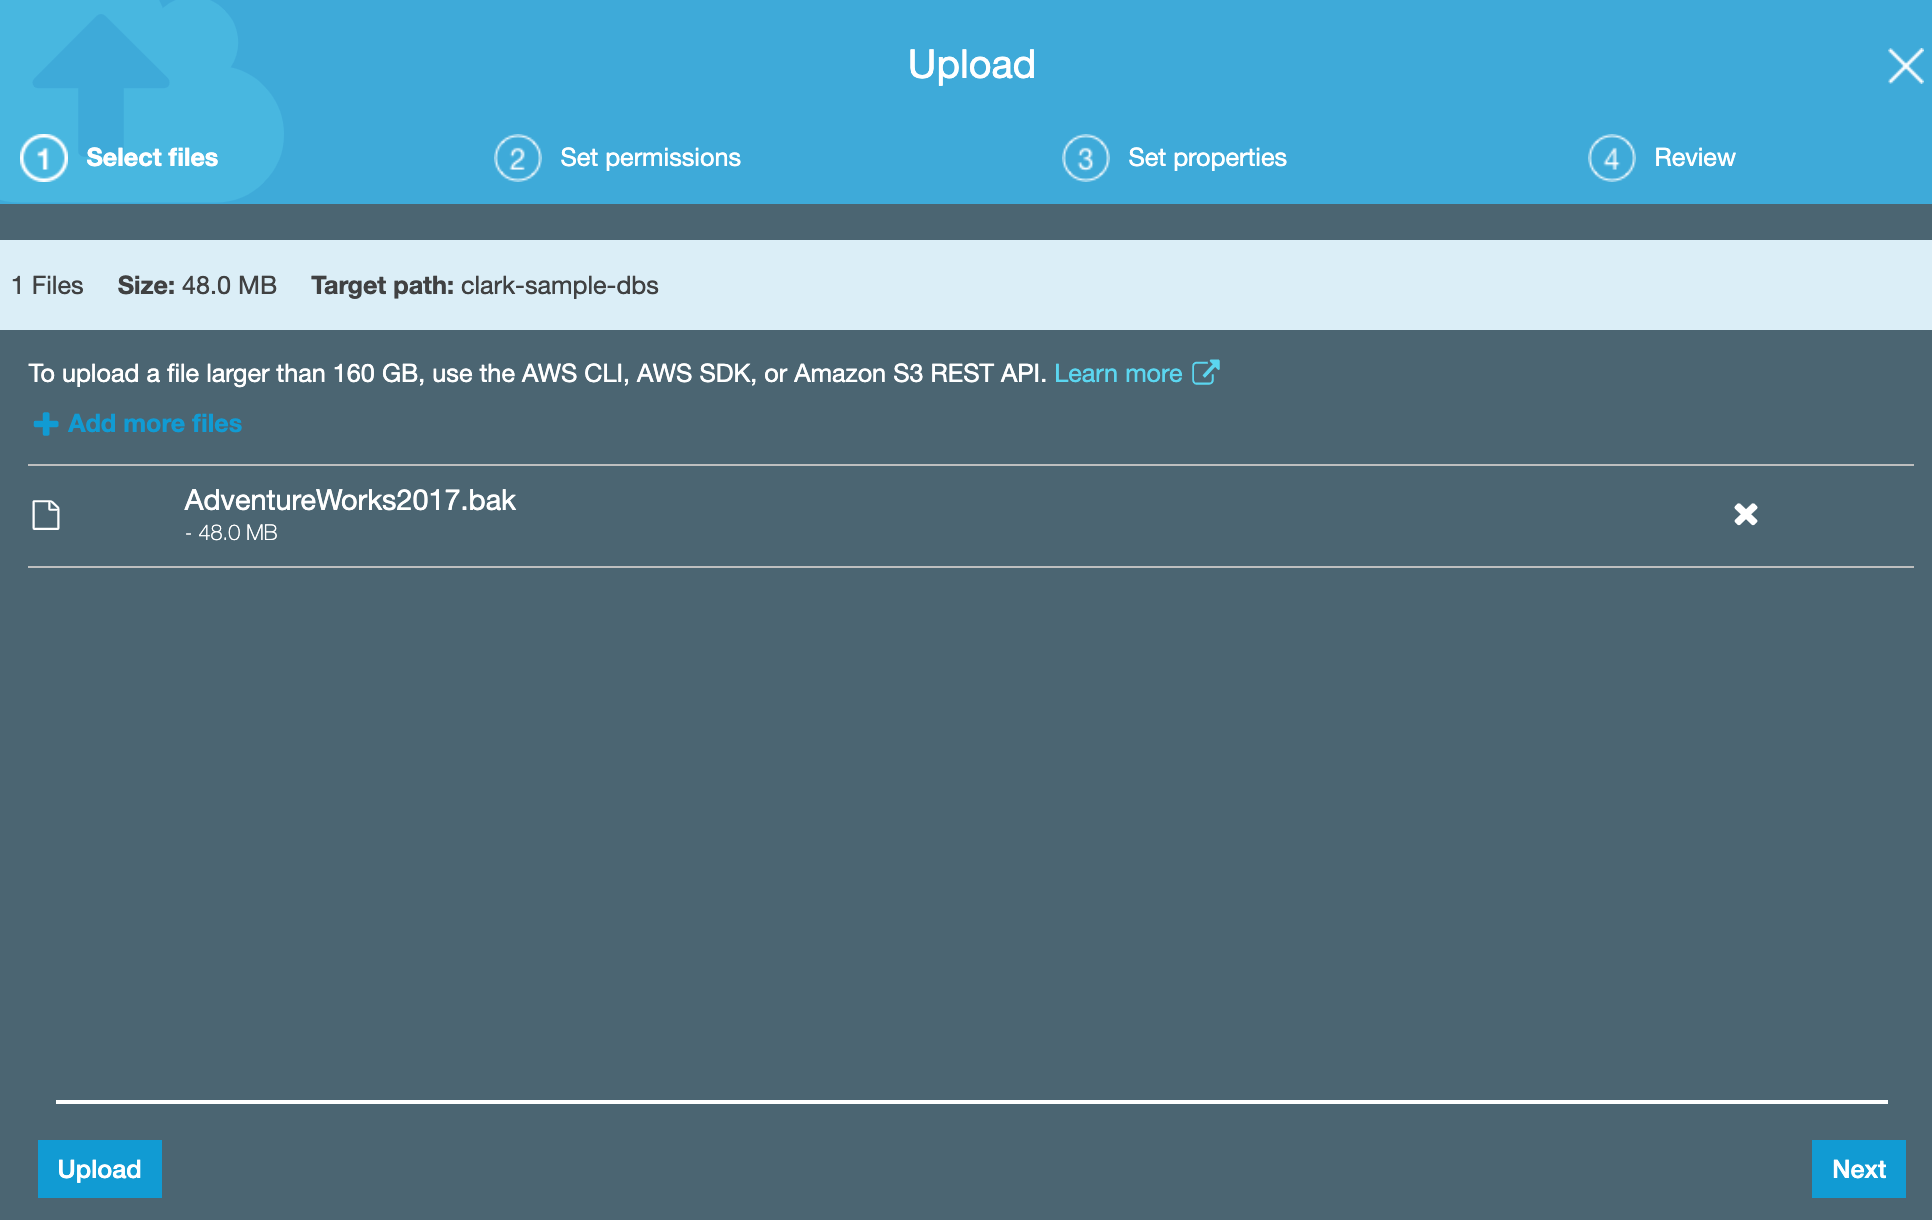
Uploading the file to the S3 bucket
- Click Upload.

- Choose the database backup file. For example:
AdventureWorks2017.bak. Keep choosing Next and choose Upload at the Review section.
- Update your Bucket Policy to allow access to your S3 Bucket. Note that your ARN will differ to mine. Hit Save afterwards.
{
    "Version": "2012-10-17",
    "Id": "Policy1548223592786",
    "Statement": [
        {
            "Sid": "Stmt1548223591553",
            "Effect": "Allow",
            "Principal": "*",
            "Action": "s3:GetObject",
            "Resource": "arn:aws:s3:::changethis/*"
        }
    ]
}

AWS RDS - MSSQL Server Express
Creating an Option Group for your RDS instance
- Click Option groups,
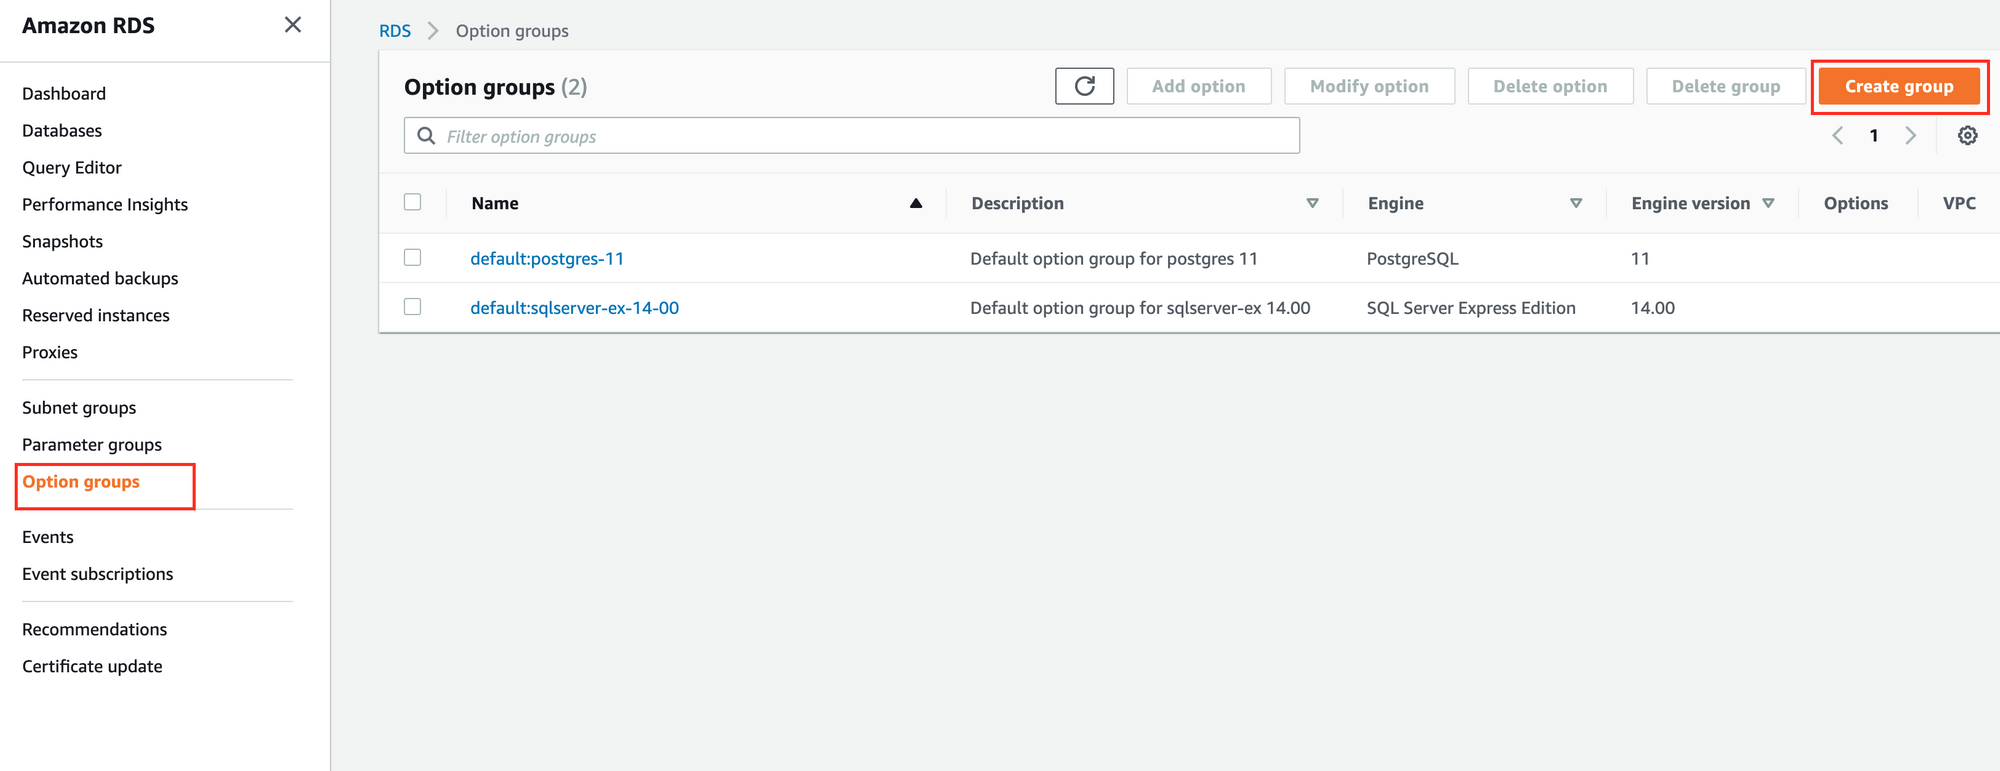
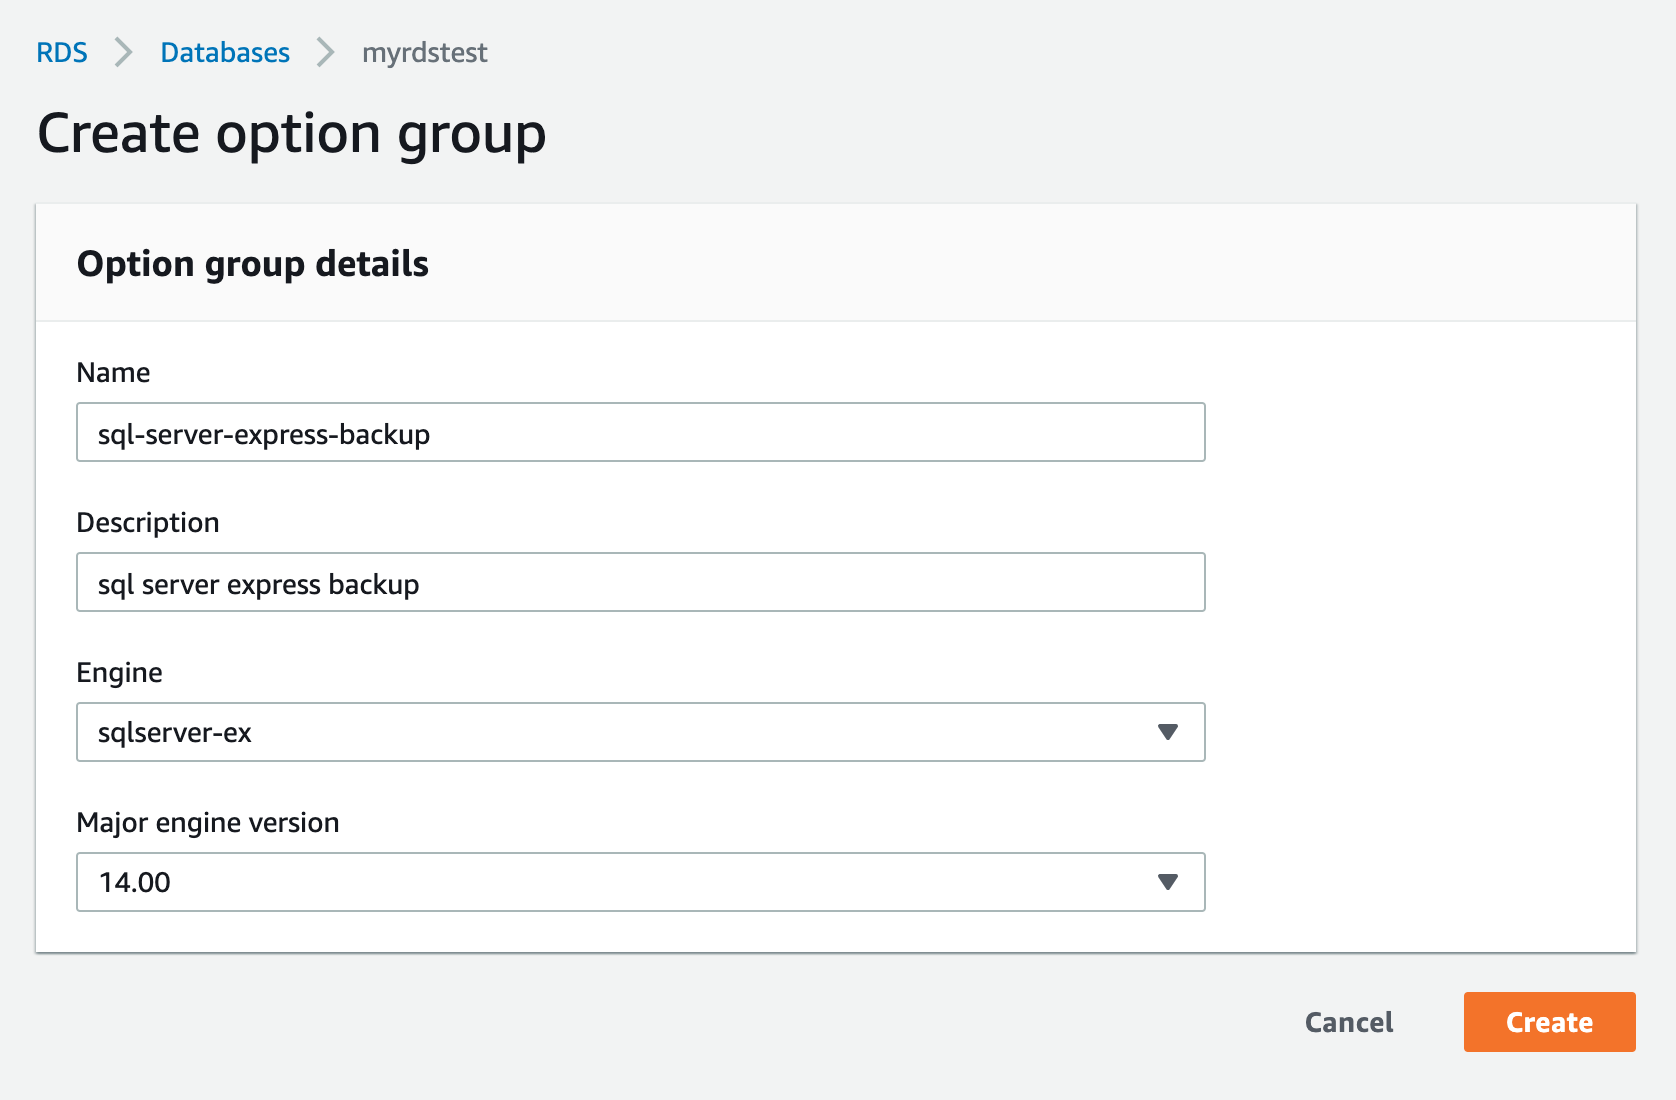
- Create an option group. Choose any name and description. For the Engine, it should match your RDS instance. In my example, I used SQL Server Express Edition so I choose
sqlserver-ex.
Here are the following Engines and their abbreviations:
- SQL Server Enterprise Edition:
sqlserver-ee - SQL Server Standard Edition:
sqlserver-se - SQL Server Web Edition:
sqlserver-web - SQL Server Express Edition:
sqlserver-ex
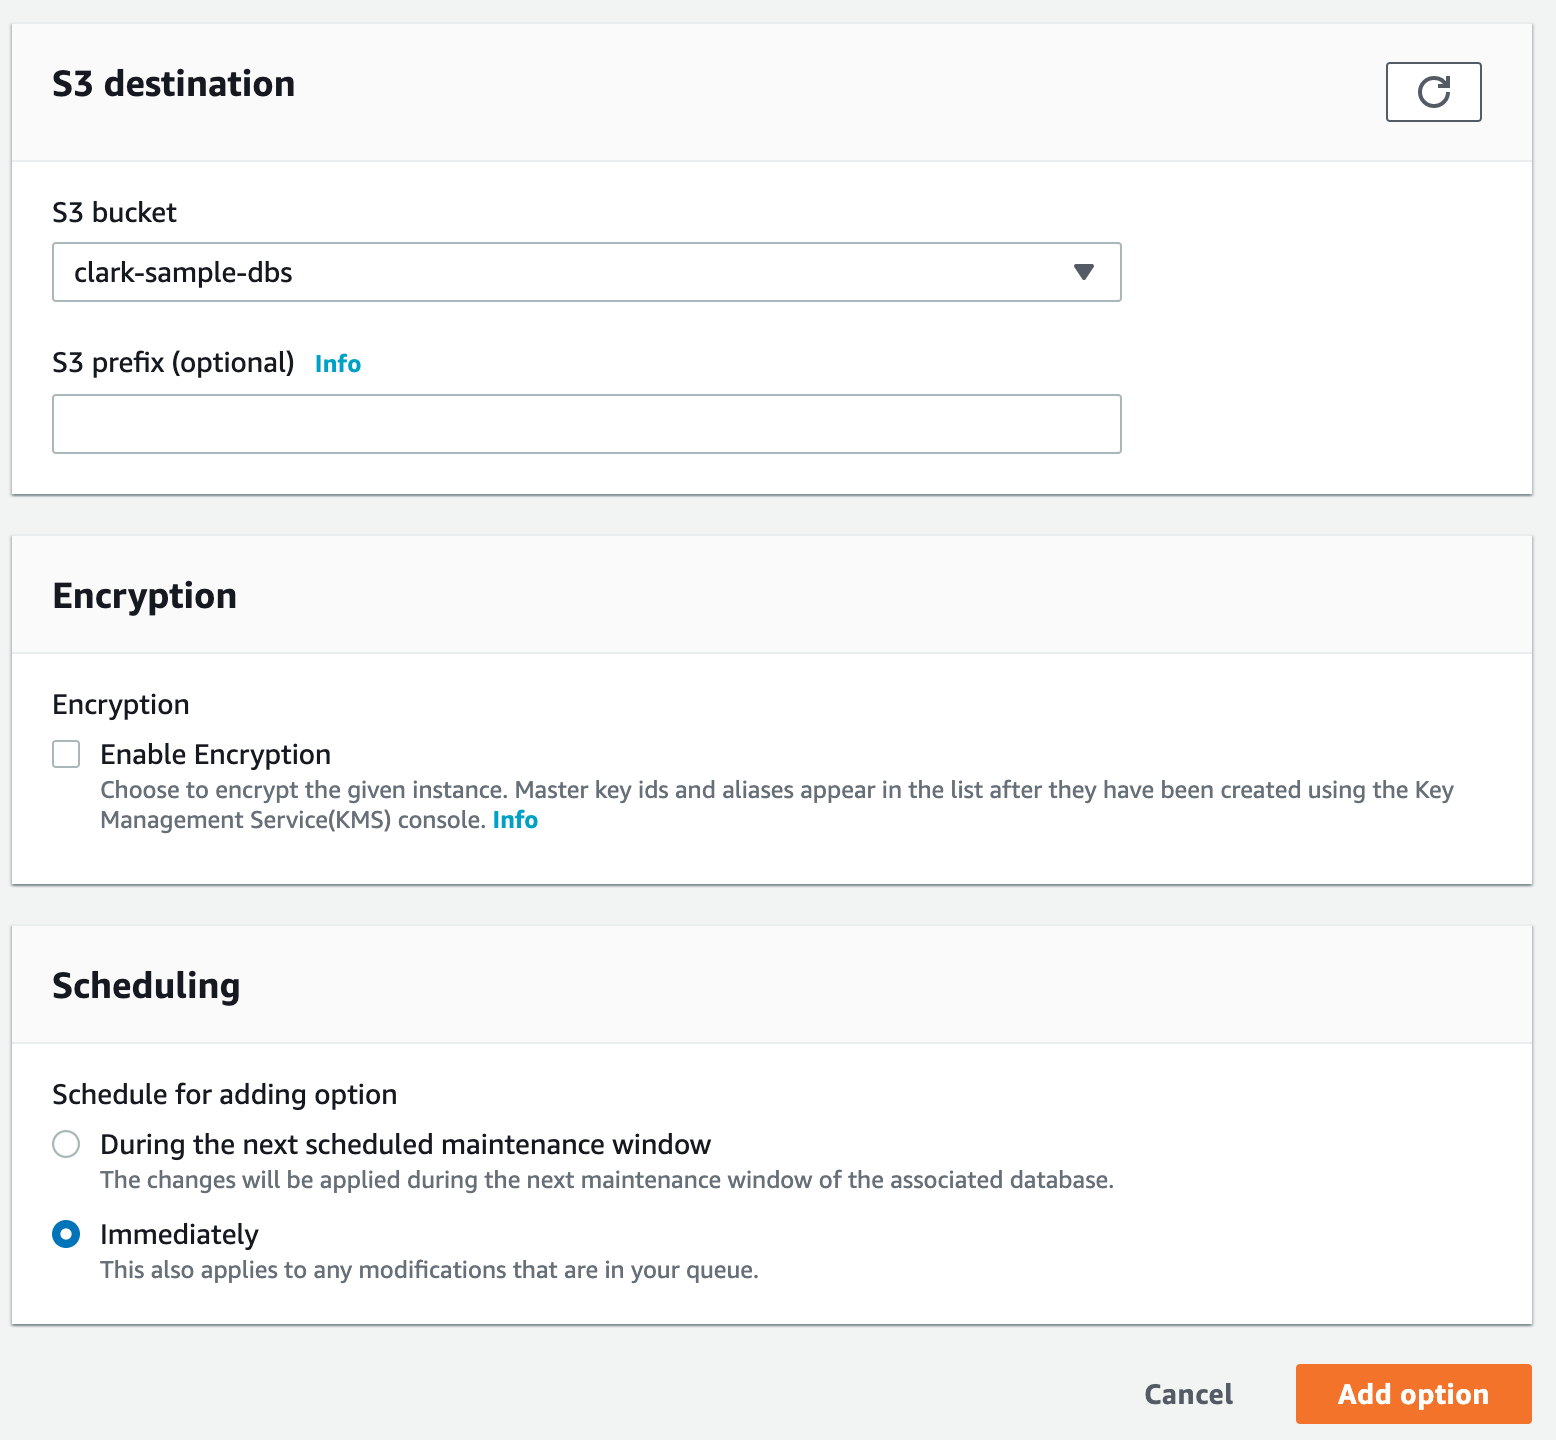
- Once you have created the option group, you'll need to Add option.

- Choose SQLSERVER_BACKUP_RESTORE for your Option name. For the IAM role, it is best to create a new role.
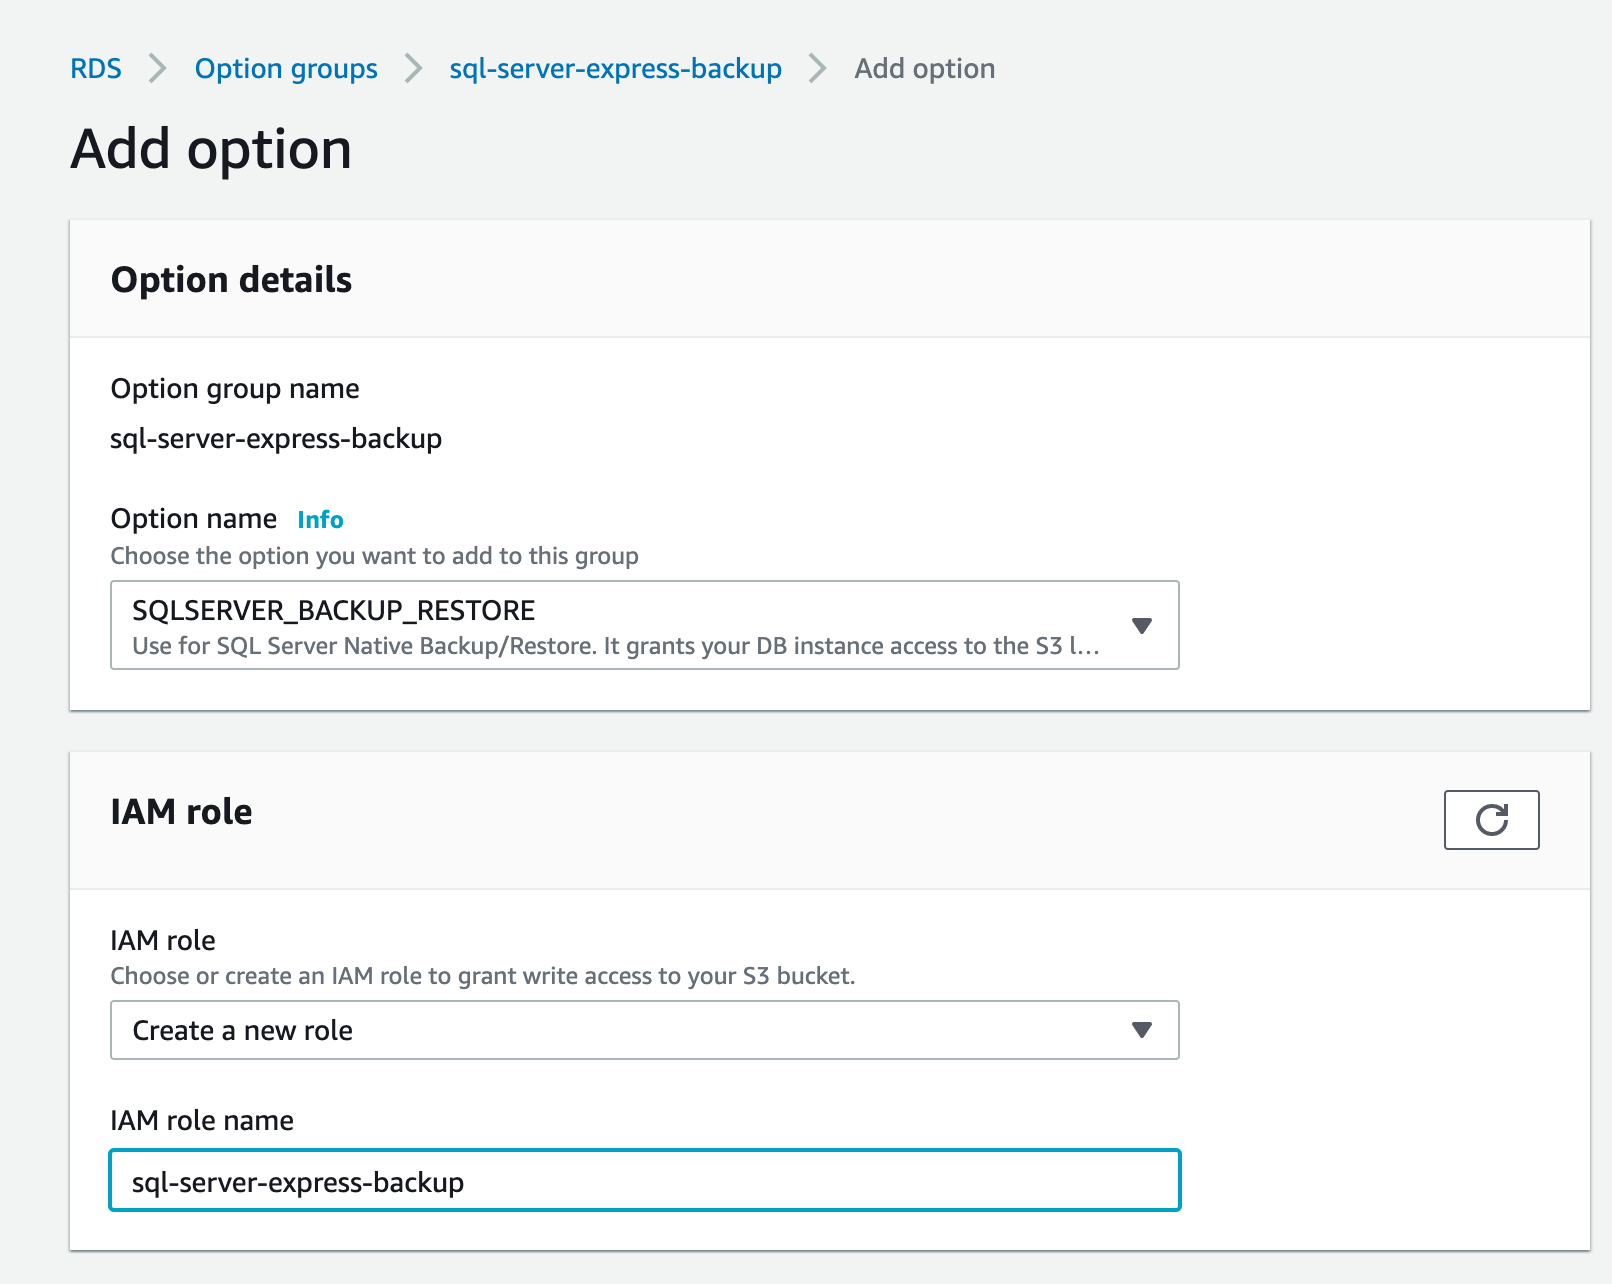
- Choose the S3 bucket where your database file is hosted. For scheduling, choose Immediately.
- Go back to your AWS RDS MSSQL Server instance and click Modify.

- Choose the created option group with
sql-server-express-backup, then Click Continue.

- Choose to Apply immediately for scheduling of modifications.

- Go back to your AWS RDS MSSQL Server instance page and scroll down and modify Manage IAM Roles. Add the IAM role you have created in S3. For the Feature, choose S3_INTEGRATION.


Azure Data Studio
Importing the sample database in S3 bucket through restore function
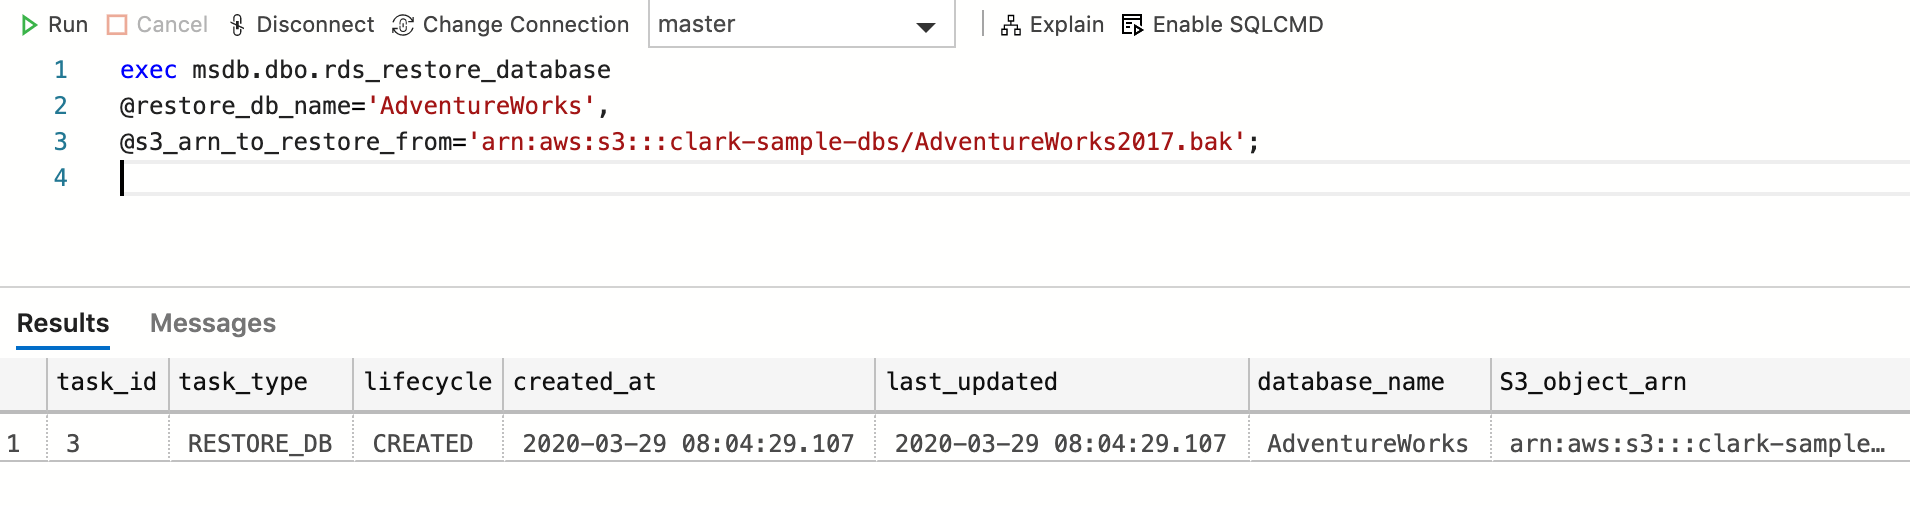
- In your connected AWS RDS MSSQL Server, create a new query and type in the following:
exec msdb.dbo.rds_restore_database
@restore_db_name='AdventureWorks-test',
@s3_arn_to_restore_from='arn:aws:s3:::clark-sample-dbs/AdventureWorks2017.bak';
Refresh your Azure Data Studio. Also, try restarting the application if your database did not appear or don't have permission to access it.
Now you are done! Good job! ???
Resources:
Connect with me on LinkedIn here