

Next.js is a React framework that makes building powerful full stack (front end + back end) applications a lot easier.
The team behind Next.js recently released Next.js 13 which has a whole lot of futures like a new app Directory, server and client components, and more.
In this article, you'll learn how to use the new Next.js 13 and Firebase database to build a full stack application.
Before you continue, this article assumes you have a basic knowledge of JavaScript, React, and Next.js. If you need to brush up on those skills, here are some beginner-friendly resources:
Now if you're ready, let's dive in.
How to Set Up a Next.js 13 Project
To set up Next.js, you need to have Node.js and npm/yarn installed on your computer. If you dont have them, you can install them from their official websites: Node.js website and npm website (but npm is included when you install Node).
In your desired directory, launch your terminal and run the following
npx create-next-app@latest --experimental-app.Enter your project name and click enter and wait for it to install.
A new directory with your project name will be created with the necessary files.
cd your way into the new directory:
cd my-project-nameTo start the development server, run the following command:
 // if you're using yarn
 yarn run dev

 // if you're using npm
 npm run dev
Running that command will start the developement server and you can see your Next.js 13 app running on http://localhost:3000.
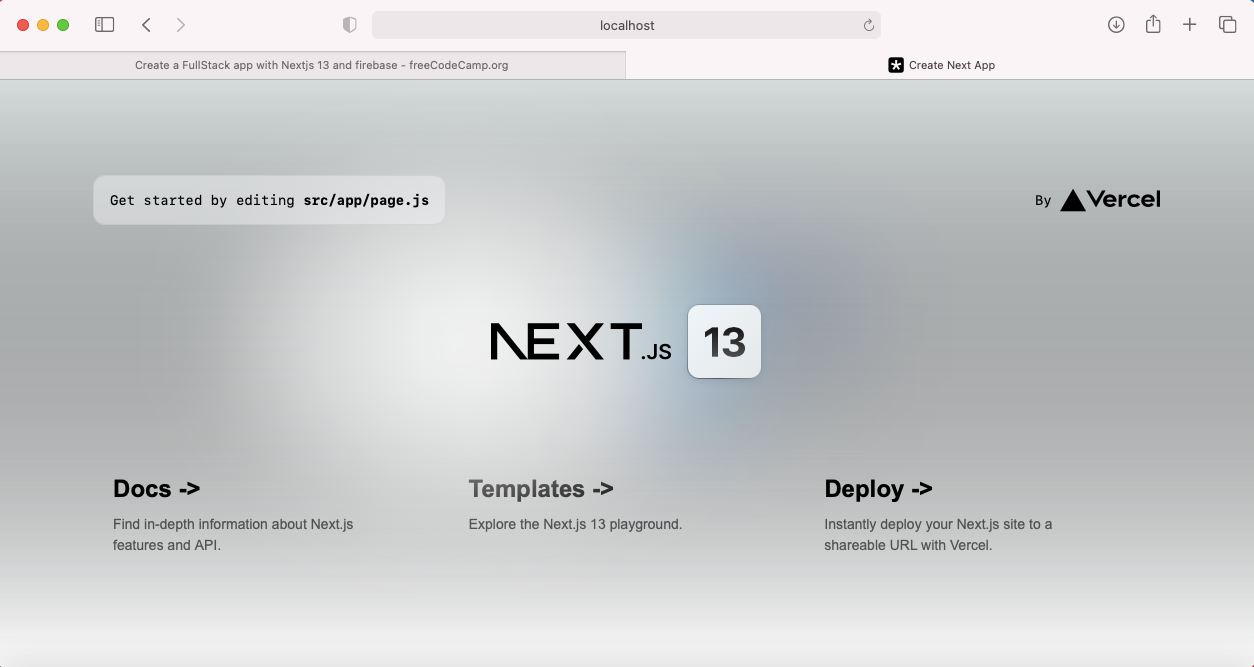
Next.js 13 app
How to Set Up Firebase in Next.js
Firebase is a BaaS – Backend-as-a-Service – platform that provides cloud backend services such as authentication, realtime database, cloud storage, analytics and more.
In this tutorial we are going to be using Firebase as our database. Follow the steps below to create a Firebase app:
Go to https://console.firebase.google.com/ and login in with your Google account.
Click on Add Project and give your project a name. Click on Continue.
On the next screen you can choose if you want to enable analytics for your project.
Click on Create project.
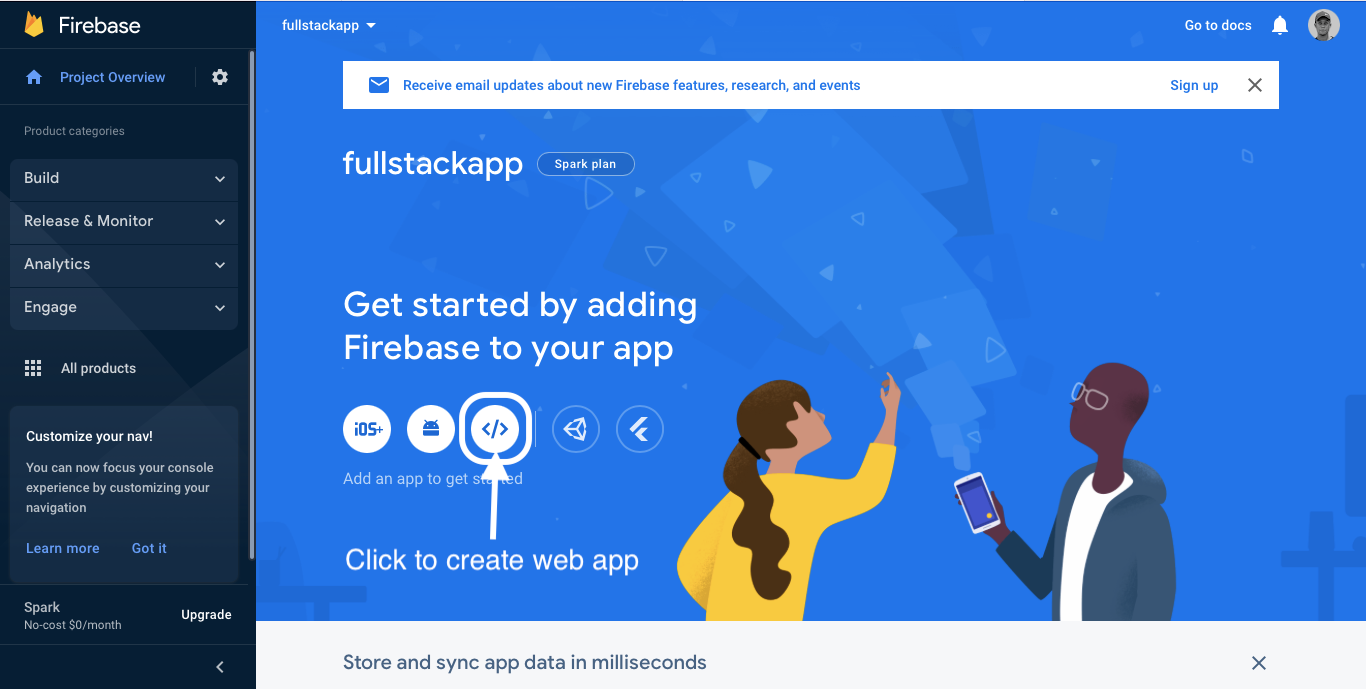
Next, you need to create a web app. On your project homepage click on the web icon to create your web app:
Give your web app a name and click Register app.
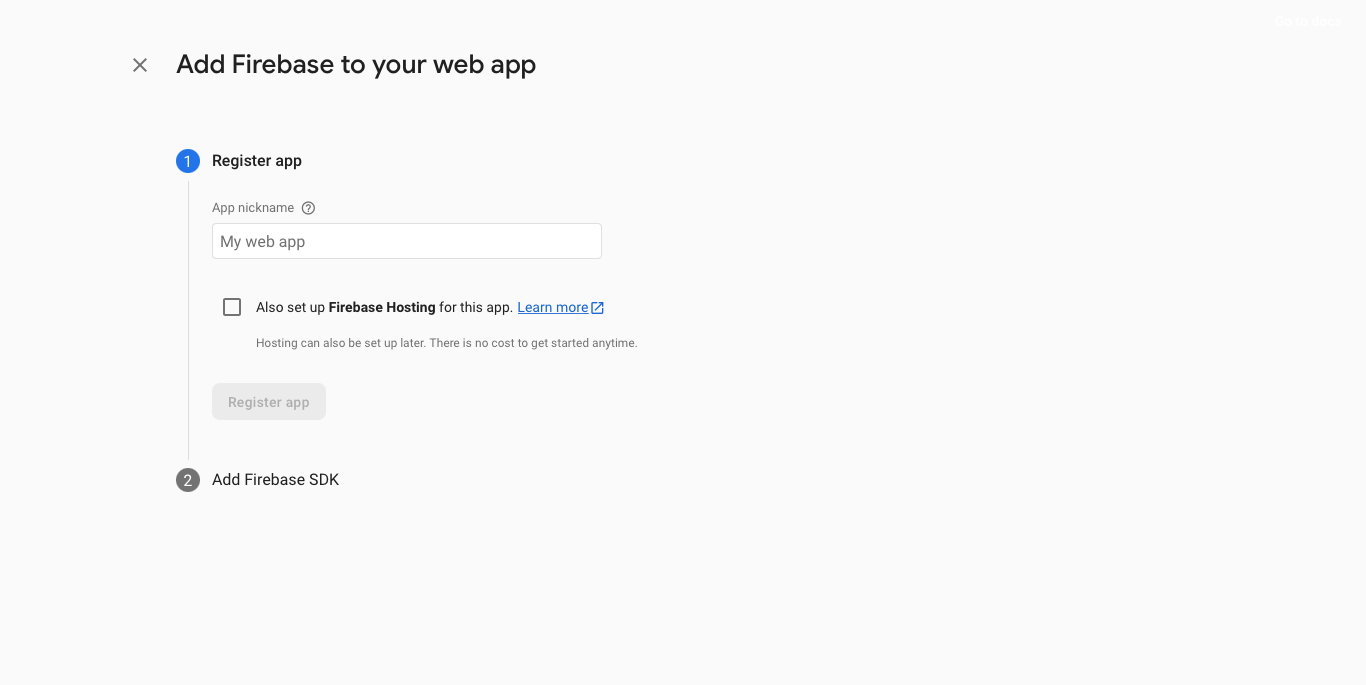
Copy the configuration file we are going to need it later. Click next until you are done.
On your project homepage again, choose a product to add to your app. For the sake of this tutorial, add only Authentication and Cloud Firestore.
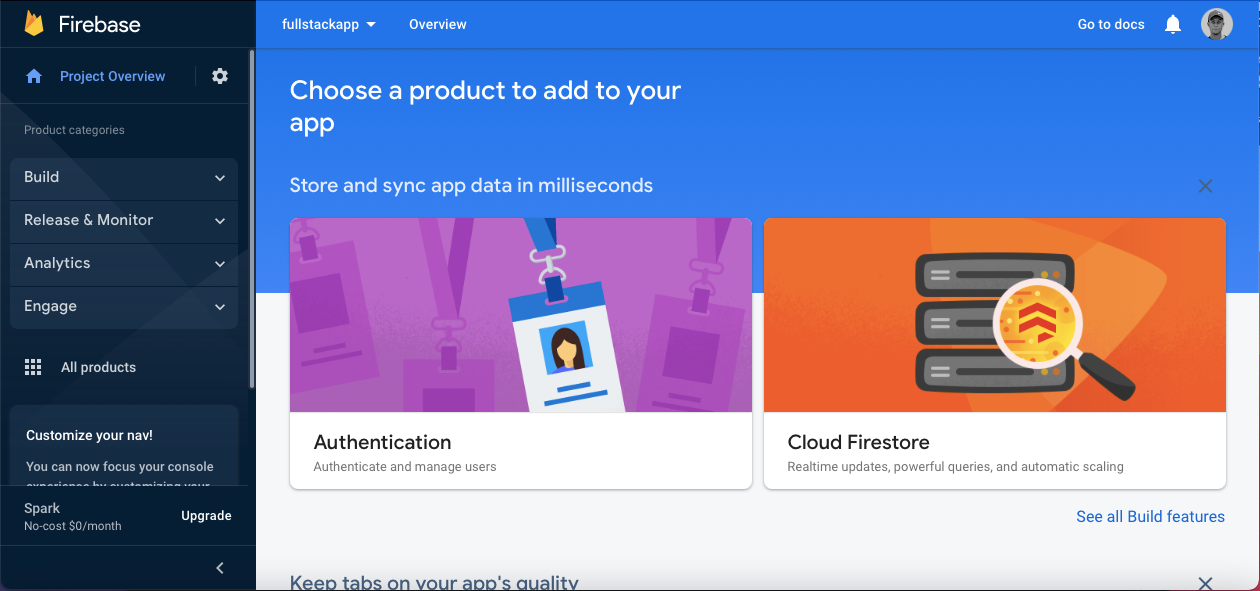
For the Authentication choose Sign-in method add Email/password.
Once you have successfully set up firebase we can now use it as a backend for your Next.js 13 app.
To use Firebase with Next.js, follow these steps:
Install the latest firebase SDK on your Next.js project by running the following command on your terminal
 yarn add firebase

 // or if you are using npm
 npm install firebase
Create a
.envfile in the root directory of your Next.js project and add your Firebase configuration files (the ones you copied earlier). It should look like this:NEXT_PUBLIC_FIREBASE_API_KEY=api-key NEXT_PUBLIC_FIREBASE_AUTH_DOMAIN=auth-domain NEXT_PUBLIC_FIREBASE_PROJECT_ID=project-id NEXT_PUBLIC_FIREBASE_STORAGE_BUCKET=storage-bucket NEXT_PUBLIC_FIREBASE_MESSAGING_SENDER_ID=sender-id NEXT_PUBLIC_FIREBASE_APP_ID=app-id NEXT_PUBLIC_FIREBASE_MEASUREMENT_ID=analytic-idNext, to make things more tidy, in your src directory create a folder named firebase and create a file
config.jswith the following code:// Import the functions you need from the SDKs you need import { initializeApp, getApps } from "firebase/app"; const firebaseConfig = { apiKey: process.env.NEXT_PUBLIC_FIREBASE_API_KEY, authDomain: process.env.NEXT_PUBLIC_FIREBASE_AUTH_DOMAIN, projectId: process.env.NEXT_PUBLIC_FIREBASE_PROJECT_ID, storageBucket: process.env.NEXT_PUBLIC_FIREBASE_STORAGE_BUCKET, messagingSenderId: process.env.NEXT_PUBLIC_FIREBASE_MESSAGING_SENDER_ID, appId: process.env.NEXT_PUBLIC_FIREBASE_APP_ID, measurementId: process.env.NEXT_PUBLIC_FIREBASE_MEASUREMENT_ID, }; // Initialize Firebase let firebase_app = getApps().length === 0 ? initializeApp(firebaseConfig) : getApps()[0]; export default firebase_app;
Now you are all set, you are now ready to use Firebase as a database in your Next.js 13 app.
How to Set Up Authentication
When it comes to building full stack applications, the first thing that comes to mind is authentication. We need a way to signup and signin in users, and we can do this easily with Firebase.
In your src > firebase directory, create a new directory called auth. We'll add all our firebase authentication related code in this directory.
Now create a signup.js file in the src > firebase > auth directory with the following code:
import firebase_app from "../config";
import { createUserWithEmailAndPassword, getAuth } from "firebase/auth";

const auth = getAuth(firebase_app);


export default async function signUp(email, password) {
    let result = null,
        error = null;
    try {
        result = await createUserWithEmailAndPassword(auth, email, password);
    } catch (e) {
        error = e;
    }

    return { result, error };
}
Now let's break this down a bit. What we are doing here is exporting a signUp()function that uses the Firebase createUserWithEmailAndPassword() method to sign up new users. Now we can use this signUp() function anywhere in our app.
In the same directory, let's add our signIn() function. Create a signin.js file with the following code:
import firebase_app from "../config";
import { signInWithEmailAndPassword, getAuth } from "firebase/auth";

const auth = getAuth(firebase_app);

export default async function signIn(email, password) {
    let result = null,
        error = null;
    try {
        result = await signInWithEmailAndPassword(auth, email, password);
    } catch (e) {
        error = e;
    }

    return { result, error };
}
How to Create the Signin and Signup pages in Next.js
In Next.js 13 you create new pages in the app directory. Each page is a folder with a page.js file – you can learn more about creating pages from the Next.js docs.
To create the sign up page, create a new signup > page.js file in your app directory and add the following code:
'use client'
import React from "react";
import signUp from "@/firebase/auth/signup";
import { useRouter } from 'next/navigation'

function Page() {
    const [email, setEmail] = React.useState('')
    const [password, setPassword] = React.useState('')
    const router = useRouter()

    const handleForm = async (event) => {
        event.preventDefault()

        const { result, error } = await signUp(email, password);

        if (error) {
            return console.log(error)
        }

        // else successful
        console.log(result)
        return router.push("/admin")
    }
    return (<div className="wrapper">
        <div className="form-wrapper">
            <h1 className="mt-60 mb-30">Sign up</h1>
            <form onSubmit={handleForm} className="form">
                <label htmlFor="email">
                    <p>Email</p>
                    <input onChange={(e) => setEmail(e.target.value)} required type="email" name="email" id="email" placeholder="example@mail.com" />
                </label>
                <label htmlFor="password">
                    <p>Password</p>
                    <input onChange={(e) => setPassword(e.target.value)} required type="password" name="password" id="password" placeholder="password" />
                </label>
                <button type="submit">Sign up</button>
            </form>
        </div>
    </div>);
}

export default Page;`
By default, each page you add in the app directory is a Server component which means we cannot add client-side interactivity like adding an onSubmit() to a form element. To add this client-side interactivity we tell Next.js that we want a Client component by adding the following at the top of the file before any imports:
'use client'

// component code
In the same manner, we can create our login page. To create the sign in page, create a new signin > page.js file in your app directory and add the following code:
'use client'
import React from "react";
import signIn from "@/firebase/auth/signin";
import { useRouter } from 'next/navigation'

function Page() {
    const [email, setEmail] = React.useState('')
    const [password, setPassword] = React.useState('')
    const router = useRouter()

    const handleForm = async (event) => {
        event.preventDefault()

        const { result, error } = await signIn(email, password);

        if (error) {
            return console.log(error)
        }

        // else successful
        console.log(result)
        return router.push("/admin")
    }
    return (<div className="wrapper">
        <div className="form-wrapper">
            <h1 className="mt-60 mb-30">Sign up</h1>
            <form onSubmit={handleForm} className="form">
                <label htmlFor="email">
                    <p>Email</p>
                    <input onChange={(e) => setEmail(e.target.value)} required type="email" name="email" id="email" placeholder="example@mail.com" />
                </label>
                <label htmlFor="password">
                    <p>Password</p>
                    <input onChange={(e) => setPassword(e.target.value)} required type="password" name="password" id="password" placeholder="password" />
                </label>
                <button type="submit">Sign up</button>
            </form>
        </div>

    </div>);
}

export default Page;
How to Listen for Authentication Changes
Throughout our application we want to be able to tell if a certain user is logged in or not. We can create protected pages and only display some certain contents to the logged in user. Firebase provides us with an onAuthStateChanged() method that we can listen to for changes.
To make the user data from the above method available throughout our app, we are going to use React Context API. Create a folder named context in your src directory. Inside the context directory create a file called AuthContext.js and add the following code:
import React from 'react';
import {
    onAuthStateChanged,
    getAuth,
} from 'firebase/auth';
import firebase_app from '@/firebase/config';

const auth = getAuth(firebase_app);

export const AuthContext = React.createContext({});

export const useAuthContext = () => React.useContext(AuthContext);

export const AuthContextProvider = ({
    children,
}) => {
    const [user, setUser] = React.useState(null);
    const [loading, setLoading] = React.useState(true);

    React.useEffect(() => {
        const unsubscribe = onAuthStateChanged(auth, (user) => {
            if (user) {
                setUser(user);
            } else {
                setUser(null);
            }
            setLoading(false);
        });

        return () => unsubscribe();
    }, []);

    return (
        <AuthContext.Provider value={{ user }}>
            {loading ? <div>Loading...</div> : children}
        </AuthContext.Provider>
    );
};
Above we are simply creating a Provider that returns the user object if the user is logged in. If the user is not logged in, we simply return null.
To be able to use the value passed to the <AuthContext.Provider> we are exporting useAuthContext from the file. With that we can use the user value.
Before we can use this context we need to wrap all our components with AuthContextProvider. Open the src > app > layout.js file and edit the code with the following:
'use client'
import './globals.css'
import { AuthContextProvider } from '@/context/AuthContext'

export default function RootLayout({ children }) {
  return (
    <html lang="en">
      {/*
        <head /> will contain the components returned by the nearest parent
        head.js. Find out more at https://beta.nextjs.org/docs/api-reference/file-conventions/head
      */}
      <head />
      <body>
        <AuthContextProvider>
          {children}
        </AuthContextProvider>
      </body>
    </html>
  )
}
Now we can create protected pages and display specific content to different users.
How to Create Protected Pages
Create the directory admin > page.js in your app directory and add the following code:
'use client'
import React from "react";
import { useAuthContext } from "@/context/AuthContext";
import { useRouter } from "next/navigation";
function Page() {
    const { user } = useAuthContext()
    const router = useRouter()

    React.useEffect(() => {
        if (user == null) router.push("/")
    }, [user])

    return (<h1>Only logged in users can view this page</h1>);
}

export default Page;
If the user is null we are simply redirecting the user to the homepage. If the user is not null, we show them the protected page.
How to Communicate with Our Database
Now that we have gotten the Authentication part of the way, we can focus on communication with our database. For our database we are going to use Firestore.
Again to make things more tidy, create a new firebase > firestore directory, inside this directory we'll add all our Firestore-related code.
How to Add Documents to Firestore
Create a file called addData.js inside the firestore directory and add the following code:
import firebase_app from "../config";
import { getFirestore, doc, setDoc } from "firebase/firestore";

const db = getFirestore(firebase_app)
export default async function addData(colllection, id, data) {
    let result = null;
    let error = null;

    try {
        result = await setDoc(doc(db, colllection, id), data, {
            merge: true,
        });
    } catch (e) {
        error = e;
    }

    return { result, error };
}
At this point this type of code should be familiar to you. We're exporting a function that adds data to our firestore database.
We can now use this addData() function from any component to add data to our database:
'use client'
import addData from "@/firebase/firestore/addData";

export default function Home() {

  const handleForm = async () => {
    const data = {
      name: 'John snow',
      house: 'Stark'
    }
    const { result, error } = await addData('users', 'user-id', data)

    if (error) {
      return console.log(error)
    }
  }

  return (
    ...
  )
}
How to Get a Document from Firestore
Using a similar approach, we can get a document from our Firestore database.
Create a getData.js file in the Firestore directory and add the following code:
import firebase_app from "../config";
import { getFirestore, doc, getDoc } from "firebase/firestore";

const db = getFirestore(firebase_app)
export default async function getDoument(collection, id) {
    let docRef = doc(db, collection, id);

    let result = null;
    let error = null;

    try {
        result = await getDoc(docRef);
    } catch (e) {
        error = e;
    }

    return { result, error };
}
You can also use the getData() in any component you choose.
Conclusion
In this article, we learned how to build a full stack application using Firebase and Next.js 13 by integrating authentication and interacting with our database.
Happy coding!