

Recently, I came across a tutorial about how to create a 3D tilting card effect (with mouse tracking functionality) on Kevin Powell's YouTube channel.
Kevin used HTML, CSS, and JavaScript to create the markup, style the card, and implement the mouse tracking functionality, respectively.
In this tutorial, we'll take a look at how to replicate the same project in React Native. We'll write pure HTML markup and use the react-native-render-html library to render it all into 100% native views.
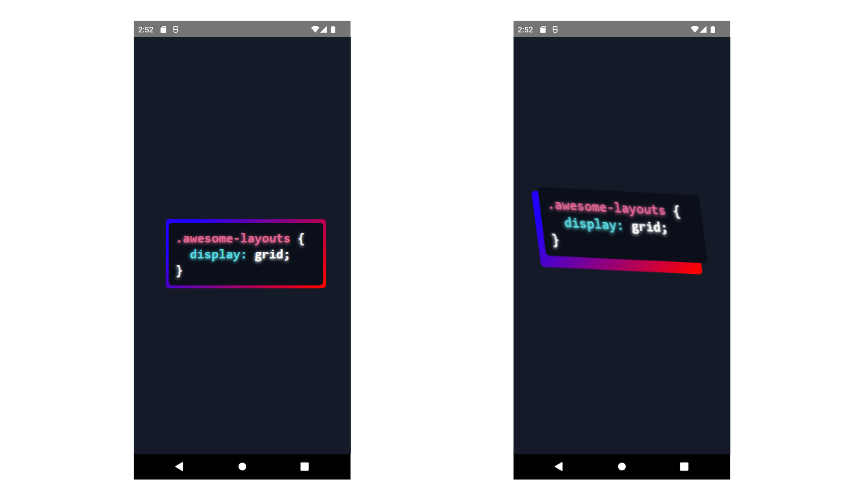
This how our tilted cards will look by the end of this tutorial:
Feeling excited? Let's begin!
Prerequisites
To follow this tutorial, you'll need to have a good understanding of HTML. Knowledge of JavaScript and React Native is helpful but not necessary.
To follow this tutorial locally, on your computer, you need to have the following installed:
Xcode or Android Studio (set up to run the emulator)
React Native CLI
For step-by-step instructions on how to set up your React Native development environment, you can read the official documentation.
Alternatively, if you don't have the time or resources to set it up from scratch, use Expo Snack. This is a browser-based environment that lets you create React Native projects without needing to install anything.
Skip the Project Setup section if you're following this tutorial from Expo Snack. Otherwise proceed.
Project Setup
Run this command to install the React Native CLI tool using npm:
npm install -g react-native-cli
Initialize a new project:
react-native init my-app
Start your emulator:
cd my-app && npx react-native run-ios // Start the iOS simulator

// OR

cd my-app && npx react-native run-android // Android the android emulator
These commands should have the simulator show up on the screen like this:

Afterward, cd into your application folder on the terminal and run the following command to install React Native HTML Renderer:
npm i react-native-render-html
That's all for installations. Let's get started with the code.
How to Set Up the App
In this section, we'll import the React, useWindowDimensions, and RenderHtml, which we'll use create the layout of our application.
Open the App.js file in your project and clear the file content. Then start by importing the following:
import * as React from 'react';
import { useWindowDimensions } from 'react-native';
import RenderHtml from 'react-native-render-html';
The useWindowDimentions hook allow us to access the dimensions of the viewport, which is how we're going to make the content responsive across all screen sizes. We'll use RenderHtml to render pure HTML markup into native views in our React Native application.
If you're following this tutorial on Expo Snack, you'll be asked to add the react-native-render-html package by clicking on Add dependency link at the page bottom. Click it.
Next, include the following code beneath the imports:
const source = {
  html: `
<pre class="language-css" tabindex="0"><code class="language-css"><span class="token selector">.awesome-layouts</span> <span class="token punctuation">{</span>
  <span class="token property">display:</span></span> <span>grid;</span>
<span class="token punctuation">}</span></code></pre>`
};
As a value of the html property, we pass the HTML markup for the code block. It's pre-formatted content, so don't format the code (or it'll break). Just copy the code as it is and paste in your file.
Next, create App() as a functional component and a base stylesheet for the application. Return <RenderHTML /> and pass in both the pre-formatted code and stylesheet to the source and baseStyles, respectively:
export default function App() {
  const { height, width } = useWindowDimensions();

  const base = {
    height: height,
    width: width,
    flex: 1,
    alignItems: 'center',
    justifyContent: 'center',
    backgroundColor: 'hsl(224, 32%, 12%)',
    color: 'white'
  }

  return (
      <RenderHtml
      contentWidth={width}
      source={source}
      baseStyle={base}
      />
  );
}
On line 2, we access the height and width of the viewing device from the useWindowsDimensions() call. We then set the height and width of the root element to that of the screen, align the content to the center, set the background color to dark-blue, and the text color to white.
Save the file. You should find a UI that looks like the image below:
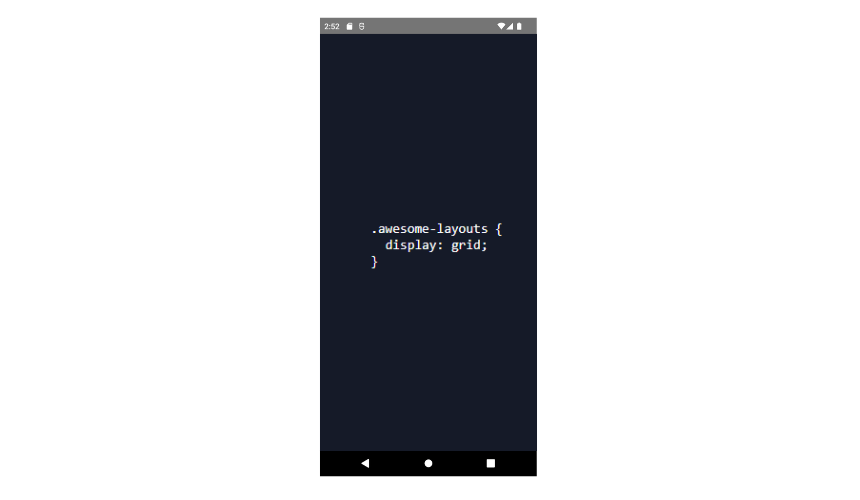
Next up is styling the code block.
How to Style the <pre> Code
In this section, we'll place the pre-formatted code inside a card, tilt the card, and apply different colors to the code to make it appear like real CSS code.
1. How to put the code in a card
All of the stylesheets for our HTML markup will go inside the htmlStyles object. The first property of htmlStyles is the stylesheet for the <pre> element:
const htmlStyles = {
  pre: {
    fontSize: '18px',
    fontWeight: 'bold',
    backgroundColor: 'hsl(222, 45%, 7%)',
    padding: '10px',
    borderRadius: '5px',
    transform: [
      { perspective: 5000 },
      { rotateX: '8deg'},
      { rotateY: '20deg'},
      { skewX: '8deg'},
    ],
  },
}
This adds a dark-blue background around the code, rounds the box edges, increases the font size and weight of the code, and adds some padding between the box and the code.
With transform, we rotate the card 8 degree around the x-axis and 20 degrees along the y-axis, tilting the card a little bit.
We also set perspective to 5000 to set a significant distance between the user and the card (which makes it more realistic).
To see this in effect, you need to add the tagsStyles property to <RenderHTML /> and pass htmlStyles as its value, like so:
<RenderHtml
  contentWidth={width}
  source={source}
  baseStyle={base}
  tagsStyles={htmlStyles}
/>
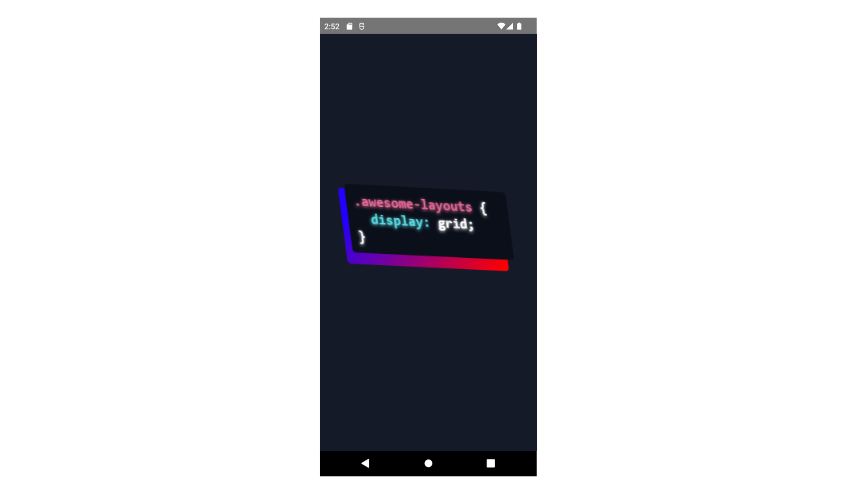
Save the file and go over to your device/emulator to see the effect:
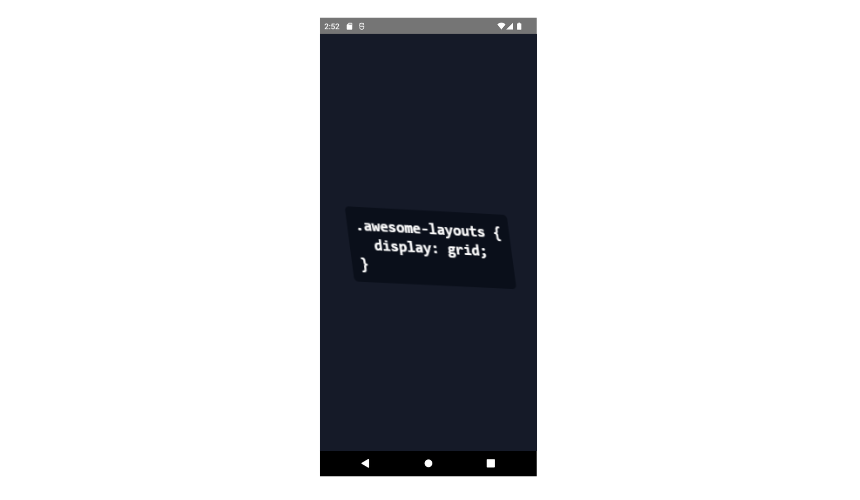
Next, we style the text by adding different colors to it.
2. How to style the code
We don't want all of the code to be white. Instead, we want the .selector to be pink, the .property greenish-blue and the rest white. We'll add some extra CSS to get these colors.
Recall that each <span> element within <pre> had a class name of either .selector, .property or .punctuation. With react-native-render-html, we can't use the class selector to target elements, so this will not work:
.selector {
    color: 'hsl(338, 70%, 65%)'
}
We'll have to define the CSS code directly on the respective HTML tags with the inline style property. So for the <span> element with the class name selector, apply the pink color like so:
style="color: hsl(338, 70%, 65%);
As for the <span> element with class name of property, apply a greenish-blue color to it:
style="color: hsl(183, 70%, 62%);
Next, we'll add some glow to the text. To do this, we'll use the React Native versions of the text-shadow property and we'll apply it to the <span> elements (add inside the htmlStyles object):
 span: {
    textShadowColor: 'currentColor',
    textShadowOffset: {width: -0.5, height: 0.5},
    textShadowRadius: 4
  },
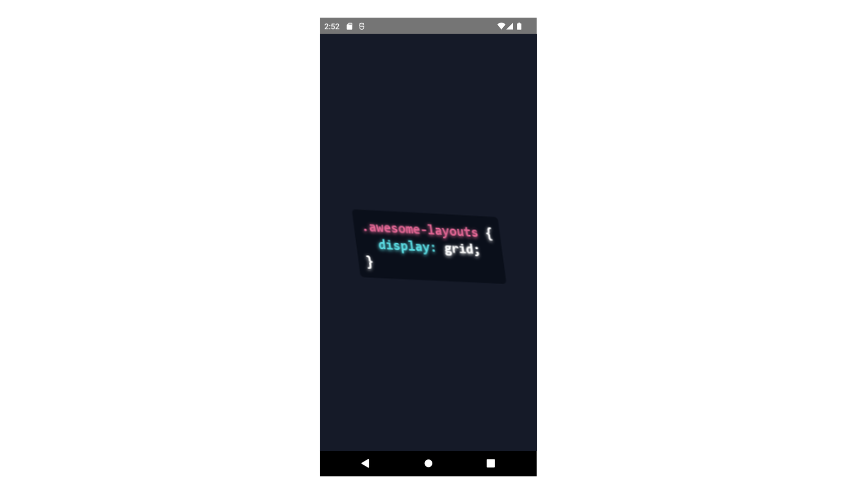
By setting textShadowColor to currentColor, we're telling React Native to use the same color of each text as shadow color, so the selector will have a pink glow and the property will have a greenish-blue glow.
Here's the result:
Now we're done with styling the code. In the next section, we'll turn the card into a 3D element.
How to Make the Card 3D and Add Different Layers
In this section, we'll add a second layer to the card and transform the card into a 3D object. The second box will be an image gradient containing the colors blue and red.

In the source object, underneath the <pre /> tag, create an <img> element and point its src to the image above (upload the image to a place like Dropbox and get the URL):
<img src="put-the-url-to-your-image-here"/>
Next, add the following stylesheet to the htmlStyles object:
  img: {
    top: -95,
    right: 7,
    zIndex: -10,
    height: 95,
    width: 216,
    borderRadius: '5px',
    overflow: 'hidden',
   transform: [
      { perspective: 5000 },
      { rotateX: '8deg'},
      { rotateY: '20deg'},
      { skewX: '8deg'},
    ],
  }
The above stylesheet basically overlaps the image with the code block (top and right), places the image behind the code block (z-index), makes the image the same size as the code block (height and width) and the same shape as well (transform).
Here's the final look of our application:
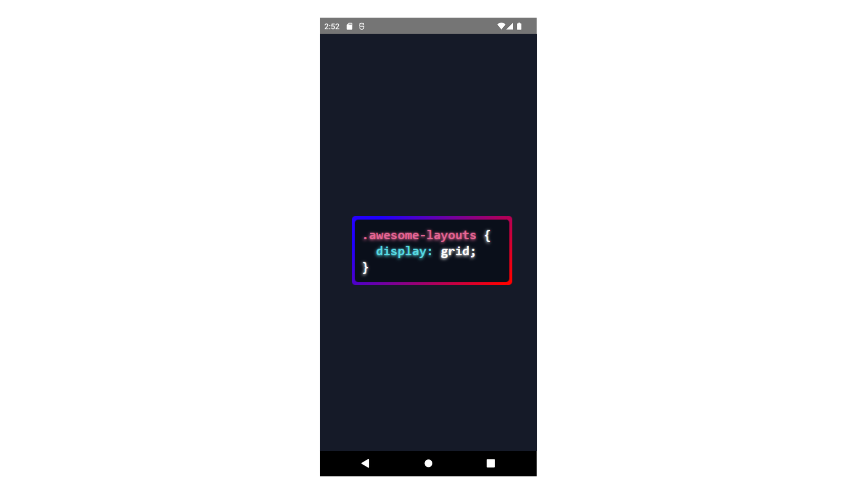
To straighten the button, you simply reset the value of rotateX and rotateY to 0 for both the <img> and the <pre> element:
Grab the full source code from here.
Conclusion
In this tutorial, we took a tilted 3D card made with HTML and CSS and replicated it in React Native.
To achieve this, we used react-native-html-renderer to render HTML to React Native elements, and React Native specific properties to style the elements.
I hope you enjoyed following this tutorial as I did making it. You can give feedback on this article or discuss opportunities with me on Twitter.