
In this article you will learn how to create a great technical video course.
I run the freeCodeCamp.org YouTube channel where we post technical courses from a variety of contributors. Video courses that follow the guidelines in this article are often a good fit for freeCodeCamp's channel.
How to Plan a Technical YouTube Course
Choose a Topic
Choosing the right topic for your course is very important. Choose a topic that you think you can teach well.
While it is best if you already have a lot of experience with the topic, prior experience is not required. If you don't already know much about the topic you will have to do a lot of research so you are able to teach the topic well.
A course about a popular topic will almost always get more views than a less popular topic, even if the course about the less popular topic is a better course.
Determining what topics are most popular is not the only way to choose a topic, but it can help. A few ways to figure out popular topics is by using Google Trends and by searching on YouTube and observing what topics get the most views on other channels.
On the freeCodeCamp channel, we post courses on a wide variety of topics, even many that are less popular. We post comprehensive courses that can be anywhere from 90 minutes long to 24 hours long. A topic that is a good fit for a short video may not be a good fit for our channel.
There are two main types of courses we post on the freeCodeCamp channel, and there can be some overlap:
- Comprehensive courses on a single technology, programming language, or framework.
Examples: - Courses about developing a real-world project.
Examples:
Make Your Course Title and Thumbnail
Course titles and thumbnails are very important.
If you submit a course to the freeCodeCamp channel, we will create the title and thumbnail for the course. But we are open to suggestions and input.
It can be helpful to choose a title before creating a course. This will help you focus the topic of the course. A focussed course makes it easier for viewers to follow along.
Courses with succinct titles that clearly communicate what viewers will learn almost always perform much better than courses with long or ambiguous titles.
Titles should include the key search terms as early as possible in the title. If a course is about creating a certain project, it is better to put the programming language before the project title since people are more likely to recognize and search for a programming language.
It can be helpful to add words like "Tutorial" or "Course" in the title since people often include those terms in searches.
Examples of successful titles:
- "HTML Full Course - Build a Website Tutorial"
- "Native Android App Tutorial: WhatsApp Clone"
- "OpenGL Course - Create 3D and 2D Graphics With C++"
Examples of unsuccessful titles:
- "How to build a social media app with Python (Django) - Setting up the project"
- "Creating a Flappy bird game for an Android phone"
- "Number Systems"
Identify your audience
Make sure to keep you viewers in mind. Is your course targeted toward a beginner, intermediate, or advanced audience?
The target audience should be apparent in both the title and the content of the course.
Overall course design
The course should start with an introduction that clearly and concisely communicates why the course matters for the learner.
It is important to let viewers know right away why they should watch your course and what they will learn.
It is also important to keep the introduction short so you get into the real content of the course as quickly as possible. If you take too long before teaching the information the viewer came for, you run the risk of the viewer going back and choosing a different course.
There is no hard and fast rule for how long an introduction should be, but there should be a summary of the course in the first ten seconds of the video.
When designing a course, you should use memorable and creative examples, with diagrams where appropriate. Make sure the course communicates why you are doing what you are doing and not just how or what you are doing.
Finally, make sure to provide a summary at the end that includes the key takeaways from the course.
Slide design
When designing slides or text on screen, the main thing to remember is to make all the text as big as possible. Make sure to use appropriate contrast between the text and background. If the contrast or colors are too similar, it can be harder to read, especially for people with vision difficulties.
If you want, you can consider using colors and fonts from the freeCodeCamp style guide.
Any diagrams, images, or colors should complement and reinforce what you are talking about.
To keep viewers' interest, make sure things change frequently on screen. As a general rule, you shouldn't stay more than 15 seconds on the same slide or video shot. This does not apply when you are typing code on screen.
Prepare your code
You should prepare beforehand any code you are going to use in the course. This is especially true when a course teaches how to create a specific project.
Make sure the code is clean and easy to read. Unless you have a good reason, use code that is as simple as possible to make it easier to follow along.
If it is applicable to your course, create starter code for users to download.
Definitely make all final code available to users. The simplest way for most users to download code is on GitHub.
How to Record a Technical YouTube Course
The three most important things when it comes to recording are:
- Use a good microphone.
- If you are showing code on screen, make it as large as possible.
- Make sure the video resolution is 1080p (720 at the absolute minimum).
If you have bad audio or tiny code, it will cause people to stop watching immediately—before they even see the real content of your video.
There are three areas to consider when recording a course: audio, video, and screen capture.
Course Audio
Almost any USB microphone will be better than the built-in mic on your computer. If you can afford it, consider one of these microphones:
If you can’t afford a mic, do some tests with recording audio on a cell phone. Depending on what phone and computer you have, there is a chance that audio recorded on a cell phone could be better than on your computer.
 Microphones!
When recording audio, it should be loud and clear. It should be free of clipping, distortion, and distracting background noise. If you need to, edit or re-record if background noises are very noticeable.
When you are talking, try to sound engaging and confident. Use a natural pace and conversational tone. Avoid awkward pauses and words such as “um” or “aw”.
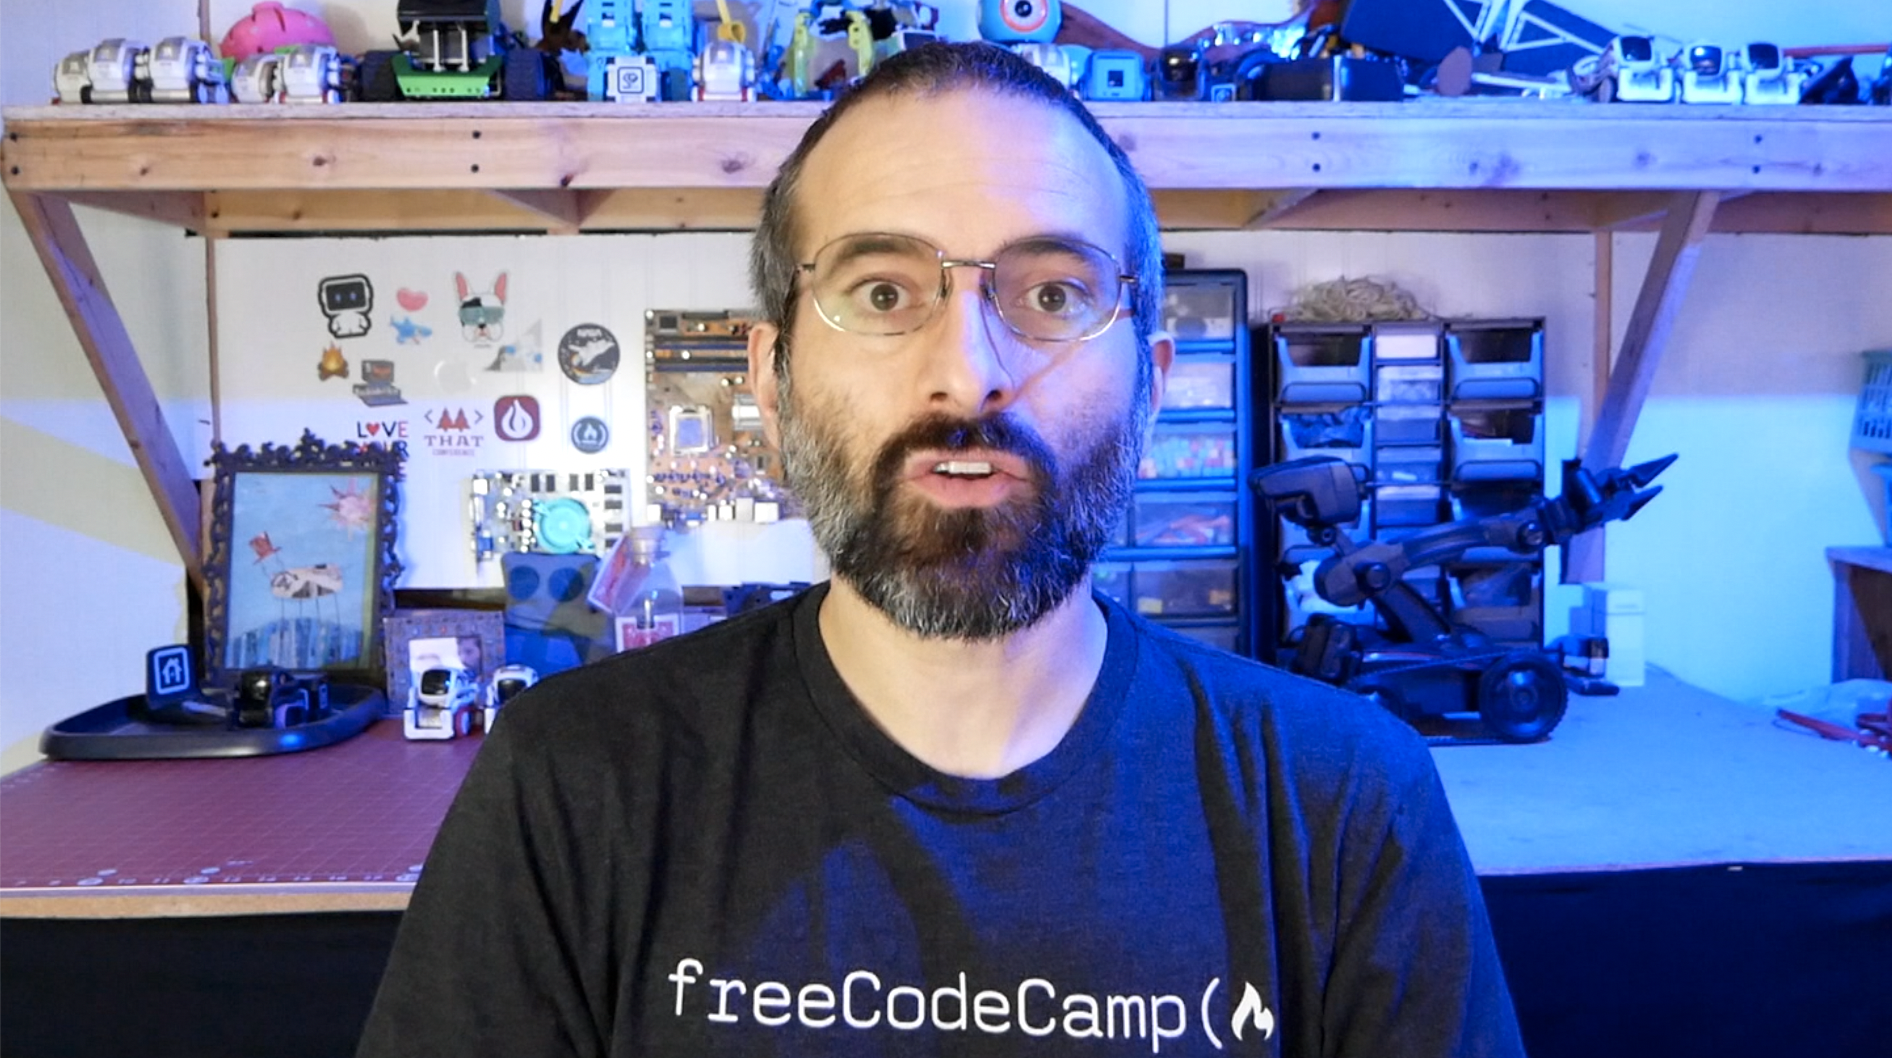
Course Video
While not required, it is often good to show yourself on camera, at least at the beginning and the end of the video.
When viewers can see who is teaching them, it helps them to connect with the teaching better.
Some people like to show themselves on screen for an entire tutorial. That is great!
Just between me and you, I'll let you in on the secret reason why I don't show myself on screen while I'm typing code: I make a lot of mistakes. I do a lot of editing to make it seem like I know what I'm doing. If I were on screen, there would be tons of jump cuts and people would realize how often I had to edit and how bad I really am at coding. 😜
If you are going to show yourself on camera, the cheapest way is to use your computer’s webcam or your cell phone camera. Many cell phones actually have pretty good video quality.
If you want to take it to the next level, consider one of these cameras:
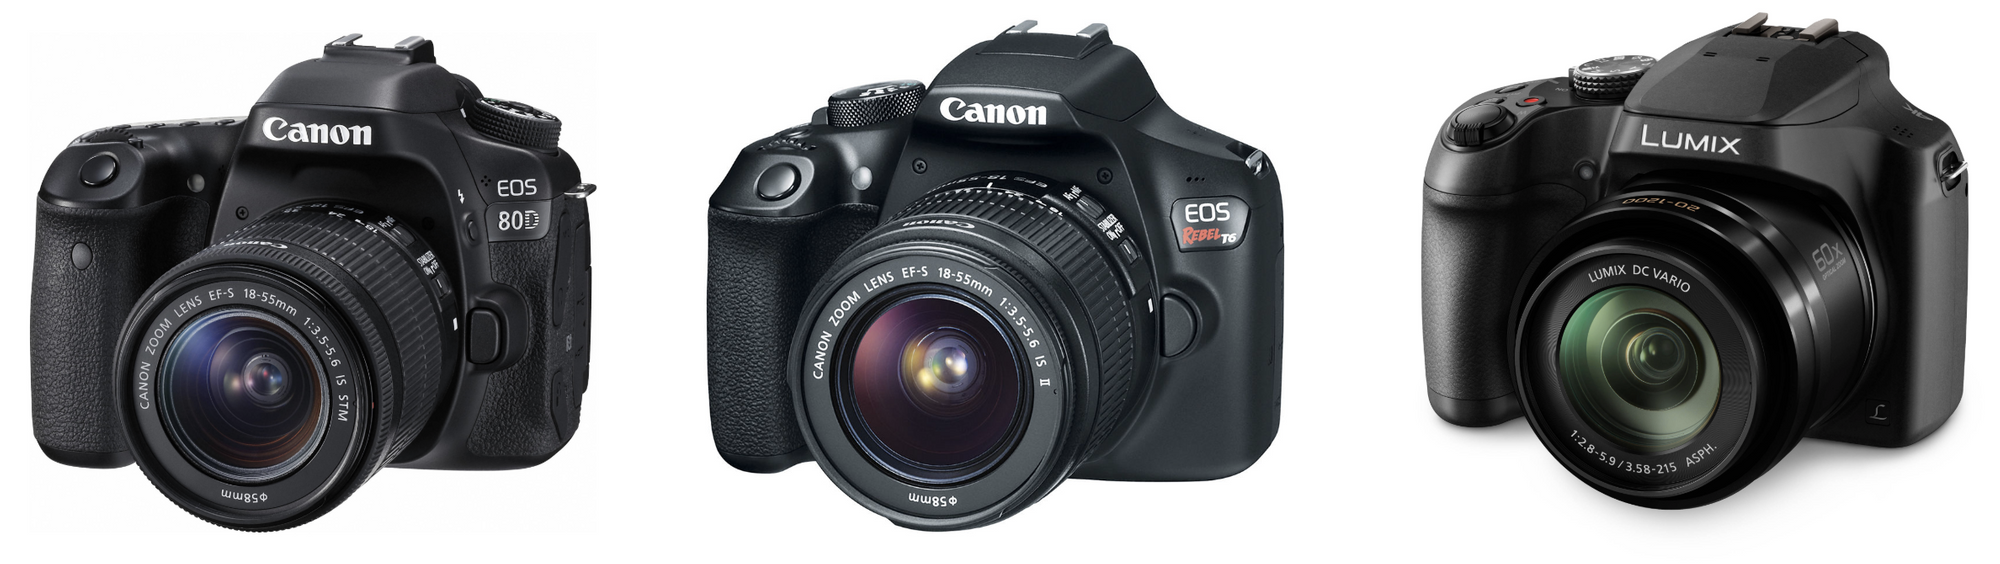 Cameras!
Before recording any video, think carefully about what is in the background of the shot. Make sure there is nothing in the shot that will distract the viewer.
Think about your video framing. In the video shot of you talking, there should be a little room above your head, but not too much.
 Video frame
Screen recording
If you are using Windows, there is a shortcut key to begin recording your screen. Just press Windows Key + Alt + R.
On macOS, you can record your screen using Quicktime which is already on your computer.
If you want to show video of your screen at the same time as video of you talking, you can set this up with the free OBS software.
Though I would recommend only using OBS for live video. It's better to record the screen and video of you talking separately. Then you can combine the videos in your editing software. This provides more flexibility.
When you are recording your screen, always make sure that the main content takes up as much room on the screen as possible. It may be hard to believe, but almost ⅓ of people watching coding tutorials watch on a mobile phone. All text should be as big as possible. You need a very good reason to show a window that is not full screen.
There is no hard rule for font size, but always think about whether a viewer will be able to read the text on a phone screen.
When recording a tutorial, it can be helpful to use two screens. You can record one of the screens for the video and use the other screen for your script and completed code.
Here is a secret some people use to make their coding tutorials sound even more polished. First, record the coding tutorial. Then, transcribe all your dialog and make minor edits in the transcription to improve the flow.
Finally, rerecord your dialog and add it to the original screen recording. It can be easier to be expressive and entertaining if you are not thinking about what comes next in the tutorial.
Here are some final tips for screen recording:
- Keep the cursor out of the window while recording a slideshow.
- Make sure that you have hidden all unnecessary clutter, such as taskbars, app icons, notifications, and the system clock.
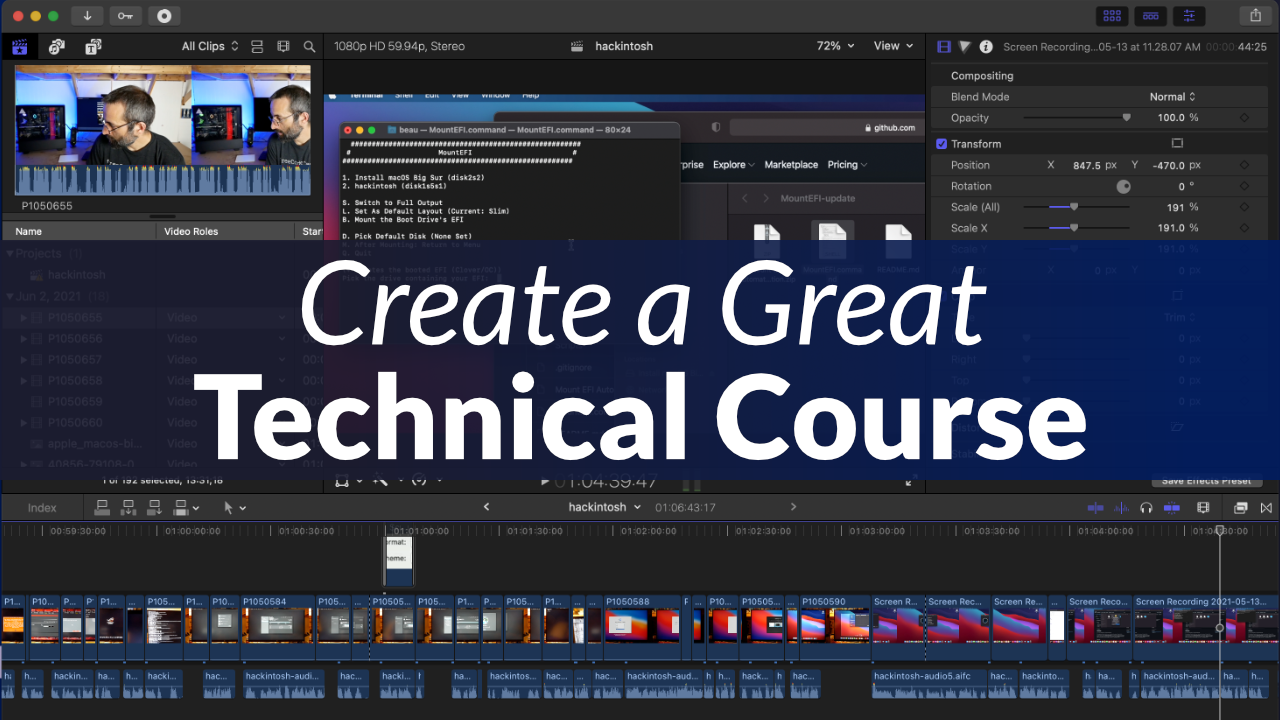
How to Edit a Technical YouTube Course
You should always edit your videos to make them flow smoother and to cut out mistakes.
Use editing to remove or reduce unwanted sounds like fans, coughing, and other noises that can be distracting to viewers. It is possible to remove constant humming and reverb using editing software or plugins.
For very simple editing you can use iMovie on Mac or Movie Maker on Windows. But these programs are very limited.
Two of the most popular editing software are Premier Pro and Final Cut Pro. Both of them will be able to do everything you need to do, but they can be expensive.
Here are a few other free options for video editing:
After you decide what software to use for editing, watch a few tutorials to learn the basic functionality of the software.
If at all possible, avoid jump cuts in editing. A jump cut is when a section is cut out of a continuous video so it is very obvious there is a cut.
Two common ways to avoid a jump cut are to:
- place an image or other video clip where the cut occurs,
- or zoom in after a cut so it looks like a cut was supposed to be there.
Other Miscellaneous Tips for Creating a Technical Course
- Make each course as stand-alone as possible, especially if it is a beginner's course. Show the full process from installing software and dependencies though completing the project. People can always skip ahead if they already know how to do something.
- A course should always include the voice of a real person. You should not use a computer generated voice or use music without dialog. If your English is very poor, consider creating your videos with your native language, or hiring a native English speaker to read a voice-over script that you write.
- Never use background music in a coding tutorial. It is often distracting. If people want to listen to music while watching your tutorial, they can turn on their own music.
- Be consistent with the use of either darkmode or lightmode. Darkmode is often preferred by viewers but switching between modes can sometimes be jarring.
- Do not mention your age in the course.
Excellent Examples of Technical Courses
Here are a few great courses that you can look at for inspiration.
Conclusion
Creating a great course takes more than just knowing technical details – it also takes practice. The more courses you create, the better you will become at creating them.
If you have a course that follows the guidelines in this article and you want to share it with the freeCodeCamp.org channel, send it to me. My email is beau [at] freecodecamp [dot] org.