
If you want to run any Java program on your Windows PC, you won't be able to do it without installing the Java Development Kit (JDK for short).
The JDK also contains the Java Runtime Environment (or JRE) which is the core of a Java program.
If you are a beginner trying to learn how to run Java programs in your Windows operating system, then you might face difficulties installing Java correctly on your computer. But fear not! I will cover everything you need to know to prepare your Windows computer fully for running Java programs.
I will be using Windows 11 in this article, but the same method is applicable for the other versions of the Windows operating system as well.
Download Java from Oracle
If you are wondering why we download Java from Oracle, then the following excerpt from Wikipedia will help:
Java is a set of computer software and specifications developed by James Gosling at Sun Microsystems, which was later acquired by the Oracle Corporation, that provides a system for developing application software and deploying it in a cross-platform computing environment.
We download the official JDK directly from the official website of Oracle. So, go to their website: https://www.oracle.com/.

You might get this type of prompt to remind you to go to the country closer to you so that you can get a better downloading speed. As I am from Bangladesh, so it is suggesting that I visit Oracle Bangladesh.
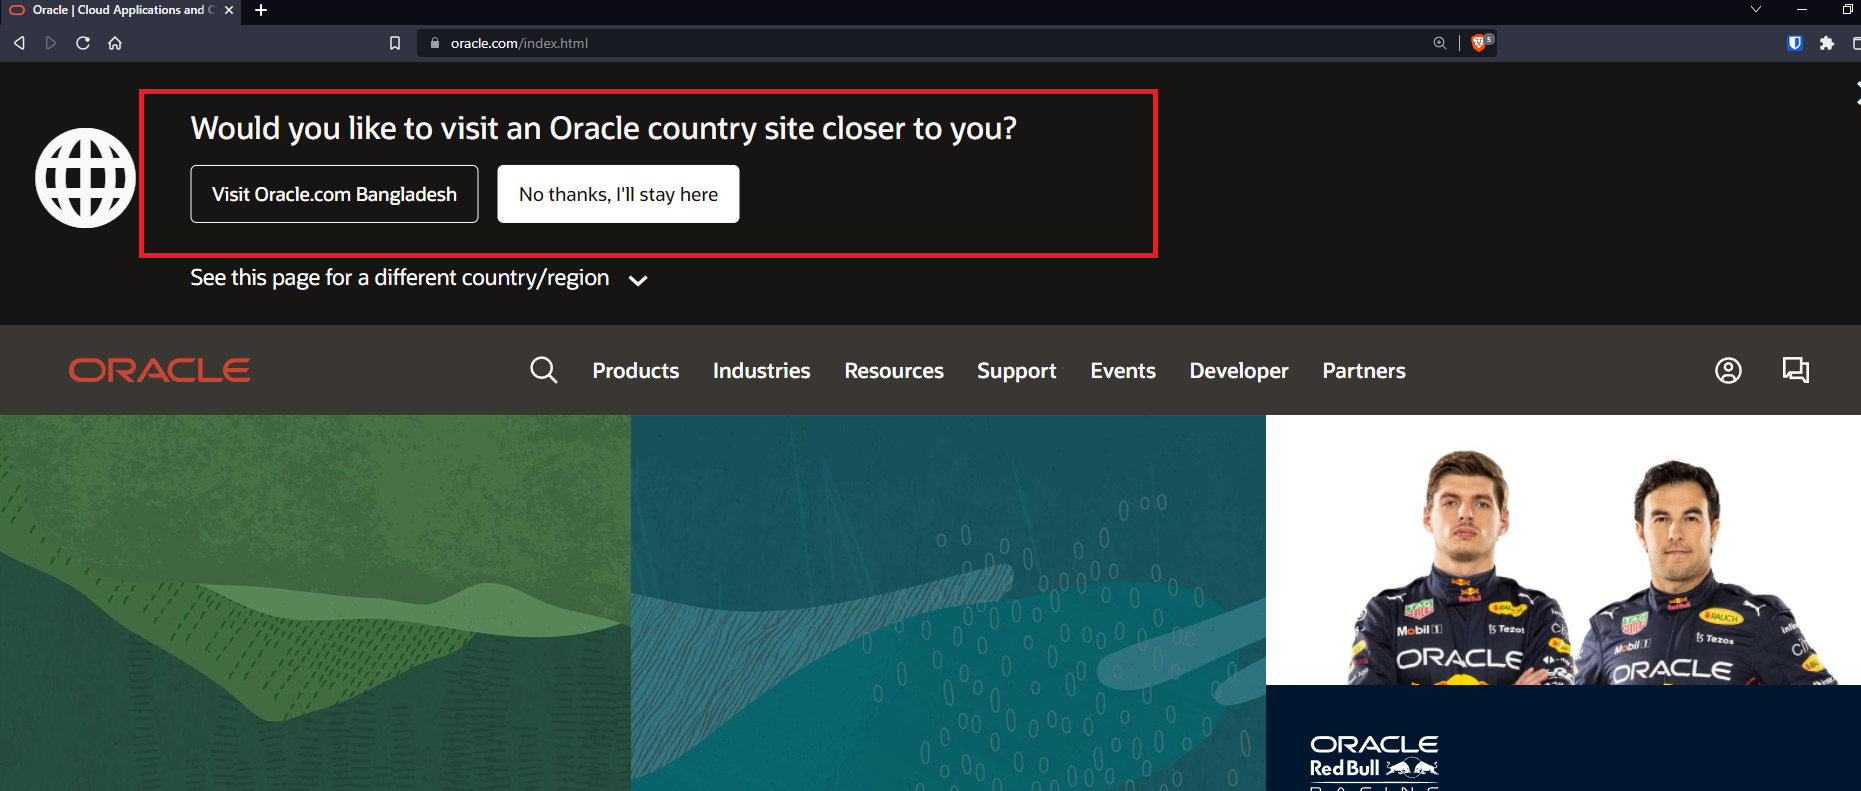
You can select the country closer to you to get a better download speed, but if you do not want that and just download from the global site instead, that's fine, too. You will get the exact installer file from there as well.
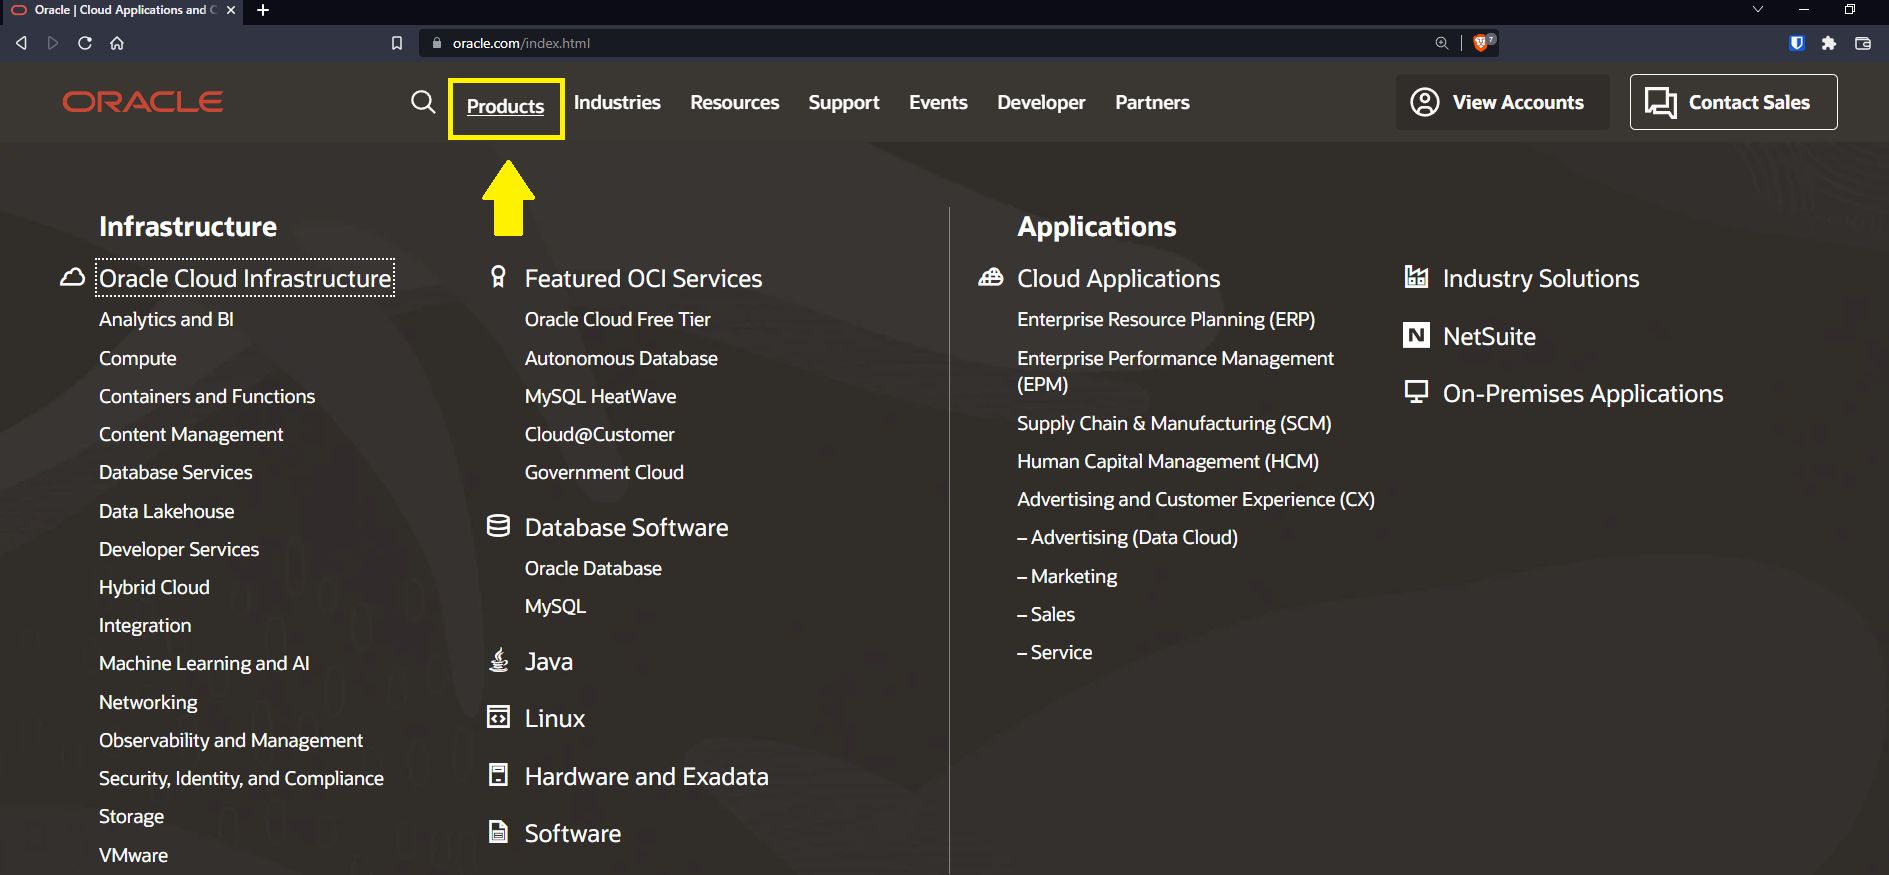
Then the website might reloaded itself.

Click on Products.
Then click Java.
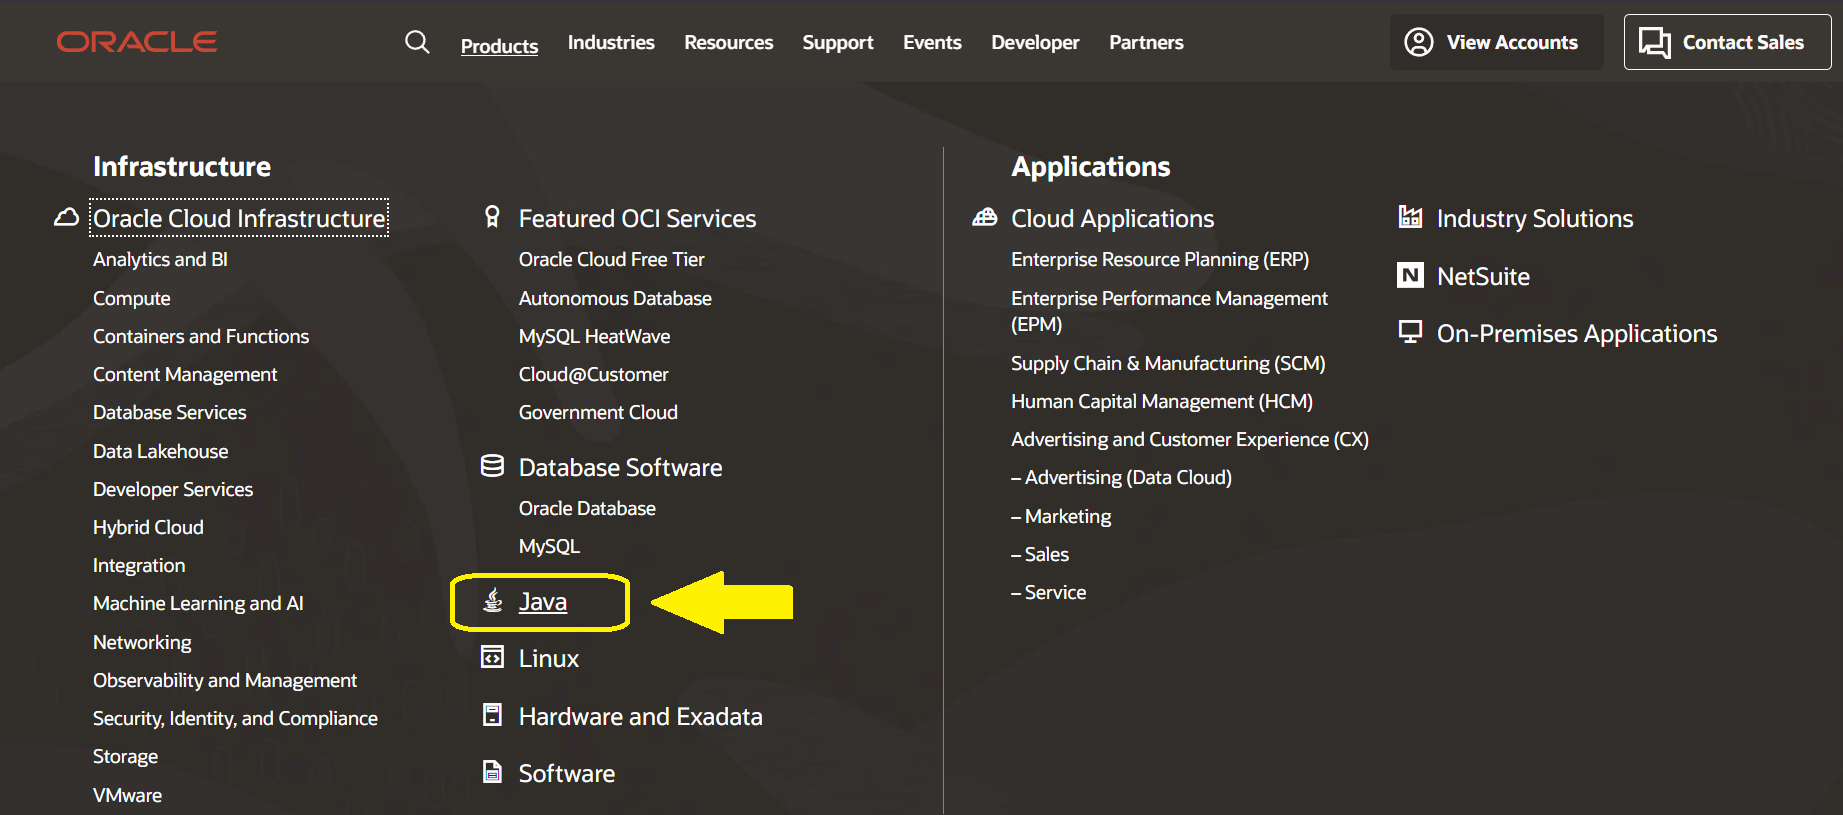
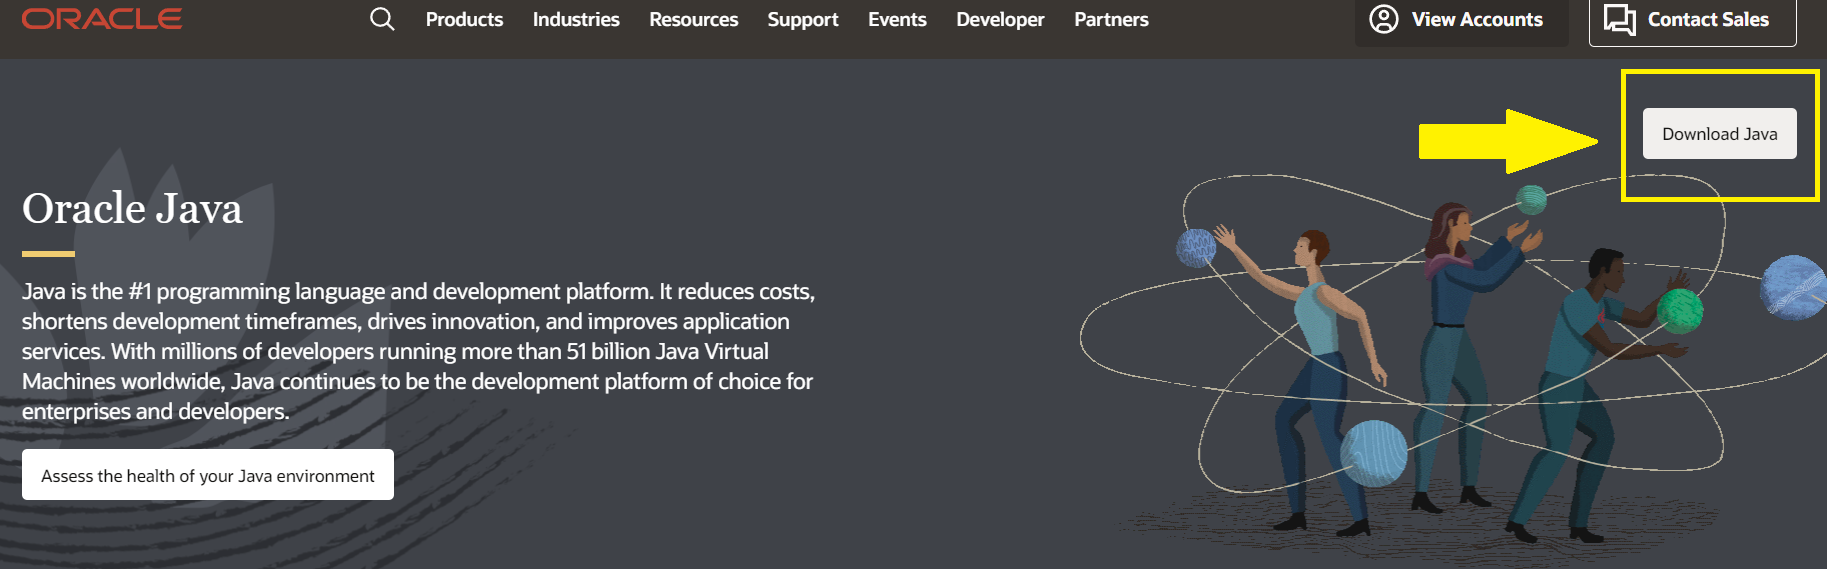
It will take us to the product page of Java.

Click Download Java.
Then you will get the download page.
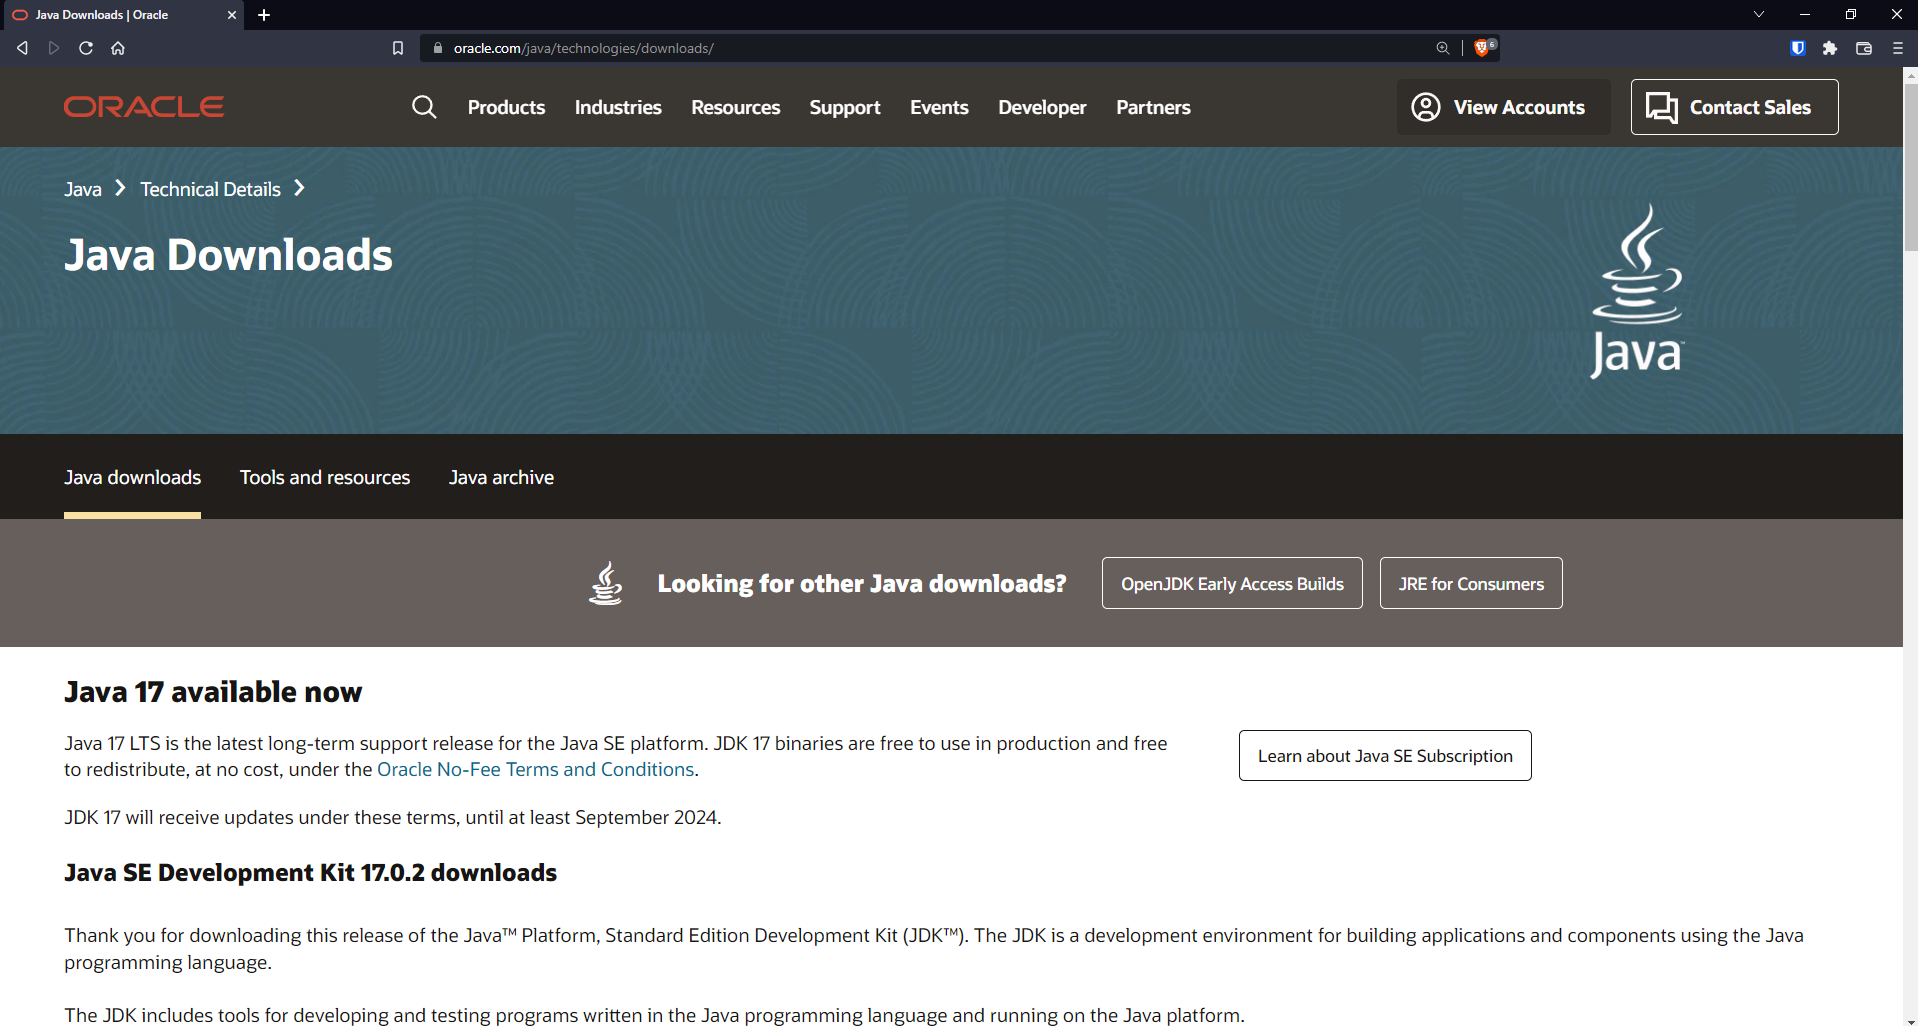
Simply scroll down a little until you get the OS (Operating System) selection tab.
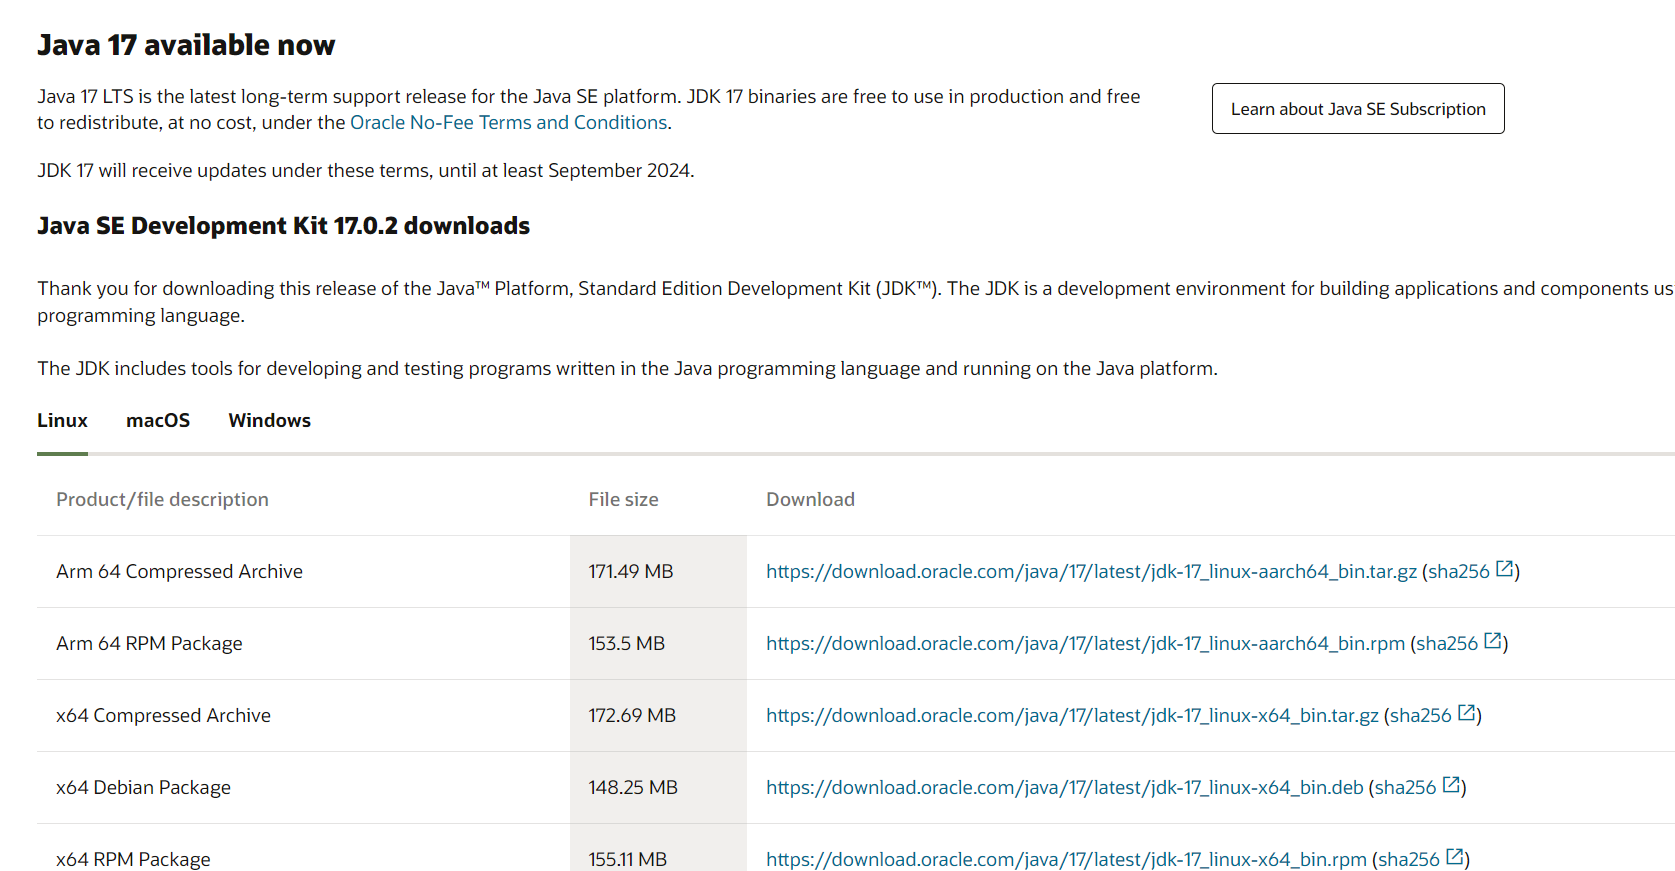
Since you want to install Java on your Windows computer, simply click Windows.

Then Click x64 Installer. You will get a prompt to download the installer file.
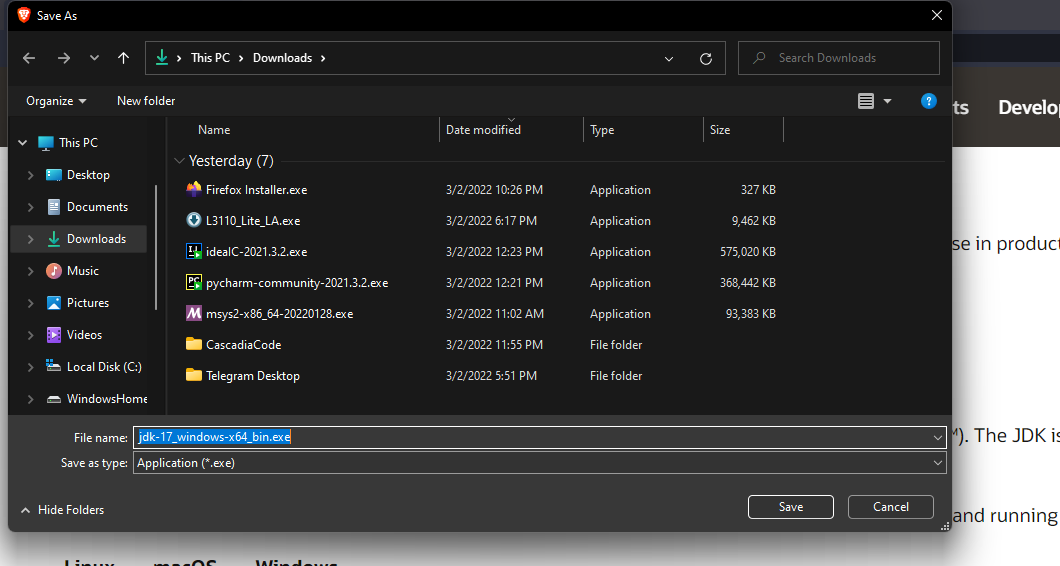
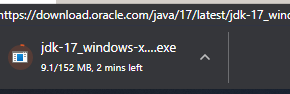
Download the executable file. You'll need to wait a little while for it to complete the downloading process.
How to Install Java
After downloading the file, you will get an executable file like below:
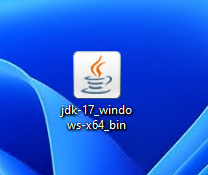
Simply double-click on that file. An installation wizard will appear.

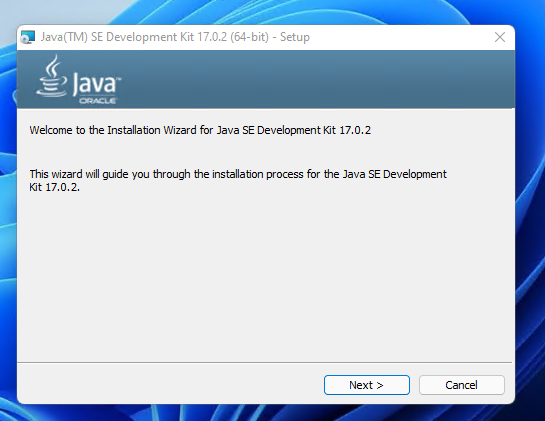
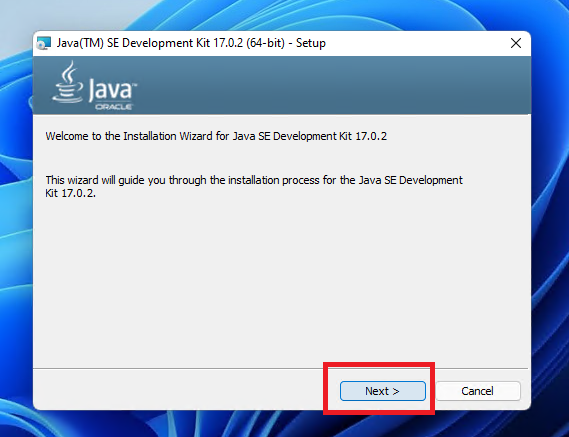
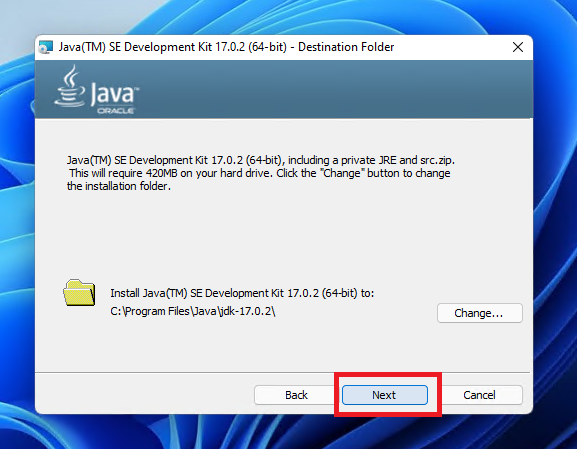
Click **Next>**.
We will use the default directory. So click **Next>**.
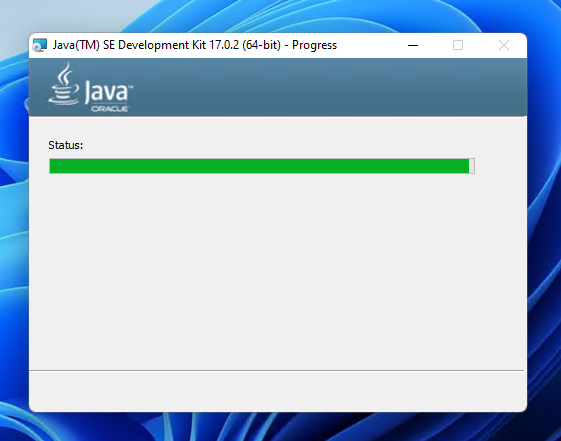
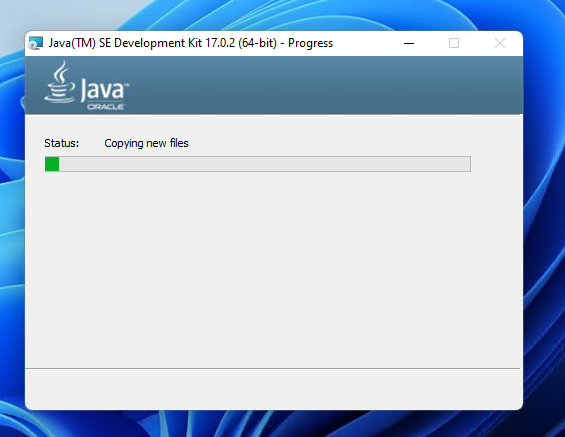
Finish the installation process.
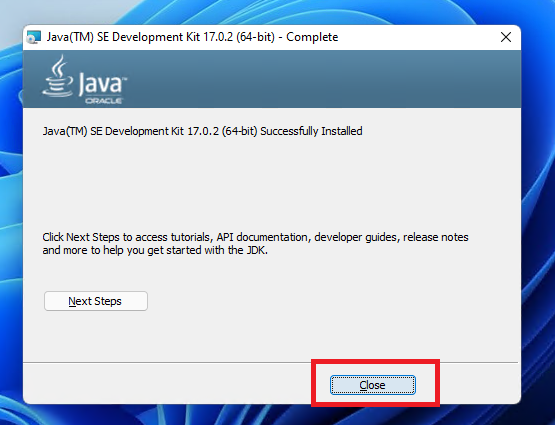
After finishing the installation, click Close to close the installation wizard.
How to Add the Directory to the Path of the Environment Variable
Open the file explorer.
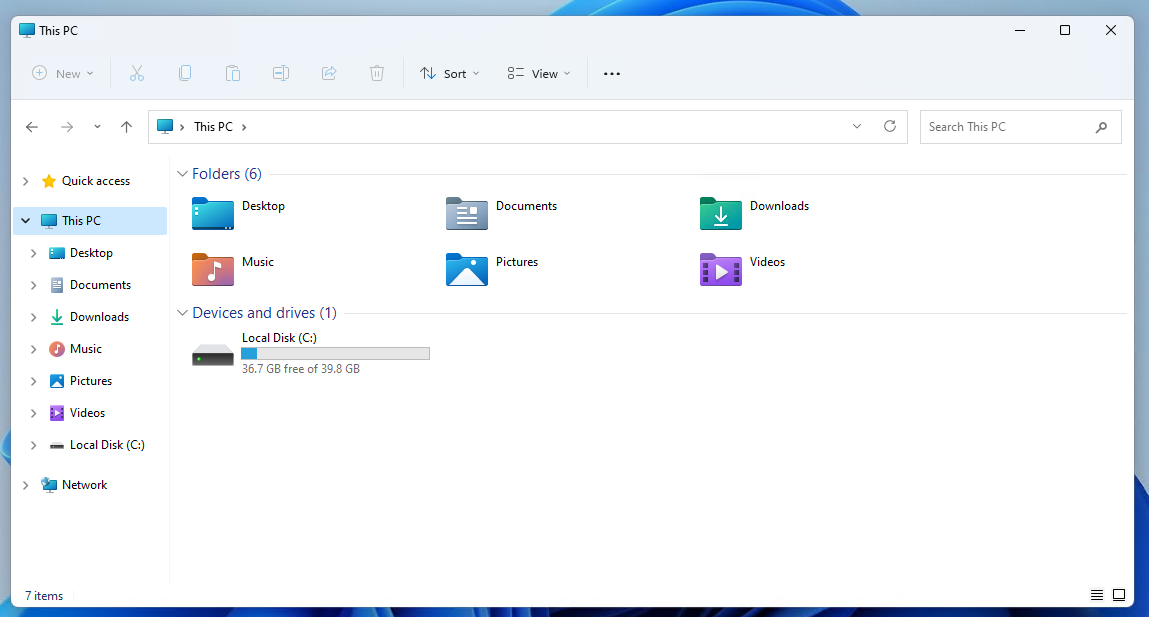
Go to the directory where you have installed the installer earlier. In this case, the default directory is always the C drive.
After going into the C drive, go into the Program Files folder.
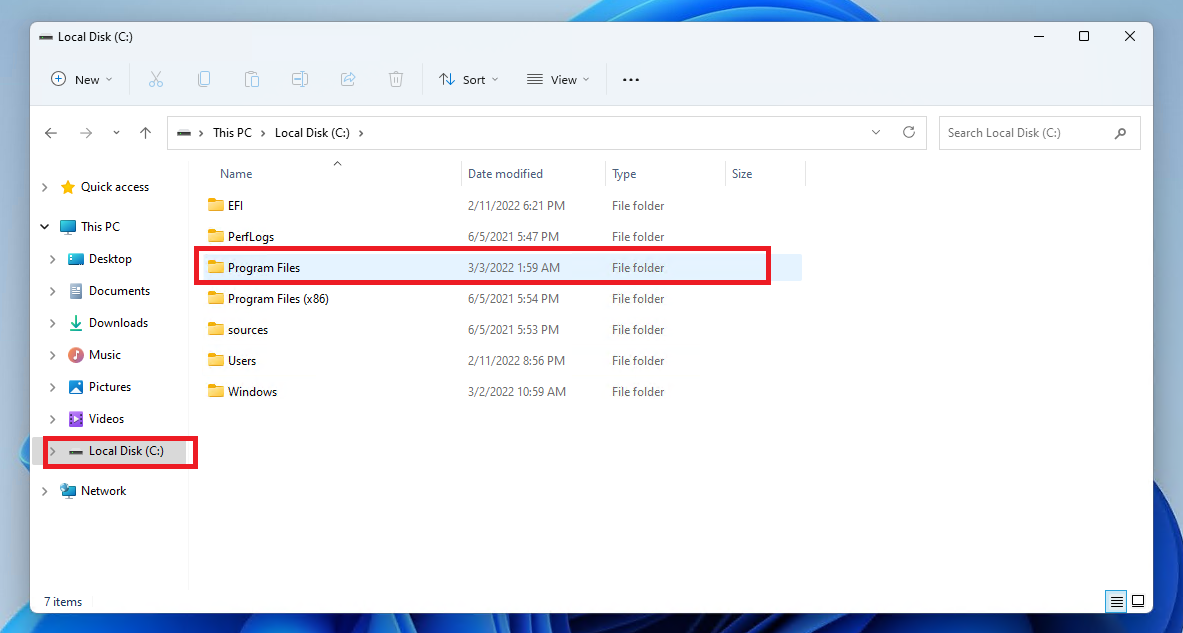
Go in to the Java folder.
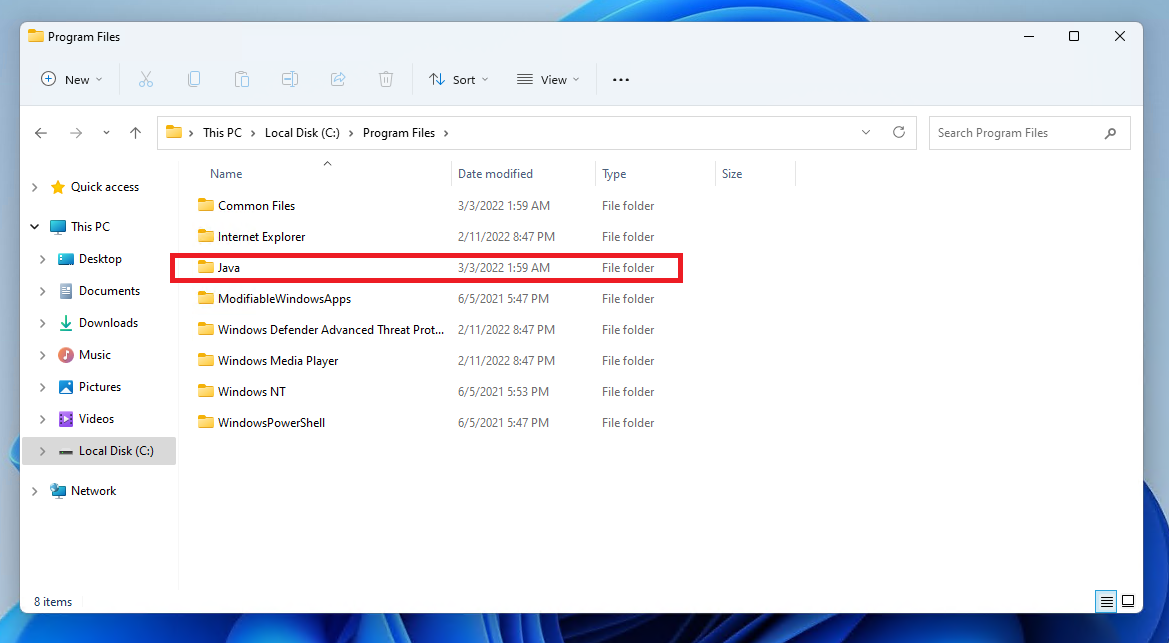
Go into the **jdk-17.0.2** folder. Here, **17.0.2** represents the JDK version. In your case, the version might be different as the JDK will get updated in the future, but the process is exactly the same.
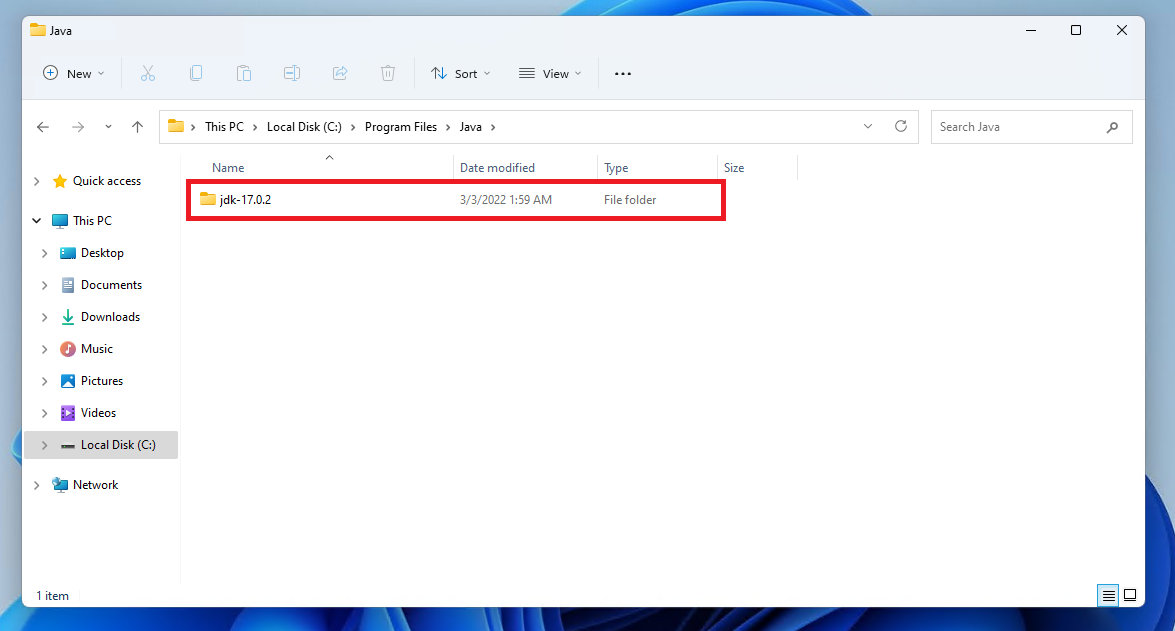
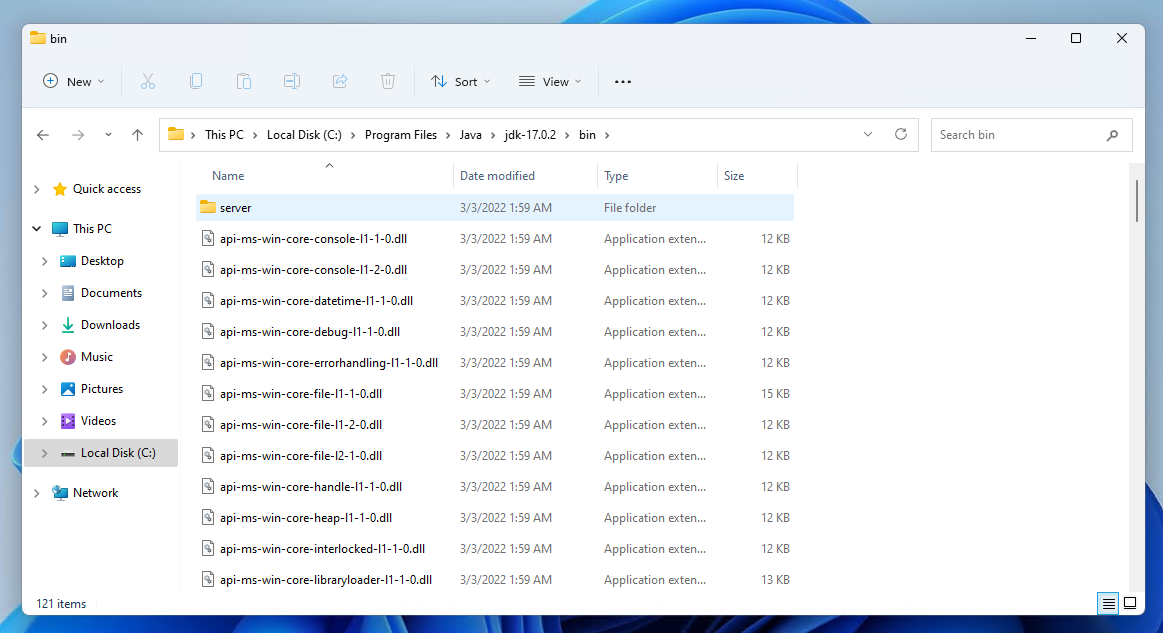
Go into the bin folder.
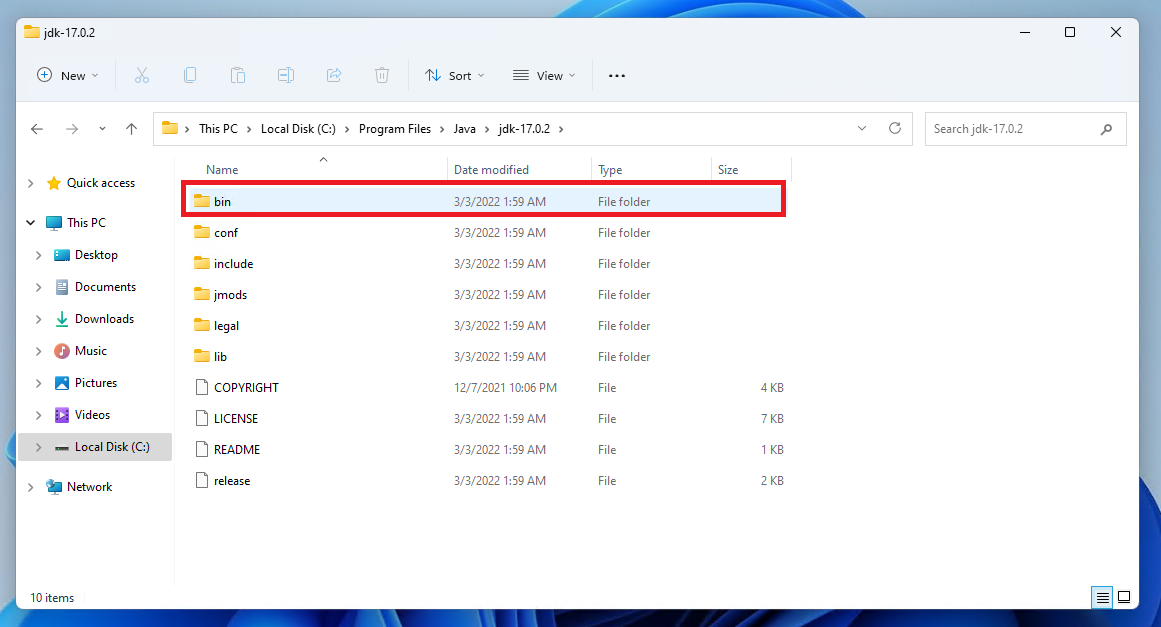
The binary files are kept here.
We need to copy the directory path (directory address) of this folder.
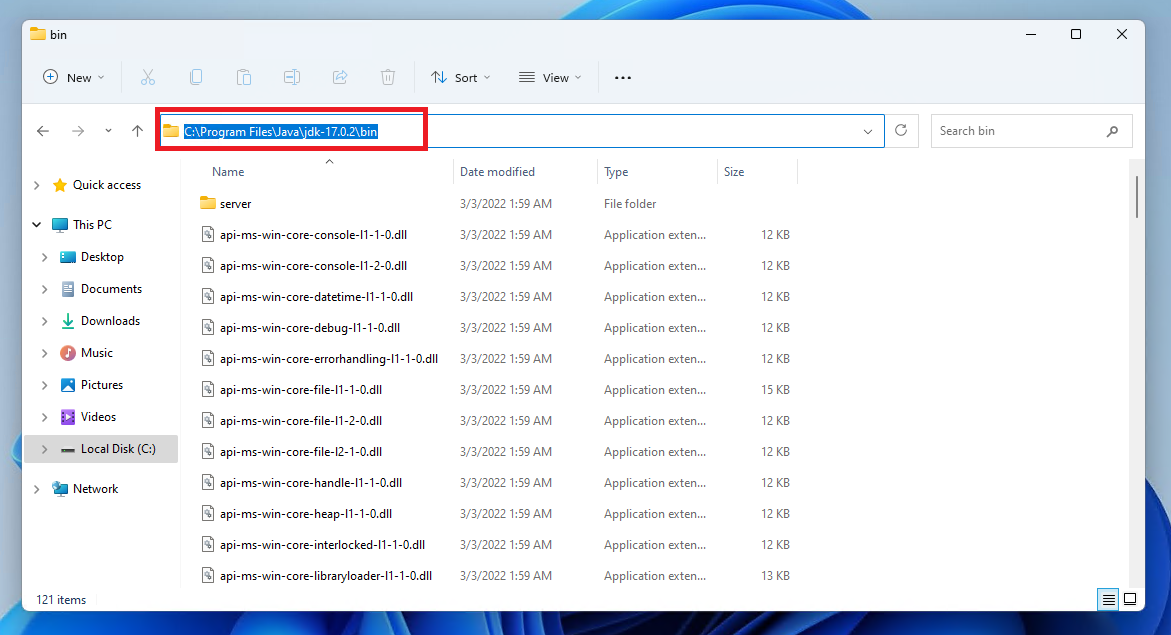
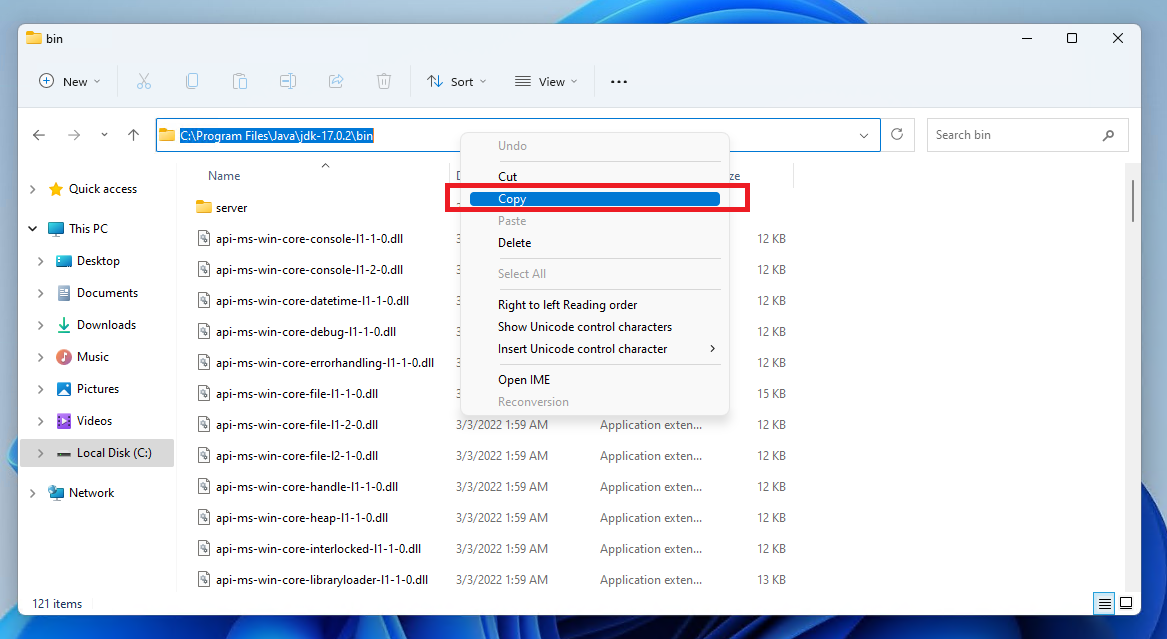
Simply copy the address using your mouse, or you can use the shortcut Ctrl + A for selecting all, and then use Ctrl + C for copying the directory.
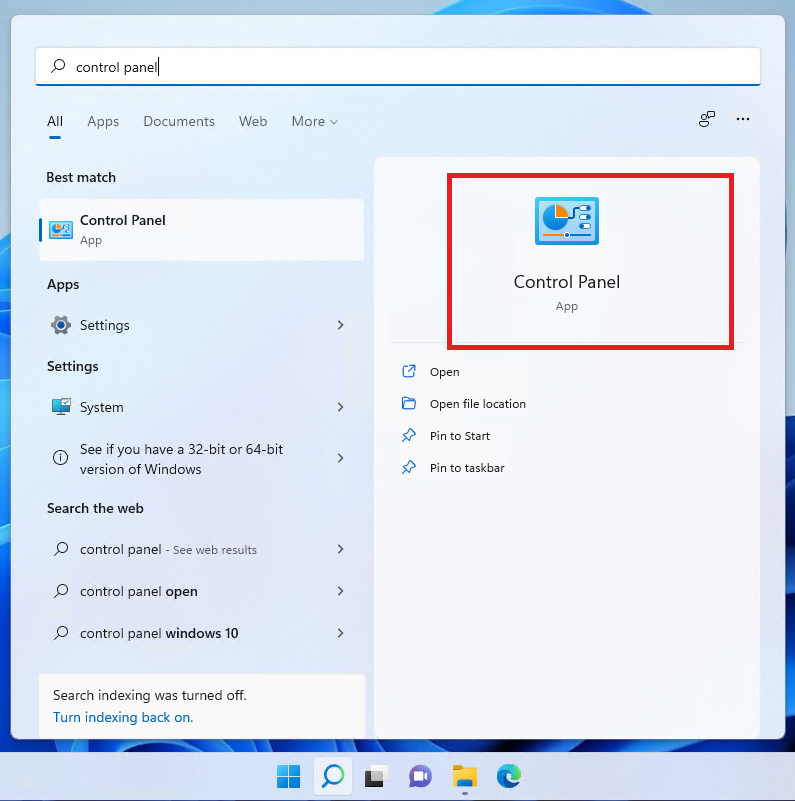
Go to the Control Panel.
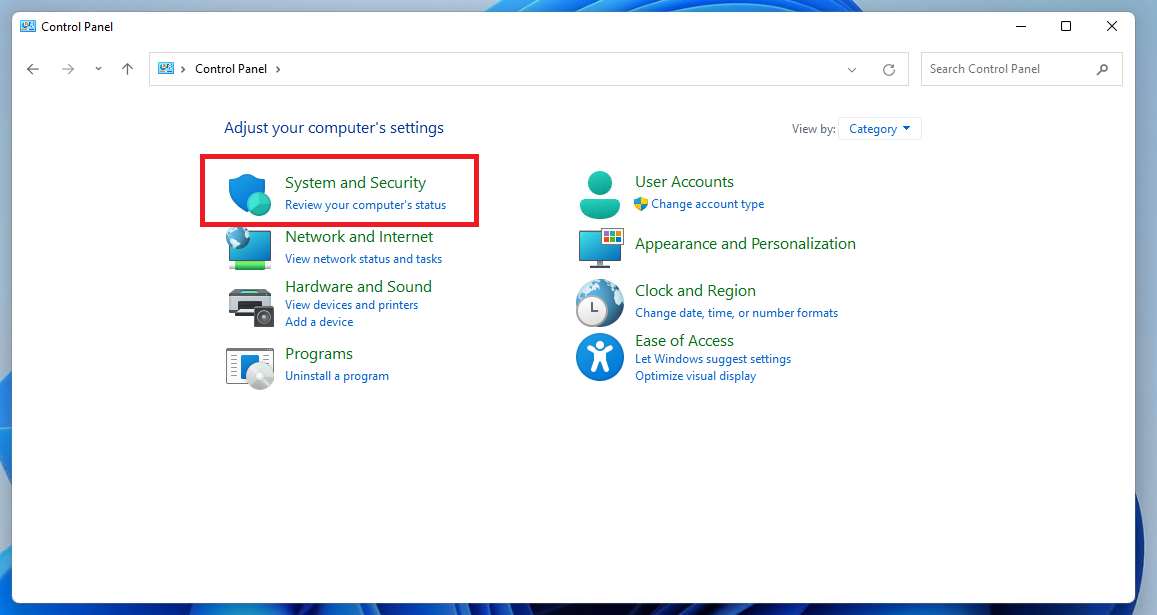
Go to System and Security.
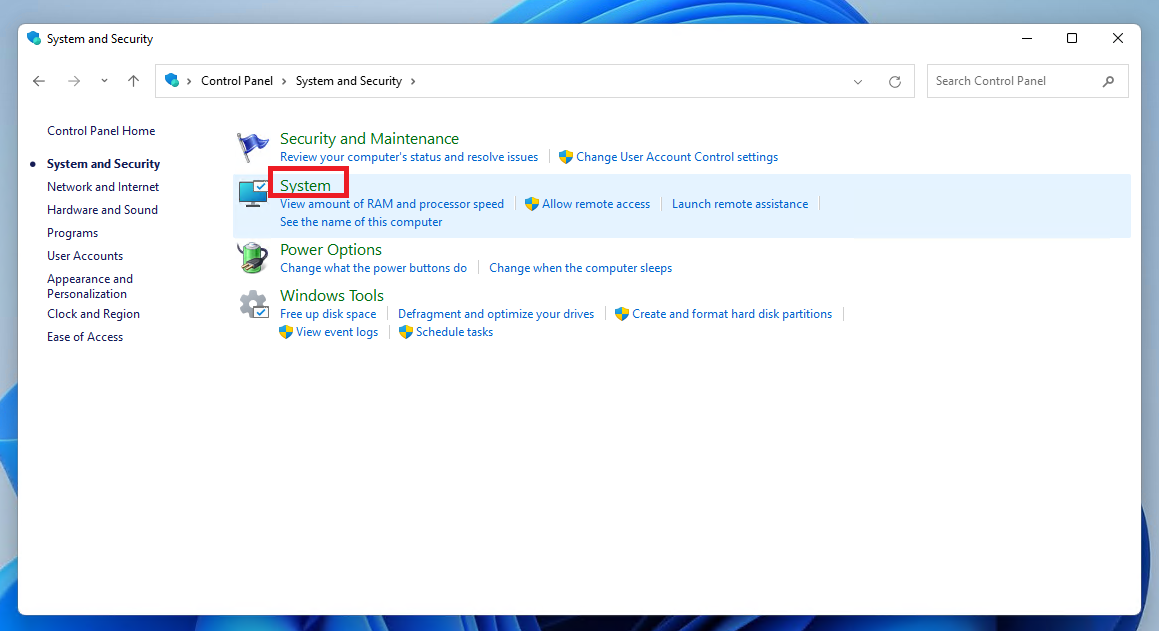
Click System.
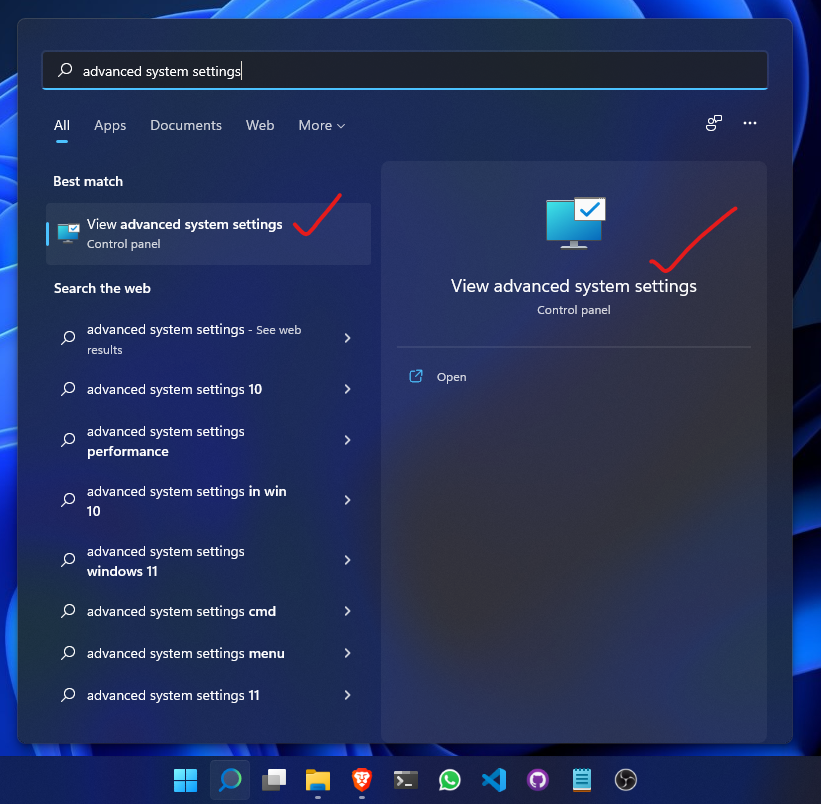
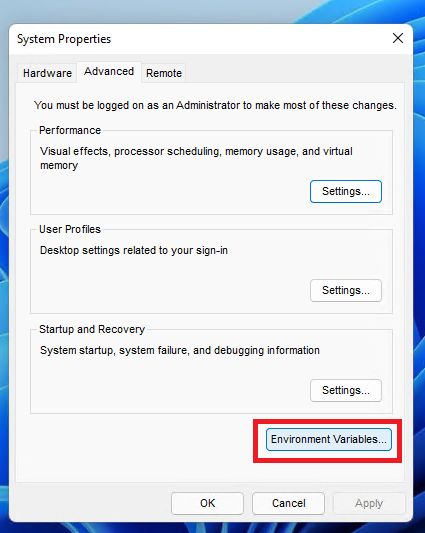
Click Advanced System Settings.

Alternatively, you can hop into the Advanced System Settings by simply searching that from your taskbar.
Click Environment Variables.
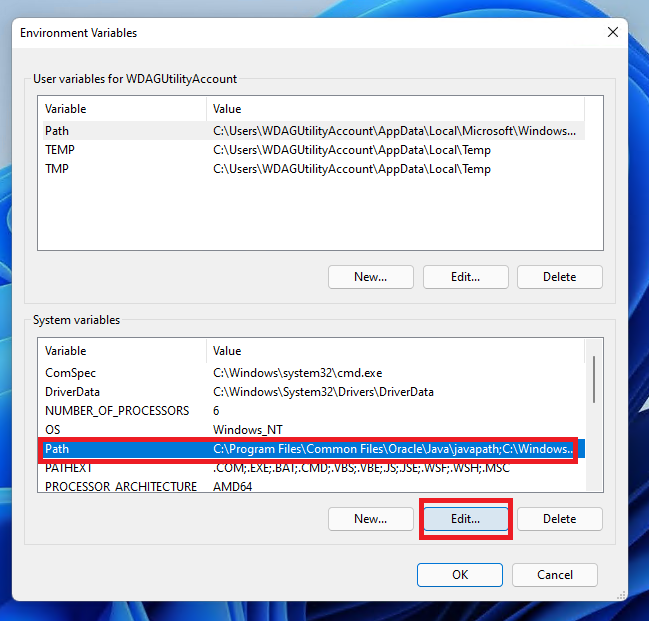
Select the Path and click Edit.
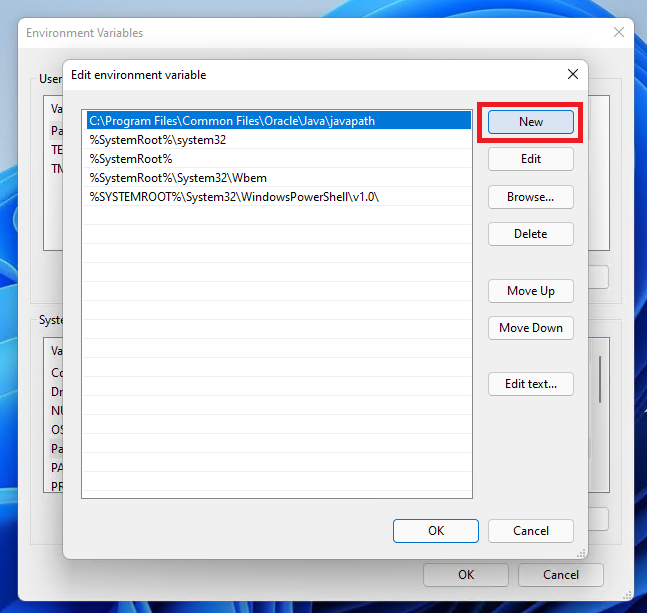
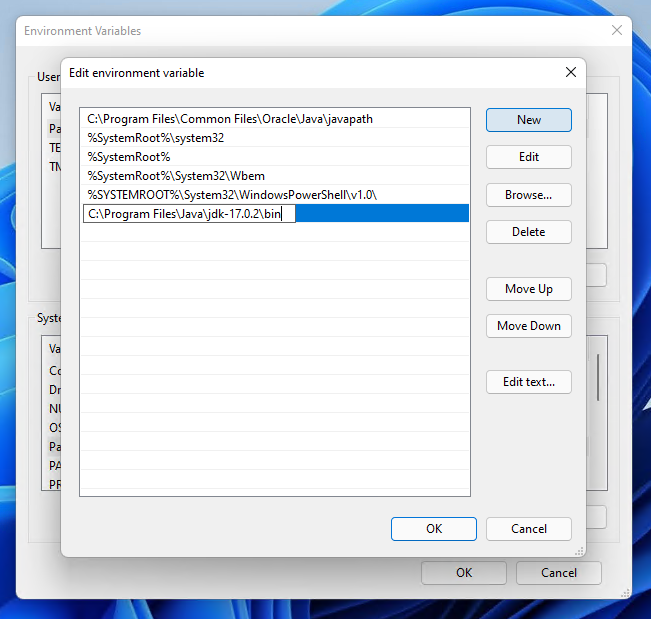
Click New.
A blank box will appear.
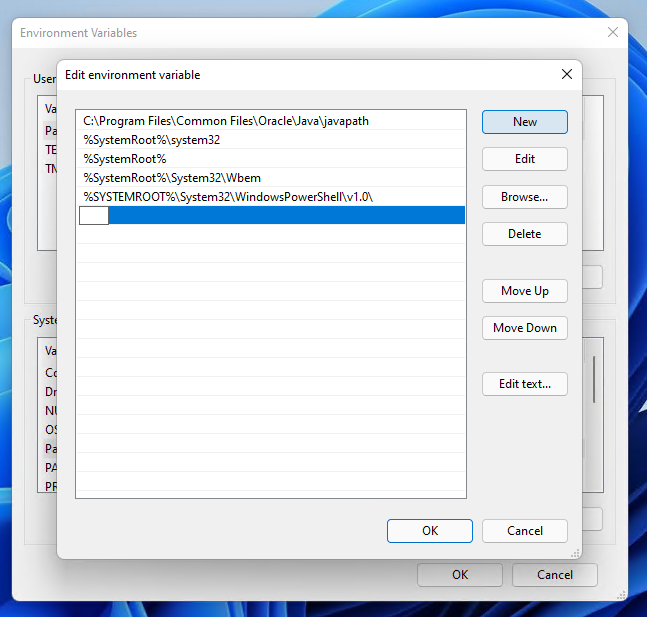
Paste the directory path.
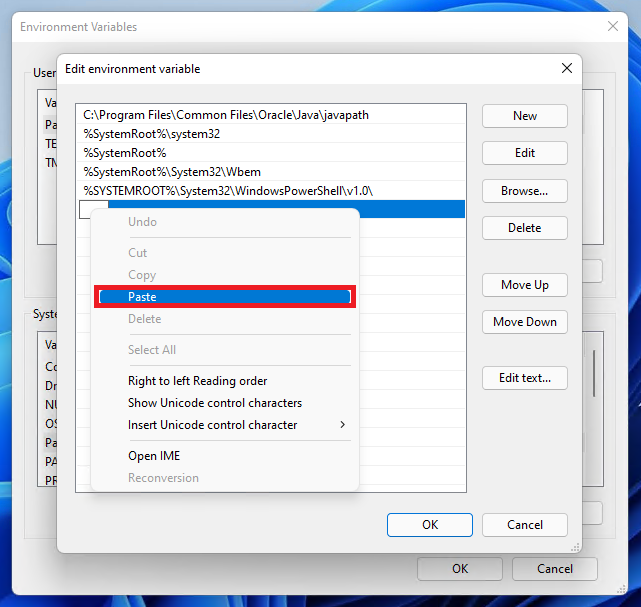
You can use the shortcut keys Ctrl + V for that as well.
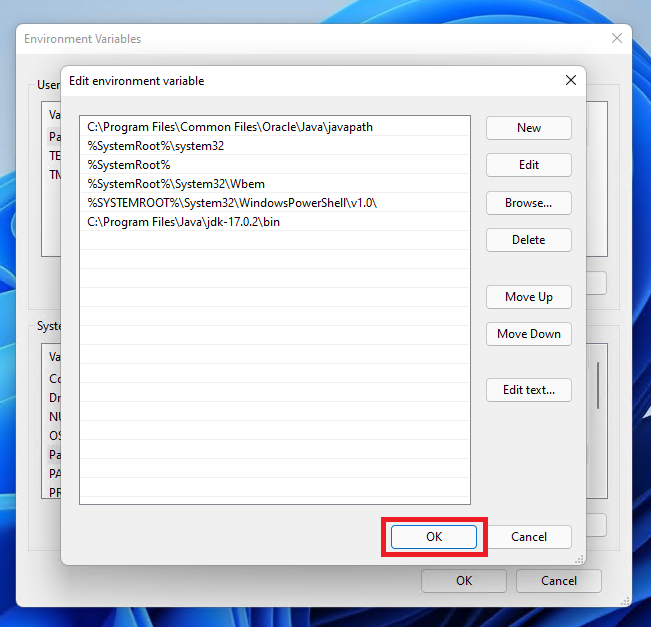
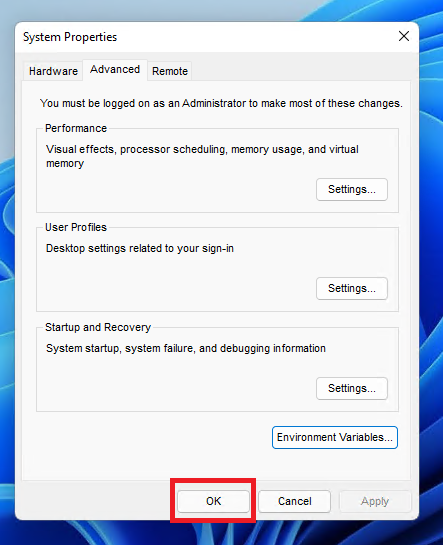
Click OK.
Click OK.
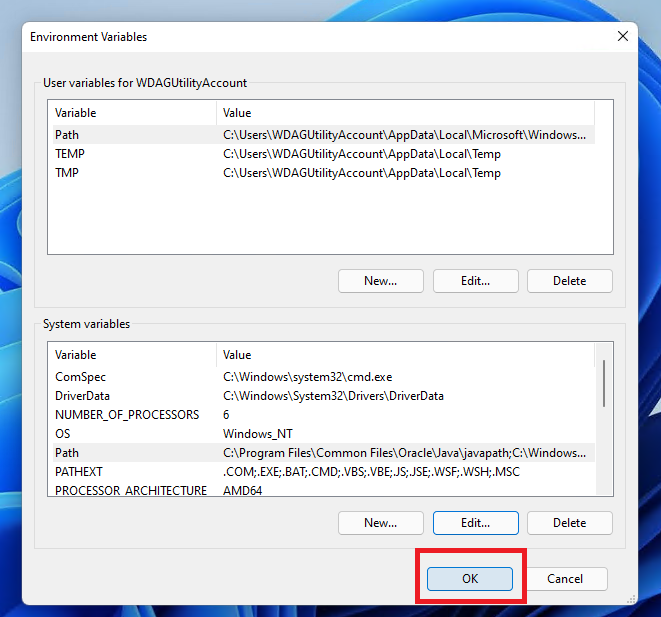
Click OK.
How to Check if Java Was Installed Successfully
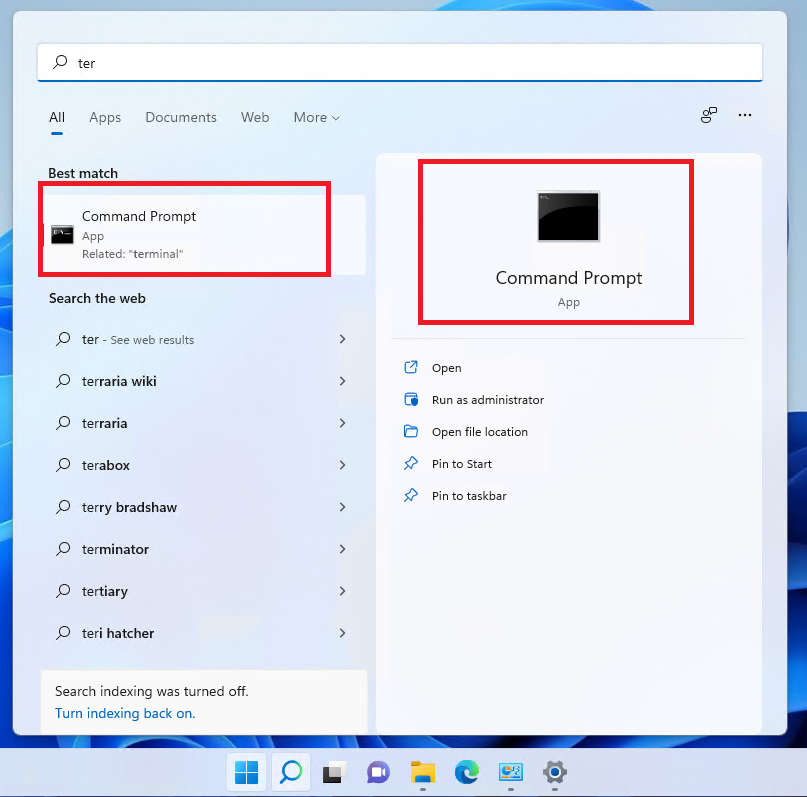
Open the terminal (CMD or PowerShell).
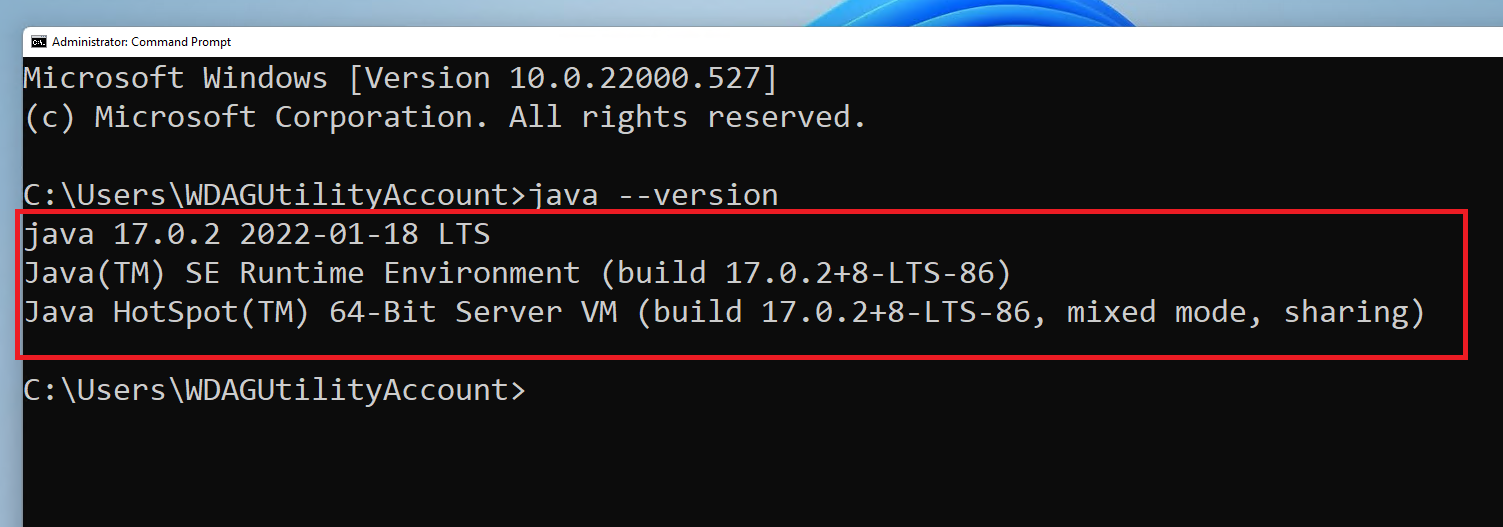
Check the Java version using java --version.

If it provides the version you have just installed, then you are good to go!
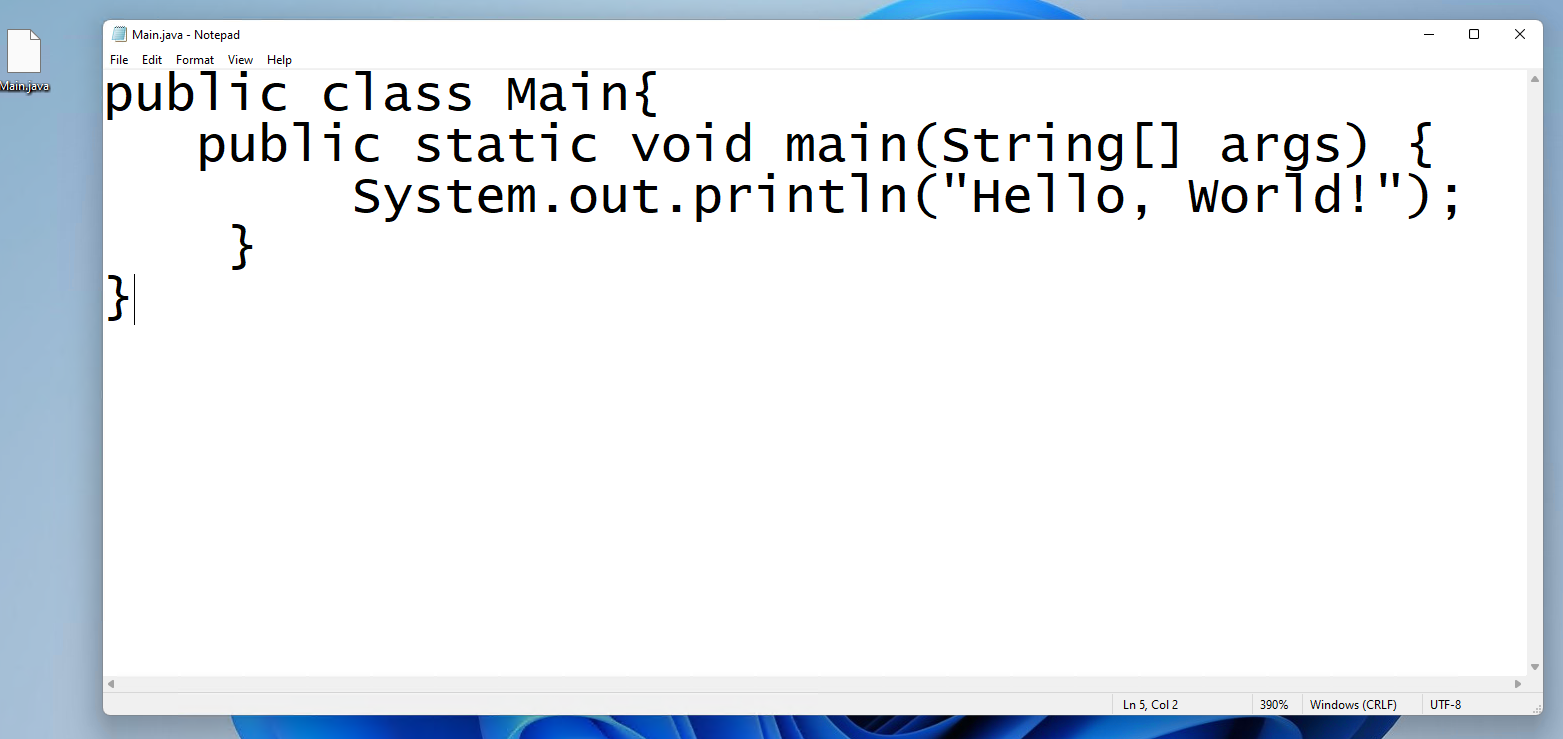
Alternatively, you can simply run some Java code to check whether it is working or not. For now, I will execute a simple Hello World code in Java. I used notepad for now, but you can use any text editor you want.
Compile your Java code using javac file_name_with_extension. Then run the class file using java file_name_without_extension.
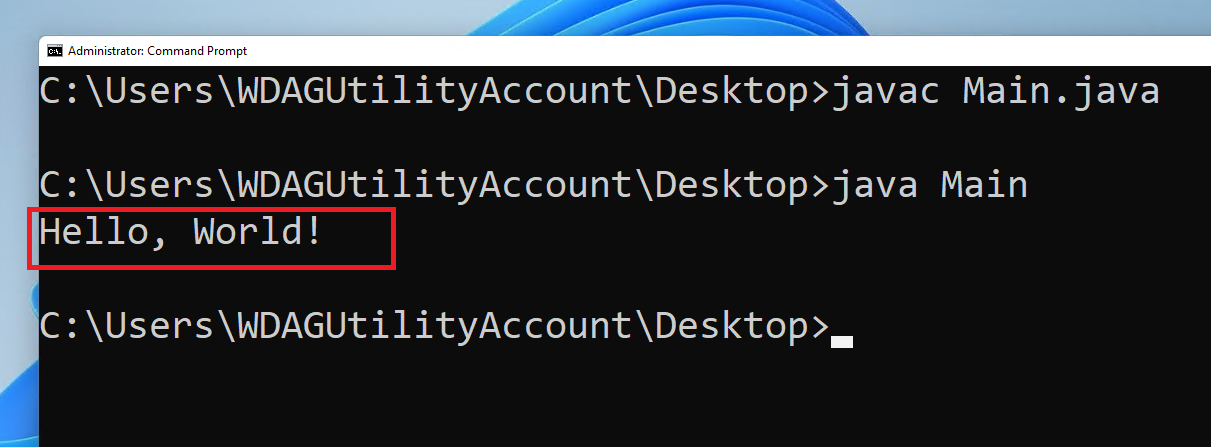
Wow! Everything is working perfectly. Your Windows machine is ready to execute any Java programs now.
I have also published a video on my English YouTube channel where I walk you through all of the processes mentioned above. You can also check that out here:
Conclusion
I hope this article helps you install Java on your Windows operating machine.
If you want to know how to install C and C++ compilers for your Windows operating system, then you can check this article.
If you want to know how to install Python on your windows, then you can check this article.
Thanks for reading the entire article. If it helps you then you can also check out other articles of mine at freeCodeCamp.
If you want to get in touch with me, then you can do so using Twitter, LinkedIn, and GitHub.
You can also SUBSCRIBE to my YouTube channel (Code With FahimFBA) if you want to learn various kinds of programming languages with a lot of practical examples regularly.
If you want to check out my highlights, then you can do so at my Polywork timeline.
You can also visit my website to learn more about me and what I'm working on.
Thanks a bunch!