By Waldek Mastykarz
If you're a web developer and you work with an organization that uses Microsoft 365, you probably use it to manage your meetings.
In this tutorial, you'll learn how you can build a simple personal assistant in under 10 minutes that'll show a Microsoft 365 user the meetings they have left for the day.
How to Build Apps for Microsoft 365
Previously I showed you how you can use your existing web development skills to tap into data and insights stored on Microsoft 365 and build apps for your organization.
In just 10 minutes, you can build a simple app that shows you the profile of the user signed in to your app with their Microsoft 365 account.
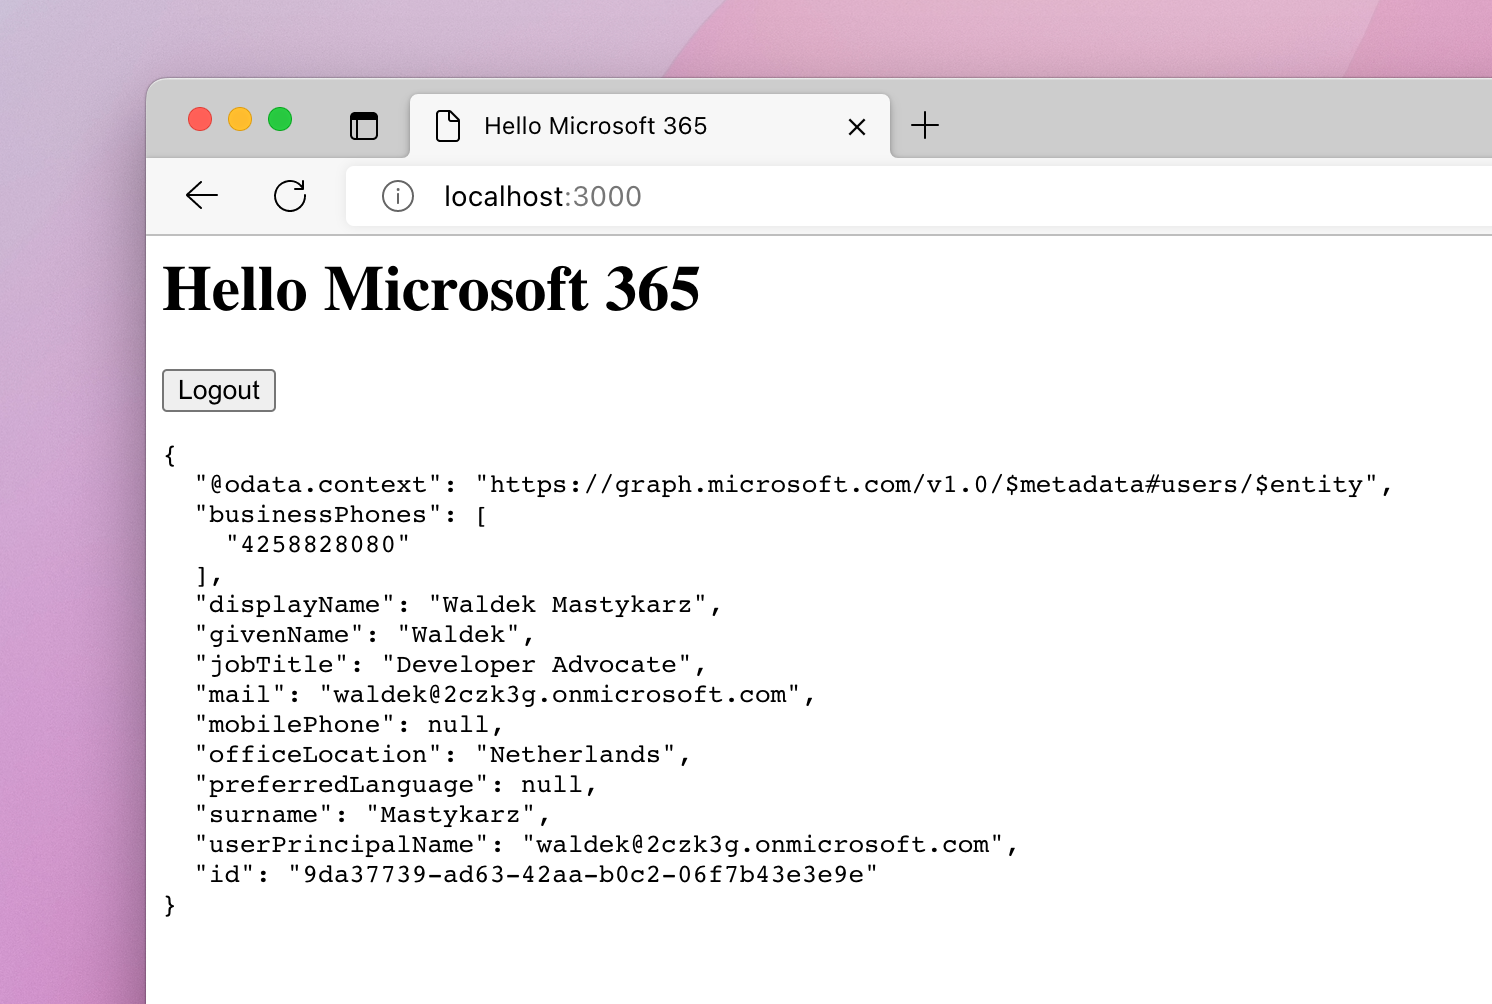 Simple Microsoft 365 application showing the profile of the current user
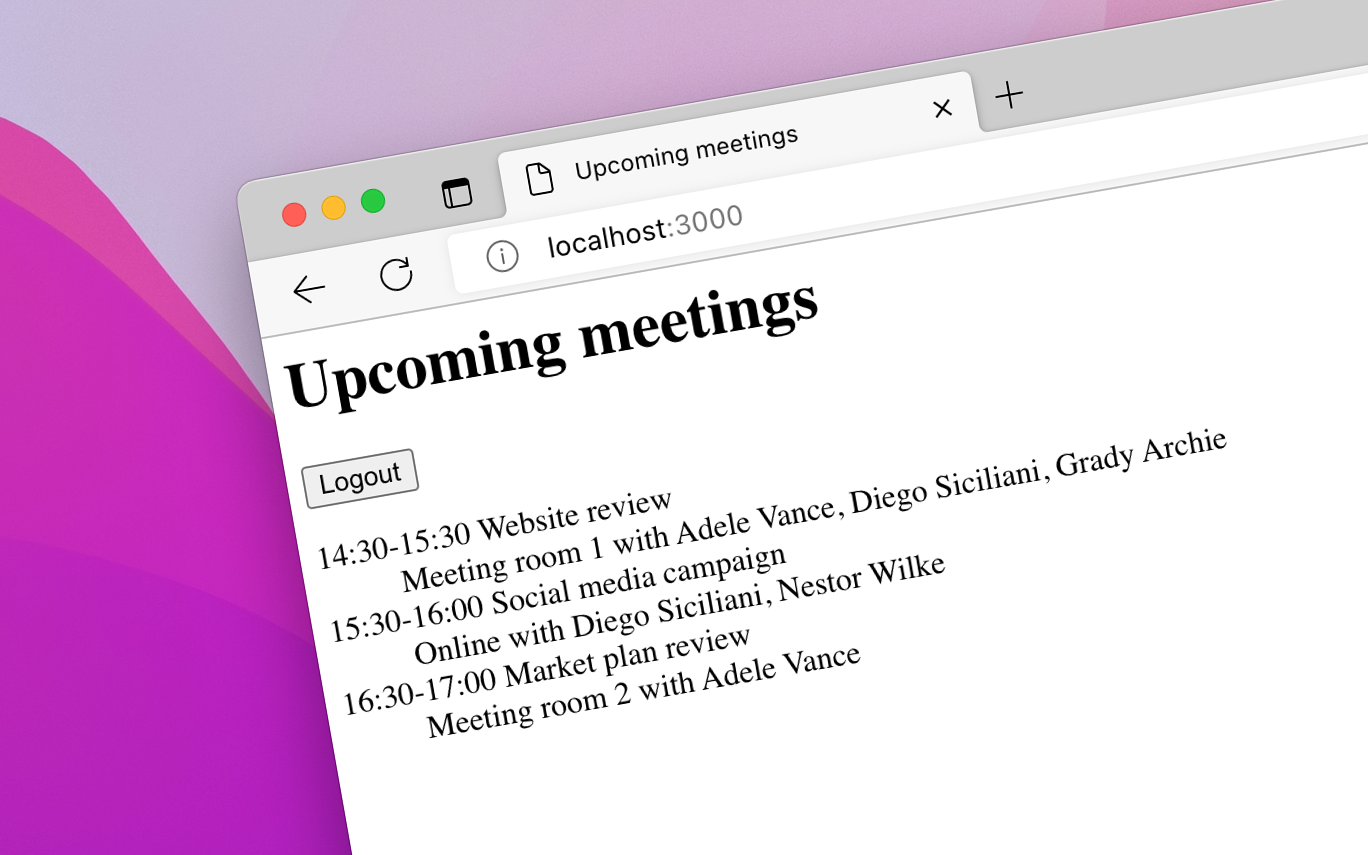
This time, I want to show you how you can build – in just 10 minutes – a simple personal assistant that shows upcoming meetings for the currently signed-in user.
 Custom app for Microsoft 365 showing list of upcoming meetings
What you'll need
- Node.js LTS (at the time of writing this article, it's 16.18.0)
- a Microsoft 365 developer tenant. You can get one for free from Microsoft 365 developer program, and it'll give you access to all Microsoft 365 APIs you need to build your apps, along with some demo data to get started
- 10 minutes of your time
How to Register Your Application on the Microsoft Cloud
Create a folder for your application, where you'll store all app files. Open a terminal and change the working directory to that folder.
In the terminal, run the following command:
npx -p @pnp/cli-microsoft365 -- m365 login --authType browser
In your web browser, sign in with your newly created Microsoft 365 developer account:
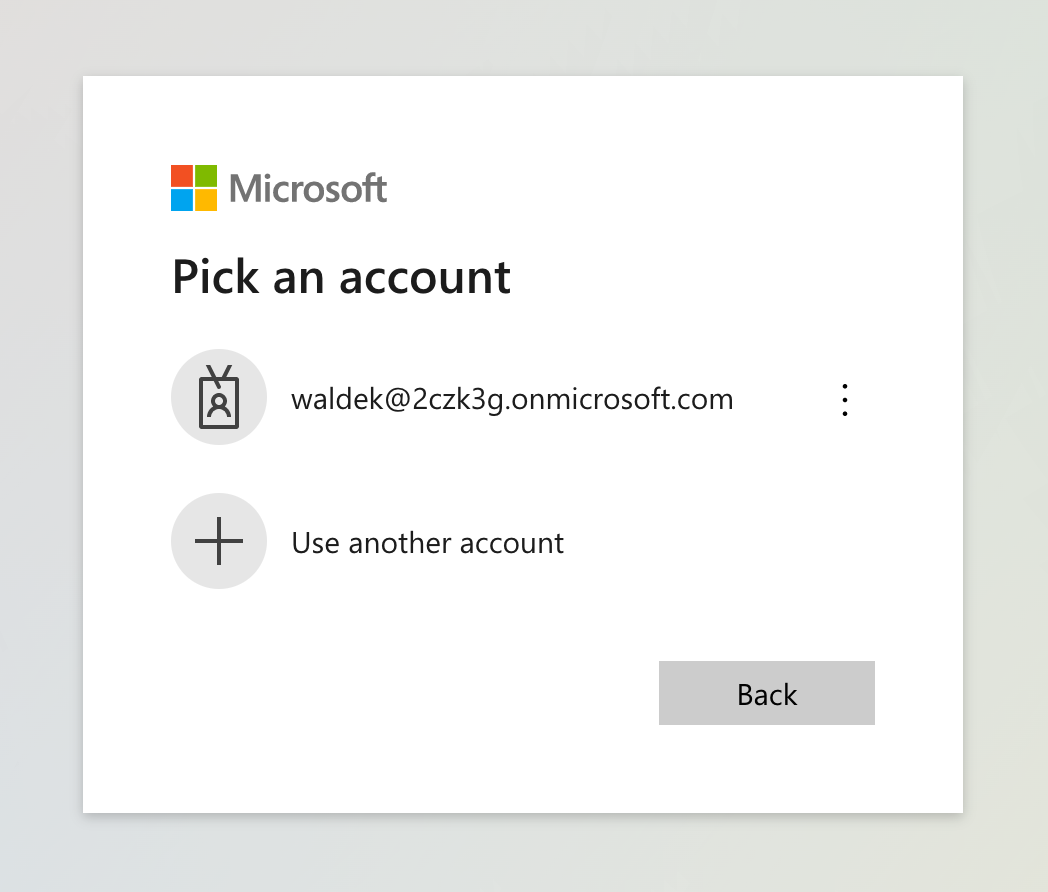 Sign into your Microsoft 365 developer account
Next, back in the terminal, run the following command:
appId=$(npx -p @pnp/cli-microsoft365 -- m365 aad app add --name "Upcoming Meetings" --multitenant --redirectUris "http://localhost,http://localhost/index.html" --platform spa --query "appId" -o text)
With these two commands, you've used the CLI for Microsoft 365 to sign in to Microsoft 365 and register your new app on the Microsoft Cloud.
Every app that integrates with Microsoft 365 must be registered and provide information such as the application's name and type (platform). For single-page apps, you also need to specify the application's URL, which is used to ensure that users are signing in to the right app.
Next, write the ID of the newly created app to a file that you'll reference in your app. In the terminal, run:
echo "const appId = '$appId';" > env.js
How to Create your App
Open your app folder in your code editor. Create a new file named index.html and paste the following code:
<html>
<head>
  <title>Upcoming meetings</title>
  <!-- TODO #1: add libraries -->
</head>
<body>
  <h1>Upcoming meetings</h1>
  <div id="auth"></div>
  <div id="upcomingMeetings"></div>
  <script>
    // TODO #2: add app code
  </script>
</body>
</html>
This code is a simple HTML page with two placeholders: one for the libraries that you'll use to build your app, and another for the app's code. It also contains a div where you'll show the login/logout button and another div where you'll show the list of upcoming meetings for today.
How to Add Libraries
Replace the TODO #1 comment with the following code:
  <script src="https://alcdn.msauth.net/browser/2.28.3/js/msal-browser.min.js"></script>
  <script src="https://cdn.jsdelivr.net/npm/@microsoft/microsoft-graph-client/lib/graph-js-sdk.js"></script>
  <script
    src="https://cdn.jsdelivr.net/npm/@microsoft/microsoft-graph-client/lib/graph-client-msalBrowserAuthProvider.js"></script>
  <script src="./env.js"></script>
To build this app you'll use a few libraries:
- MSAL.js which helps you handle signing users in with their Microsoft 365 account
- Microsoft Graph JavaScript SDK which simplifies calling Microsoft Graph – the API to access data and insights on Microsoft 365
- MSAL Browser Auth Provider which integrates MSAL.js with the Microsoft Graph JS SDK
- the previously created
env.jsfile with the ID of your app
Using these libraries will help you build your app faster, and you won't have to worry about the details of how to sign users in, get an access token, or properly handle API errors.
How to Sign Users In with Their Microsoft 365 Account
Replace the TODO #2 comment with the following code:
    (() => {
      // TODO #3: create MSAL client

      // TODO #5: handle login/logout

      // TODO #6: create Microsoft Graph client

      // TODO #7: get upcoming meetings from Microsoft 365 user's calendar

      function render() {
        // TODO #4: render UI
      }

      render();
    })();
This code is an immediately invoked function expression (IIFE) that encapsulates the app's code and runs when the app loads. It also contains several placeholders for the code that you'll write in the next steps.
Replace the TODO #3 comment with the following code:
      const scopes = ['Calendars.Read'];
      const msalConfig = {
        auth: {
          clientId: appId
        }
      };
      const msalClient = new msal.PublicClientApplication(msalConfig);
In this fragment, you're creating a new configuration object for the MSAL.js library which includes a reference to the ID of the app you created earlier. You also define a list of permissions (also known as scopes) that your app will have to request to be able to access information from the calendar of the currently signed-in user.
Next, you pass this object to the PublicClientApplication constructor to create a new instance of the MSAL client. You'll use this to sign users into your app with their Microsoft 365 account.
Right now, the app shows an empty page. Let's change that by replacing the TODO #4 comment with the following code:
        msalClient
          .handleRedirectPromise()
          .then(response => {
            const accounts = msalClient.getAllAccounts();

            if (accounts.length === 0) {
              document.querySelector('#auth').innerHTML = '<button>Login</button>';
              document.querySelector('#auth button').addEventListener('click', login);
              document.querySelector('#upcomingMeetings').innerHTML = '';
            }
            else {
              document.querySelector('#auth').innerHTML = '<button>Logout</button>';
              document.querySelector('#auth button').addEventListener('click', logout);
              // TODO #8: load upcoming meetings
            }
          });
When signing users in with their Microsoft 365 account, you'll redirect them to the Microsoft 365 sign-in page. When they sign in, they'll be redirected back to your app.
The handleRedirectPromise function will handle processing the information that Microsoft 365 sends to your app. When users come to your app and haven't signed in yet, the handleRedirectPromise function will resolve with a null response.
After handling the redirect, you check using MSAL if there are any users signed in to your app. If there are none (accounts.length === 0 ), you show the login button. If there are users signed in, you show the logout button. Later, you'll add the code to show upcoming meetings from the user's calendar.
Both the login and the logout button are missing their click handlers, so let's add them by replacing TODO #5 with the following code:
      function login(e) {
        e.preventDefault();
        msalClient.loginRedirect({
          scopes
        });
      }

      function logout(e) {
        e.preventDefault();
        msalClient.logoutRedirect();
      }
In both cases, you're using MSAL to sign users in and out by redirecting them to the Microsoft 365 login/logout page. In the login function, you also pass the same set of permissions so that users will be prompted only once to approve the same set of permissions when signing in to the app and loading its data.
At this stage, your app should let you sign in and out using your Microsoft 365 account. To verify that everything is working as intended, save your changes, and in the terminal run:
npx lite-server
In your web browser, navigate to http://localhost:3000 and sign in to your app. You should see the following screen:
 After signing in to your app
When you click the login button, you will be asked to sign in with your Microsoft 365 account. Then, when you click the logout button, you will be signed out from Microsoft 365 and the app.
This concludes the first part of building the app, and you're ready to start retrieving data from Microsoft 365 using Microsoft Graph.
How to Show Upcoming Meetings from Microsoft 365
Now that your app supports signing in and out with Microsoft 365 accounts, the next step is to add the code to retrieve information about upcoming meetings from the signed-in user's calendar.
How to Get a Microsoft Graph Client
Replace the TODO #6 comment with the following code:
      function getGraphClient(account) {
        const authProvider = new MSGraphAuthCodeMSALBrowserAuthProvider.AuthCodeMSALBrowserAuthenticationProvider(msalClient, {
          account,
          scopes,
          interactionType: msal.InteractionType.Redirect,
        });

        return MicrosoftGraph.Client.initWithMiddleware({ authProvider });
      }
This function takes as an argument the Microsoft 365 account that has been used to sign in to the app. It uses it to create a Microsoft Graph client that you'll use to call Microsoft Graph APIs and get data from Microsoft 365.
Also note that you're passing the same list of API permissions (scopes) that you defined earlier. This will let the graphClient get an access token for the Microsoft Graph API with access to calendar information.
How to Load Information about Upcoming Meetings
Next, let's replace the TODO #7 comment with the following code:
      function getTimeString(dateFromGraph) {
        const date = new Date(dateFromGraph + 'Z');
        const minutes = date.getMinutes();
        return `${date.getHours()}:${minutes < 10 ? '0' : ''}${minutes}`;
      }

      function loadUpcomingMeetings(graphClient) {
        // configure Microsoft Graph query to retrieve upcoming meetings for today
        const now = new Date();
        const midnight = new Date();
        midnight.setDate(midnight.getDate() + 1);
        midnight.setHours(0);
        midnight.setMinutes(0);
        midnight.setSeconds(0);
        midnight.setMilliseconds(0);

        graphClient
          .api(`/me/calendarview?startdatetime=${now.toISOString()}&enddatetime=${midnight.toISOString()}&$orderby=start/dateTime`)
          .get()
          .then(res => {
            if (res.value.length === 0) {
              document.querySelector('#upcomingMeetings').innerHTML = 'No more meetings for today';
            }
            else {
              const meetingsHtml = res.value.map(meeting => {
                return `<dt>
                  ${getTimeString(meeting.start.dateTime)}-${getTimeString(meeting.end.dateTime)} ${meeting.subject}
                </dt>
                <dd>
                  ${meeting.location.displayName} with ${meeting.attendees.map(attendee => attendee.emailAddress.name).join(', ')}
                </dd>`;
              });
              document.querySelector('#upcomingMeetings').innerHTML = `<dl>${meetingsHtml.join('')}</dl>`;
            }
          });
      }
The loadUpcomingMeetings function takes as an argument an instance of the Microsoft Graph client as returned by the Microsoft Graph JavaScript SDK and uses it to call the Microsoft Graph API.
How to Call the Microsoft Graph API
To get the list of upcoming meetings for today, you're calling the /me/calendarview Microsoft Graph API. This endpoint takes as arguments the start and end date and time and returns a view of the calendar.
Using this endpoint allows you to include occurrences of recurring meetings that users might have in their calendars. To retrieve upcoming meetings for today, you take the current time as the start date/time, and the coming midnight as the end date/time.
How to Process the Microsoft Graph API Response
After calling the API, you get back an array with objects that represent upcoming meetings for the current user. Each meeting contains information such as the meeting's subject, start and end time, location, and attendees.
If the returned array is empty, it means that there are no upcoming meetings. If it contains one or more items, you use the map function to turn meeting items into an HTML string with dt and dd, showing the meeting's subject, start and end time in a human-readable format, the meeting's location, and who are the attendees.
How to Format Events' Start and End Time
To format the date, you use the getTimeString function. It takes as an argument the date returned by Microsoft Graph.
The important thing to keep in mind here is that by default, Microsoft Graph API returns times and dates in the UTC timezone. Because the timezone information is stored separately, before parsing the date, you need to add the Z UTC timezone denominator to the date string.
The final piece is to tie it all together and call both functions after the user signs in to the app. Replace the TODO #8 comment with the following code:
              const graphClient = getGraphClient(accounts[0]);
              loadUpcomingMeetings(graphClient);
That's it! When you save your changes and go back to the browser, you'll see it automatically refreshed in the background, and you're prompted to grant the app access to your calendar information.
 Setting permissions on the app
After your grant access, by clicking the Accept button, you'll see information about your upcoming meetings displayed on the page.
 Information about upcoming meetings retrieved from the Microsoft 365 calendar
Summary
In this article, you learned how to use the Microsoft Graph SDK to connect to the Microsoft Graph API and retrieve information about upcoming meetings from the current user's calendar.
This is just one of many scenarios and types of apps that you can implement on Microsoft 365. For more information about the type of data and insights stored on Microsoft 365 that you can tap into, check out the Microsoft Graph API documentation.