
The beauty of Next.js and static web apps is that they let you run the project pretty much anywhere using object storage, like on AWS S3. But it can be a pain to manually update those files each time.
How can we use GitHub Actions to automate and continuously deploy our app to S3?
- What are GitHub Actions?
- What is Continuous Deployment?
- What are we going to build?
- Step 0: Setting up a new Next.js project on GitHub
- Step 1: Manually creating and deploying a Next.js project to a new S3 Bucket
- Step 2: Creating a new GitHub Action workflow to automatically build a Next.js project
- Step 3: Configuring a GitHub Action to deploy a static website to S3
What are GitHub Actions?
GitHub Actions is a free service from GitHub that allows us to automate code tasks.
I previously wrote about how we can use them to automate tasks like running tests on our code and sending notifications to Slack.
They provide a flexible way to automatically run code based on our existing workflows. This provides a lot of possibilities like even deploying our website!
What is AWS S3?
S3 (Simple Storage Service) is an object storage service from AWS. It allows you to store files in the cloud easily making them available around the world.
It also allows you to use these files as a website. Because we can upload an HTML file as an object, we can also configure S3 to access that file as an HTTP request. This means that we can host an entire website right in S3.
What is Continuous Deployment?
Continuous Deployment, often referred to by its acronym CD, is the practice of maintaining code in a releasable state and deploying that code automatically or in short cycles.
Particularly in our use case, we’re going to configure our project so that any time a new update is pushed or merged to the primary Git branch, our website will deploy.
What are we going to build?
We’re first going to bootstrap a simple Next.js app using the default Next.js starting template and configure it to compile to static files.
If you don’t want to create a Next.js project, you can follow along with even a simple HTML file and not run any of the build commands. But Next.js is a modern way to build dynamic web apps, so we’ll start there.
With our website files ready to go, we’ll create and configure an S3 bucket in AWS where we’ll host our website.
Finally, we’ll create a new GitHub Action workflow that will automatically update the website files in S3 any time a new change occurs on our primary branch (main).
Step 0: Setting up a new Next.js project on GitHub
We’re going to get started with the default template with Next.js.
After navigating to the directory you want to create your project in, run:
yarn create next-app my-static-website
# or
npx create-next-app my-static-website
Note: Feel free to replace my-static-website with the name of your choice. We’ll use that for the rest of this tutorial.
If you navigate to that directory and run the development command, you should be able to successfully start up your development server.
cd my-static-website
yarn dev
# or
npm run dev
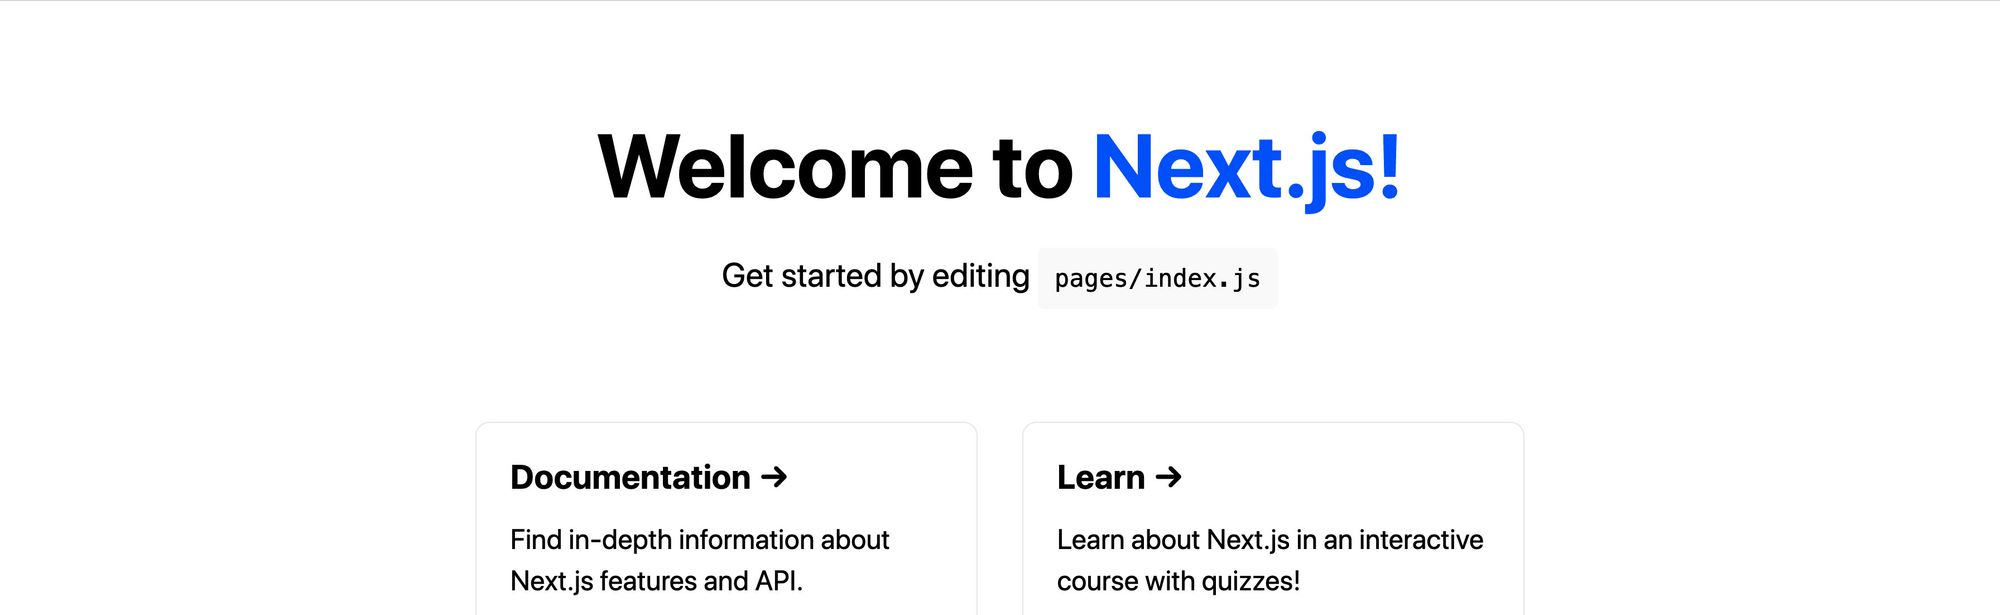 New Next.js App
Next, let’s configure our project to statically compile.
Inside the package.json file, update the build script to:
"build": "next build && next export",
What this will do is tell Next to take the website and export it to static files, which we’ll use to host the site.
We can test this out by running the command:
yarn build
# or
npm run build
And once finished, we can look inside of the out directory and see all of the files of our new website.
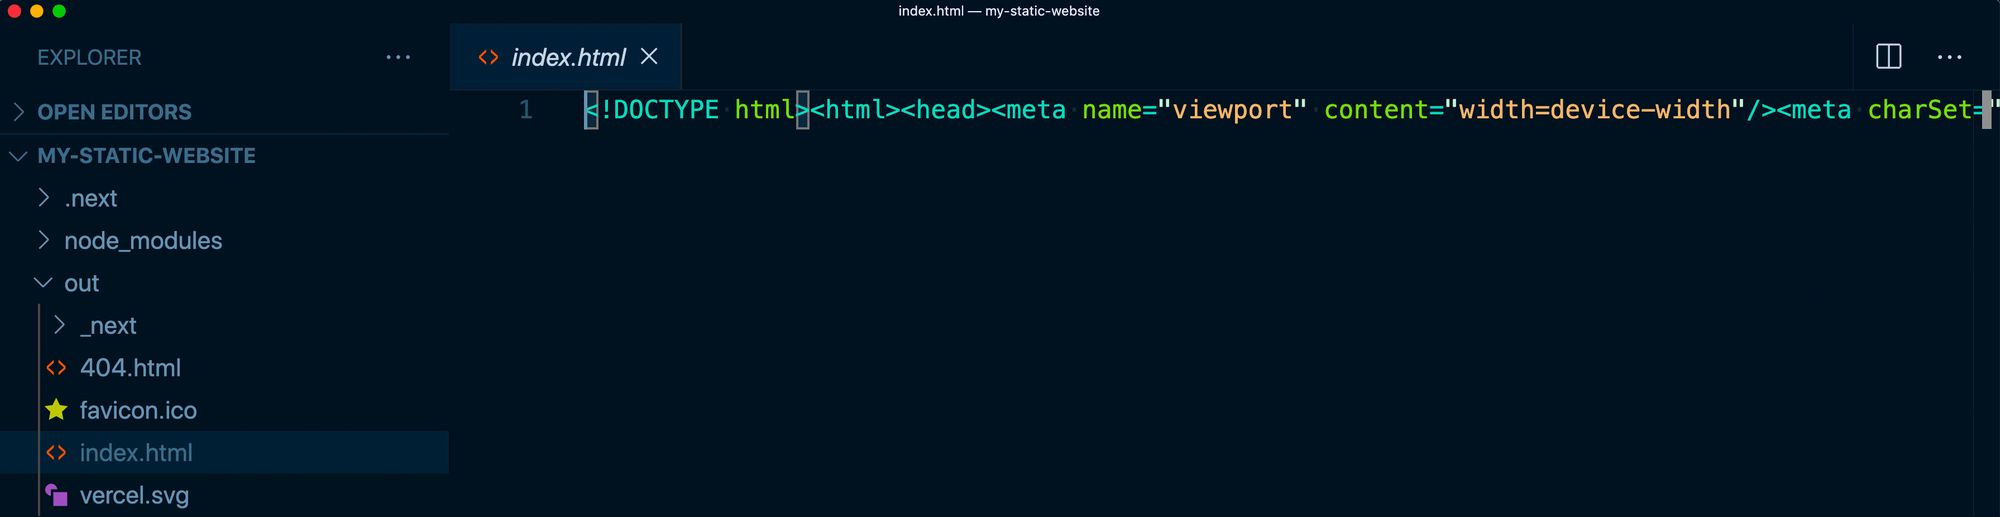 Static output from Next.js
Finally, we want to host this on GitHub.
Inside of your GitHub account, create a new repository. This will then provide instructions on how you can add an existing project to that repo.
And once you push our your project to GitHub, we should be ready to set up our new website project!
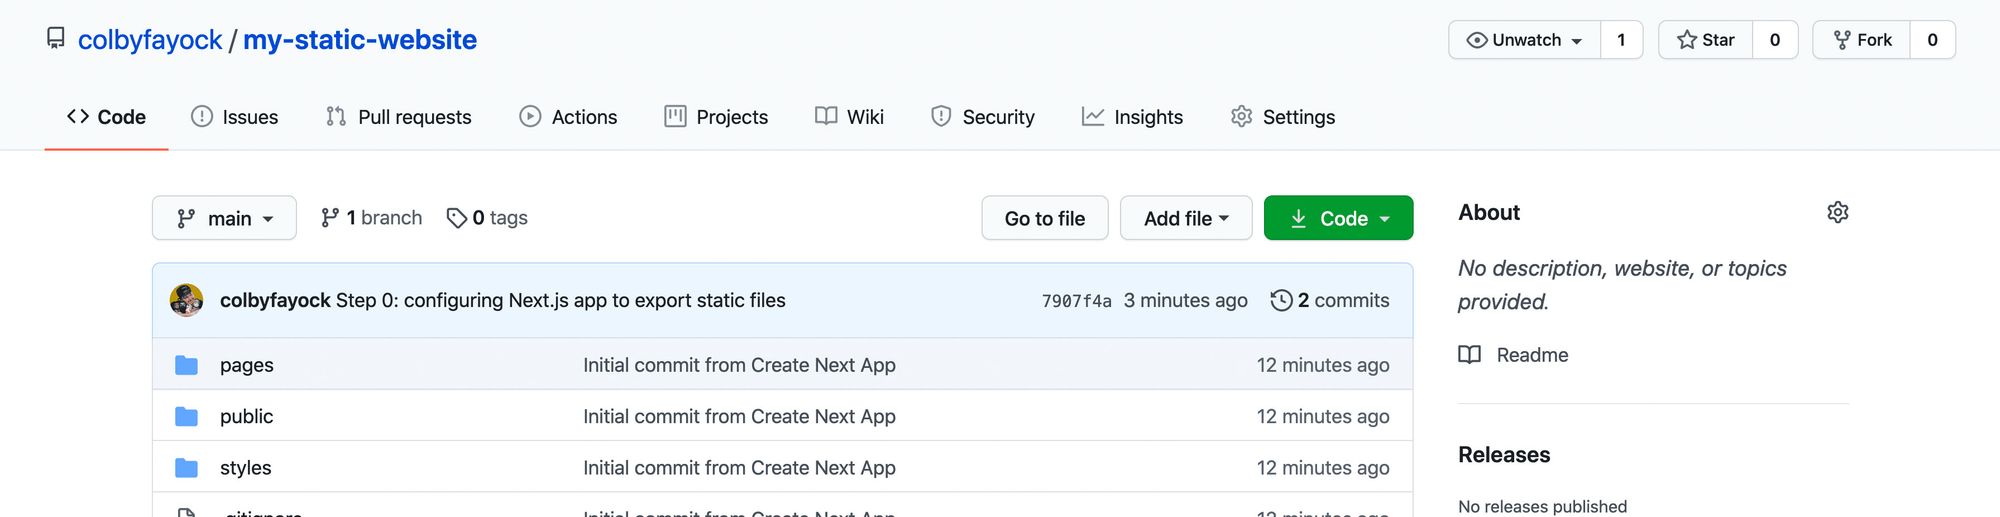 New repo in GitHub
Follow along with the commits:
Step 1: Manually creating and deploying a Next.js project to a new S3 Bucket
To get started with our new S3 Bucket, first log in to your AWS account and navigate to the S3 service.
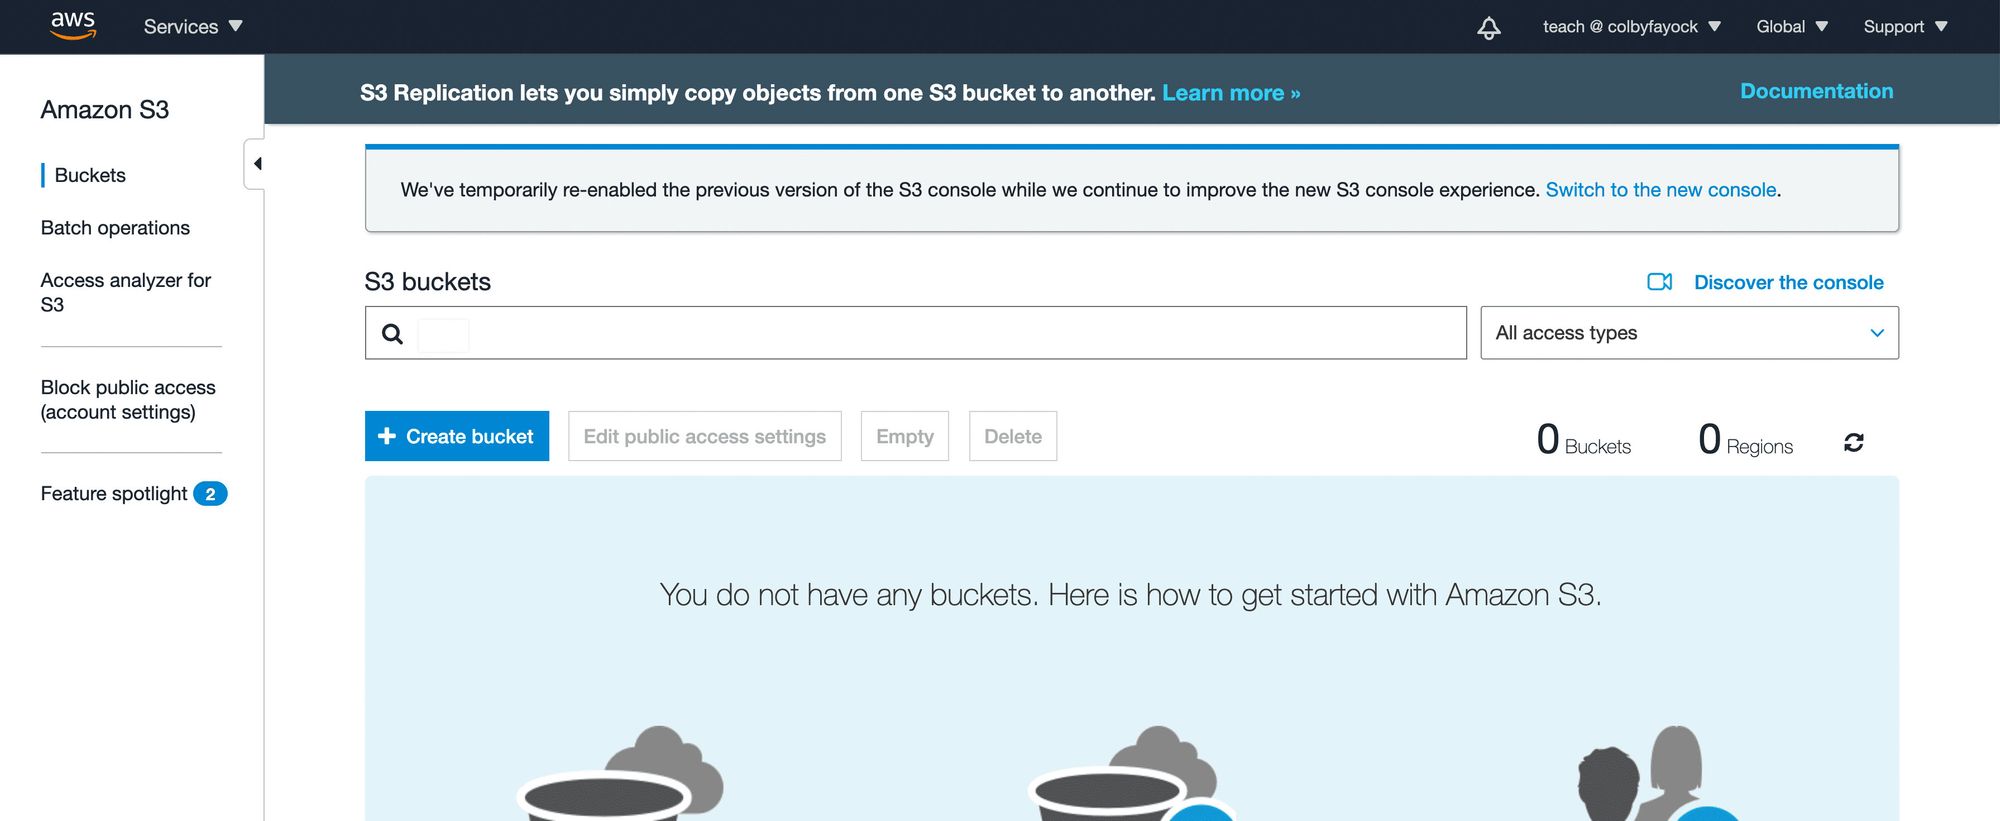 No buckets in S3
We’ll want to create a new bucket, using the name of our choice, which will be used for the S3 endpoint where our website is hosted. We’ll also want to configure our S3 bucket to be able to host a website.
Note: this tutorial will not walk you through how to host a website on S3, but you can check out my other tutorial that will walk you through hosting a website on S3 step-by-step.
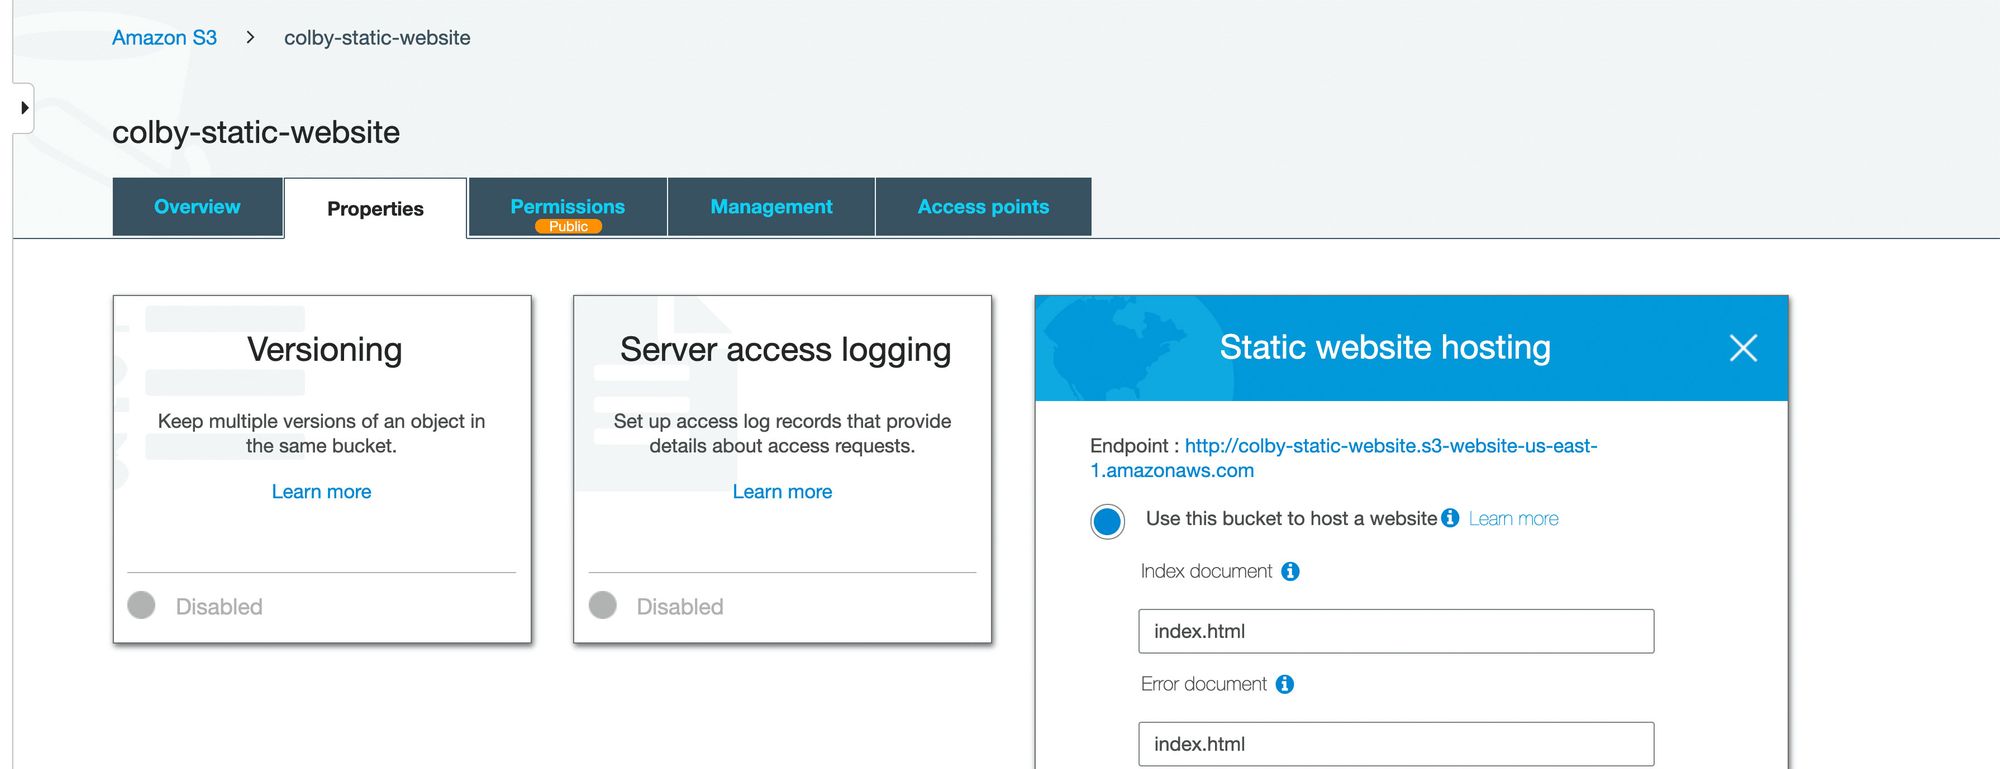 Static website hosting in AWS S3
Once we have our S3 bucket configure as a website, we can go back to our Next.js project folder, run our build command, and then upload all of our files from the out directory into our new S3 bucket.
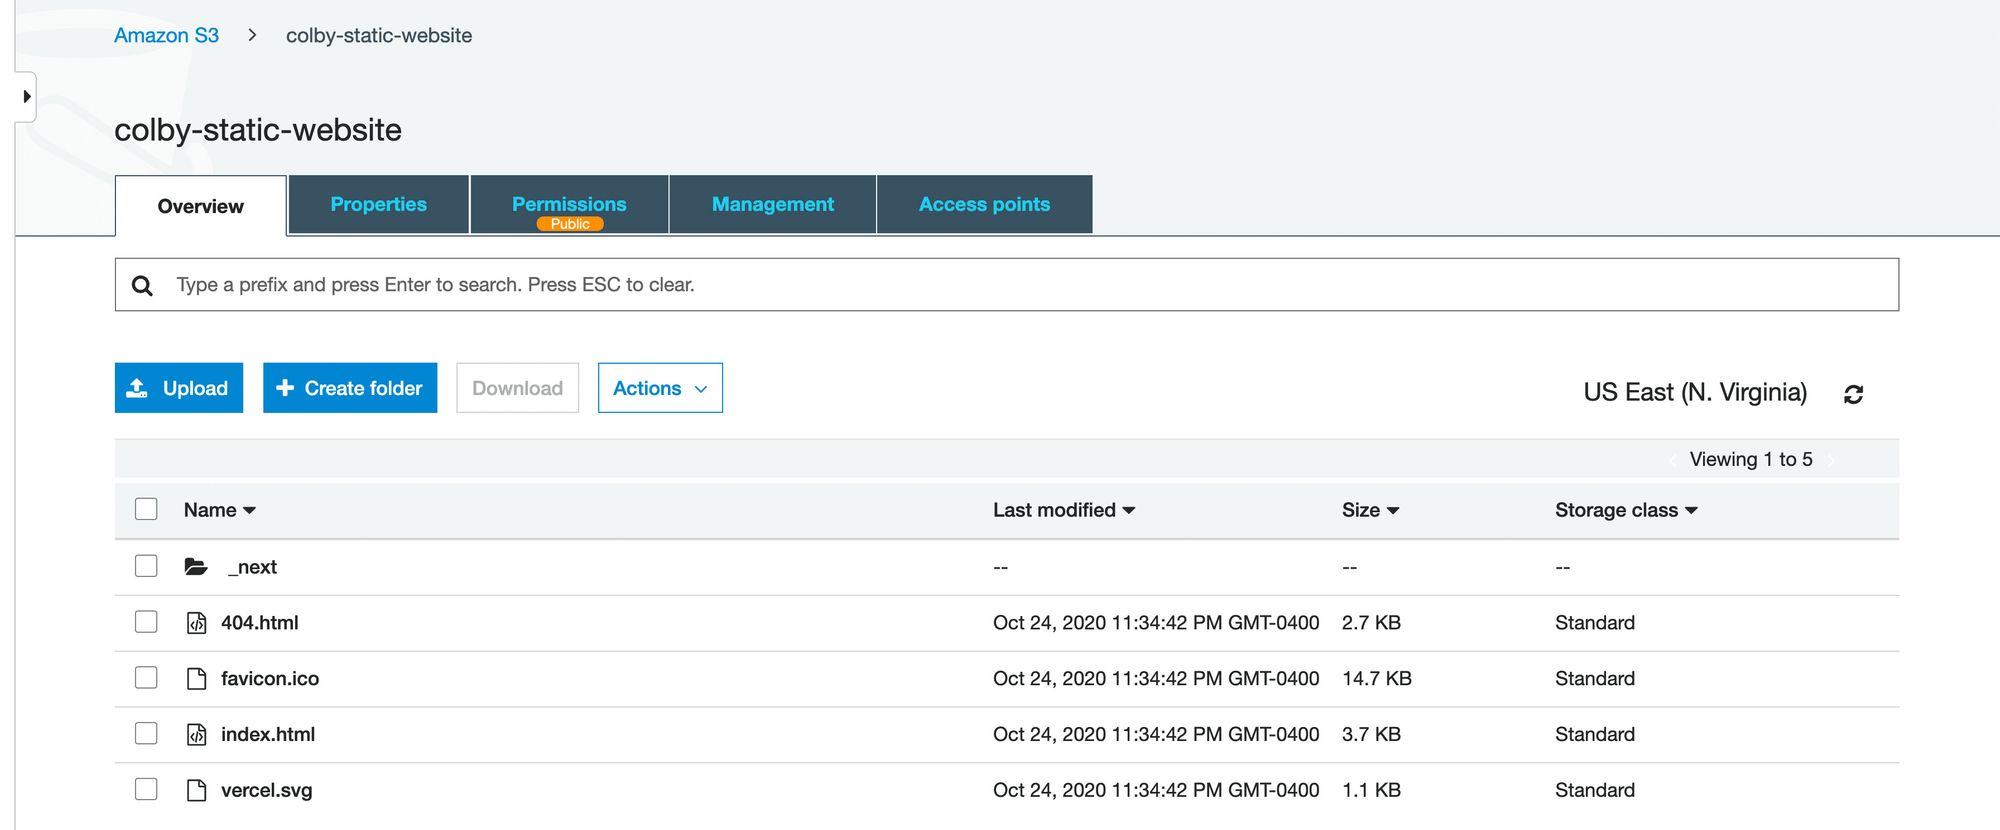 S3 Bucket with Static App
And once those files are uploaded and we’ve configured our S3 bucket for website hosting, we should now be able to see our project live on the web!
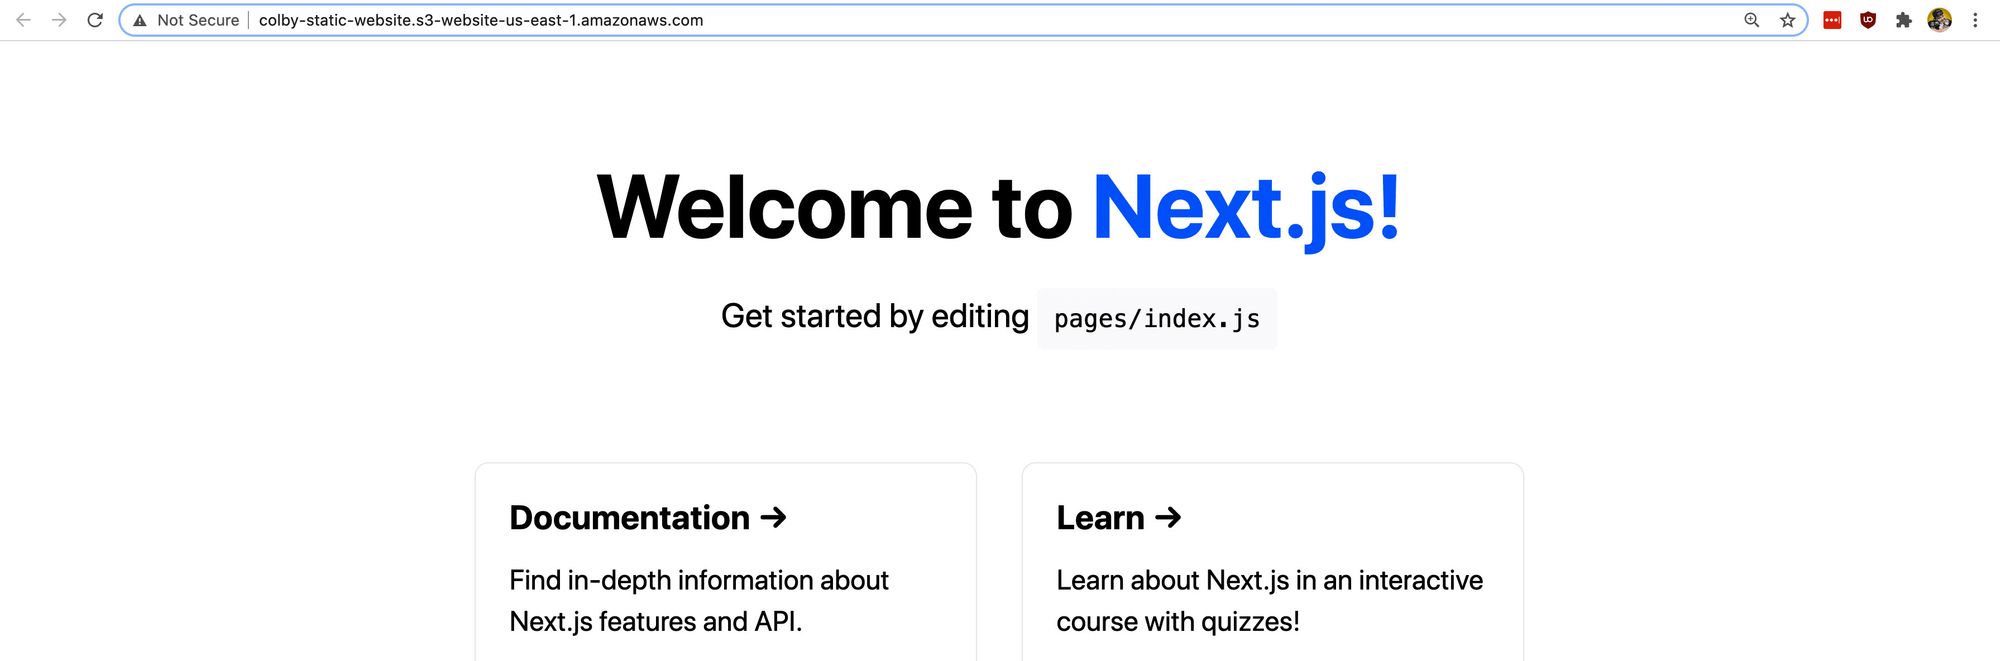 AWS S3 hosted Next.js app
Step 2: Creating a new GitHub Action workflow to automatically build a Next.js project
To get started, we’re going to need to create a new workflow.
If you’re familiar with GitHub Actions, you could create one manually, but we’ll quickly walk through how to do this in the UI.
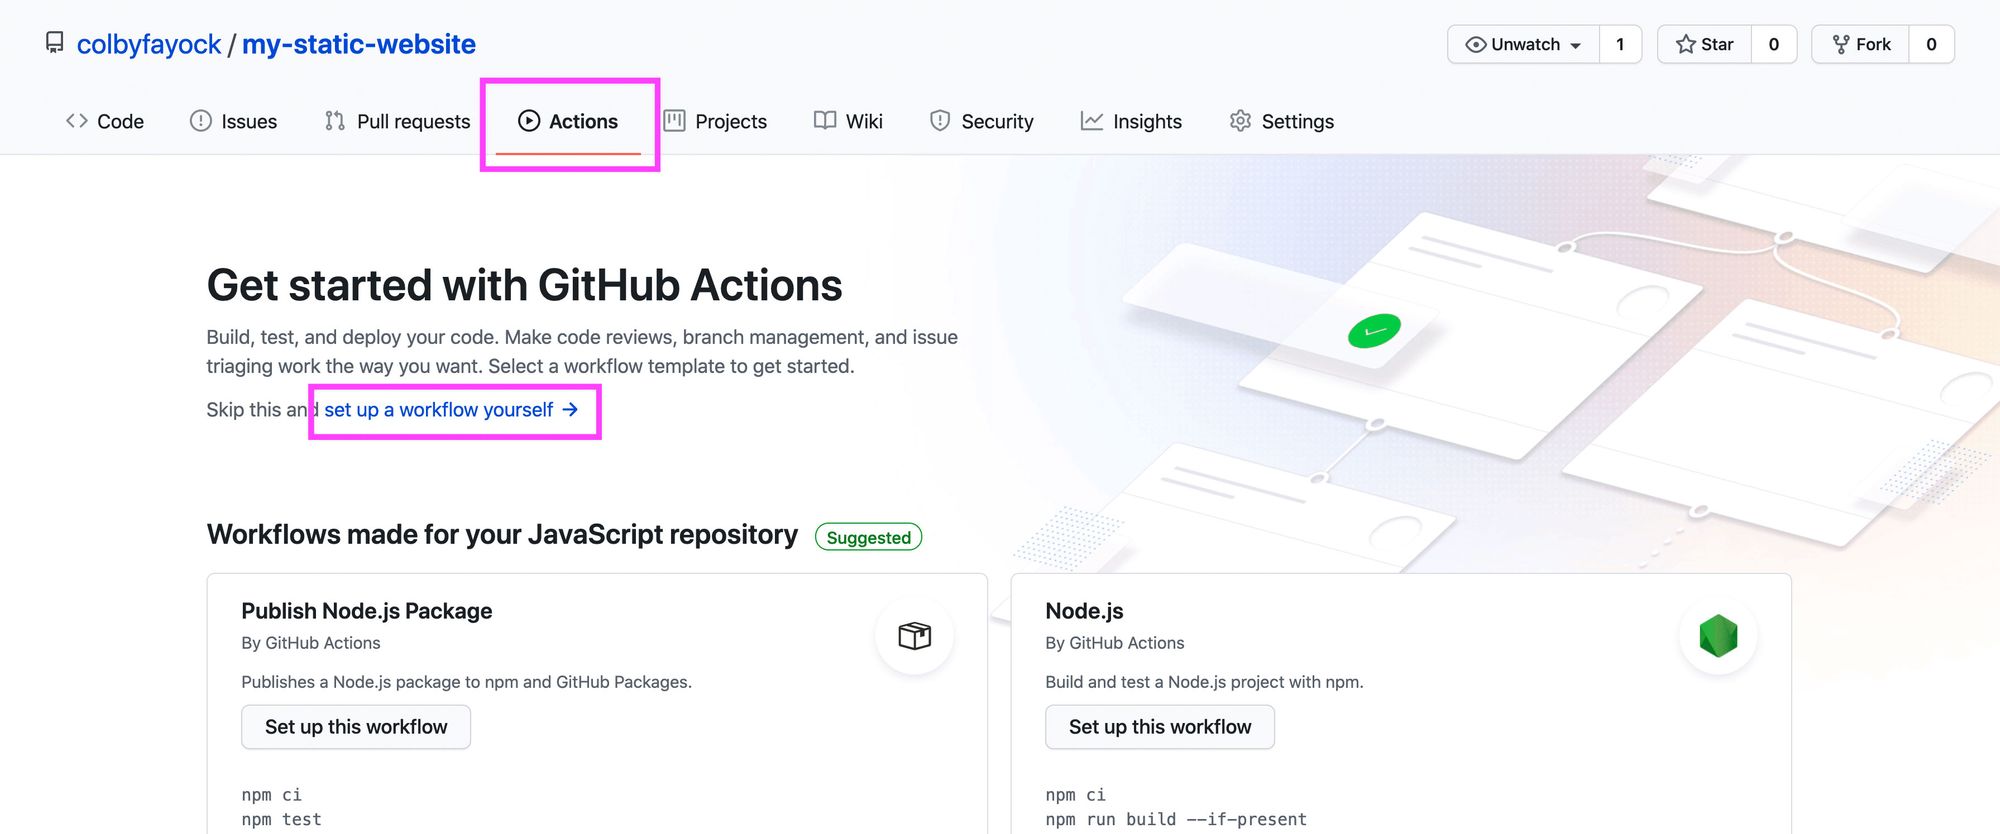
Navigate to the Actions tab of your GitHub repository and click on "set up a workflow yourself."
 New GitHub Action Workflow
GitHub provides a starting template that we can use for our workflow, though we’ll want to make some changes.
Let’s do the following:
- Optional: rename the file to deploy.yml
- Optional: rename the workflow to CD (as it’s a bit different from CI)
- Optional: remove all of the comments to make it a bit easier to read
- Remove the
pull_requestdefinition in theonproperty - Remove all
stepsexcept foruses: actions/checkout@v2
So at this point we should be left with:
name: CD

on:
  push:
    branches: [ main ]

jobs:
  build:
    runs-on: ubuntu-latest
    steps:
      - uses: actions/checkout@v2
This code alone will trigger a process that spins up a new instance of Ubuntu and simply checks out the code from GitHub any time there’s a new change pushed to the main branch.
Next, once we have our code checked out, we want to build it. This will allow us to take that output and sync it to S3.
This step will differ slightly depending on if you are using yarn or npm for your project.
If you’re using yarn, under the steps definition, add the following:
- uses: actions/setup-node@v1
  with:
    node-version: 12
- run: npm install -g yarn
- run: yarn install --frozen-lockfile
- run: yarn build
If you’re using npm, add the following:
- uses: actions/setup-node@v1
  with:
    node-version: 12
- run: npm ci
- run: npm run build
Between both of these sets of steps, what we’re doing is:
- Setting up node: this is so that we can use npm and node to install and run our scripts
- Install Yarn (Yarn Only): if we’re using yarn, we install it as a global dependency so that we can use it
- Install Dependencies: we install our dependencies and we use a specific command that makes sure we use the lock file available to avoid any unexpected package upgrades
- Build: finally, we run our build command which will compile our Next.js project into the
outdirectory!
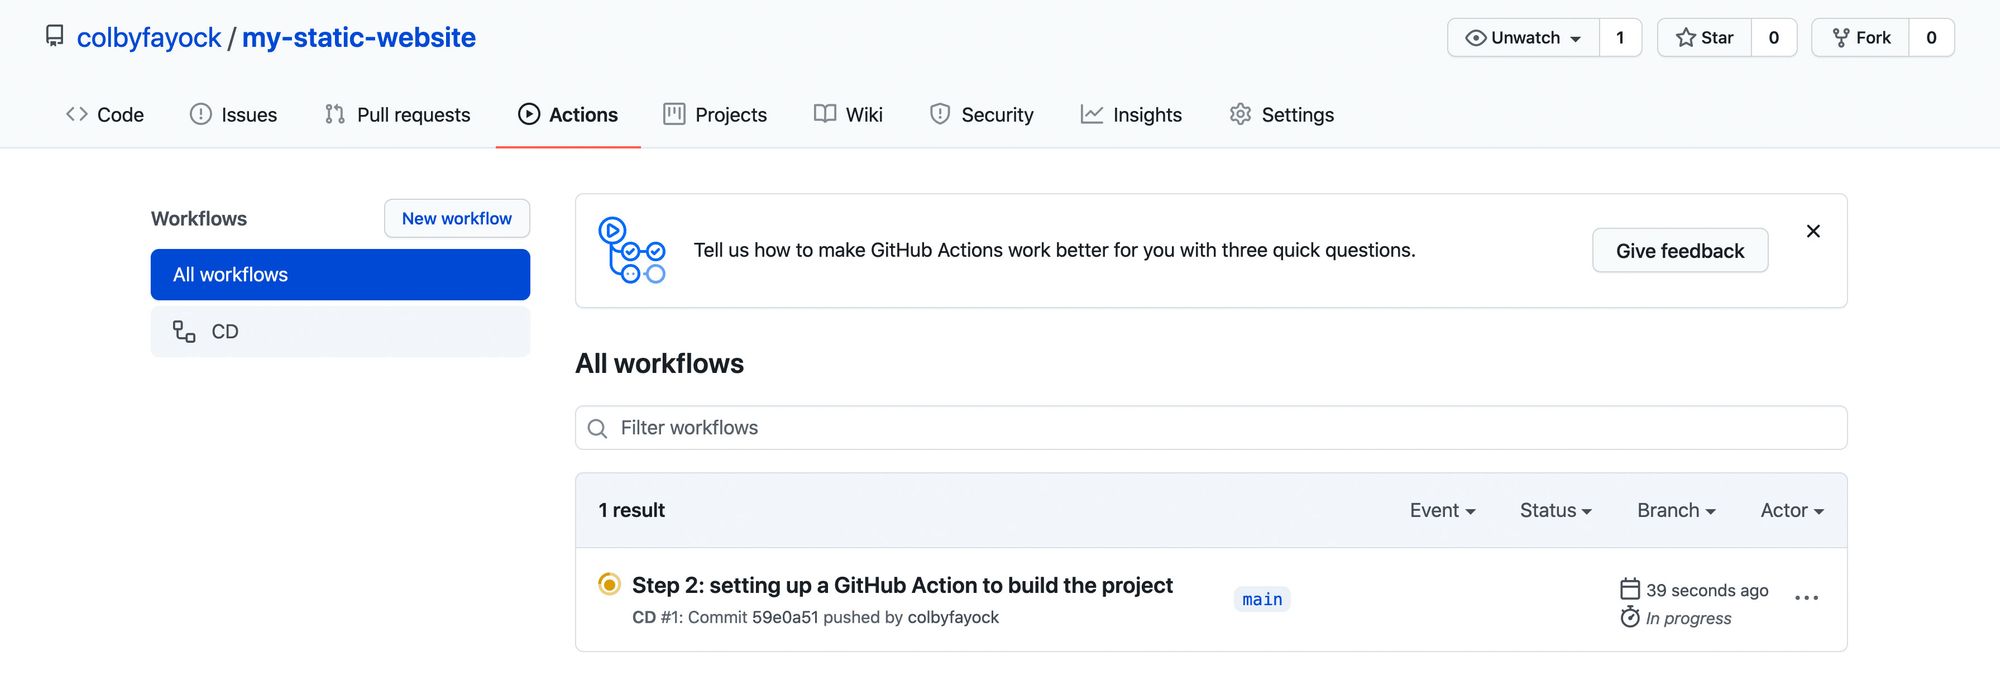
And now we can commit that file right to our main branch which will kick off a new run of our workflow that we can see in our Actions tab.
 New workflow in GitHub Actions
To see that it works, we can navigate into that run, select our workflow, and see that all of our steps ran including building our project!
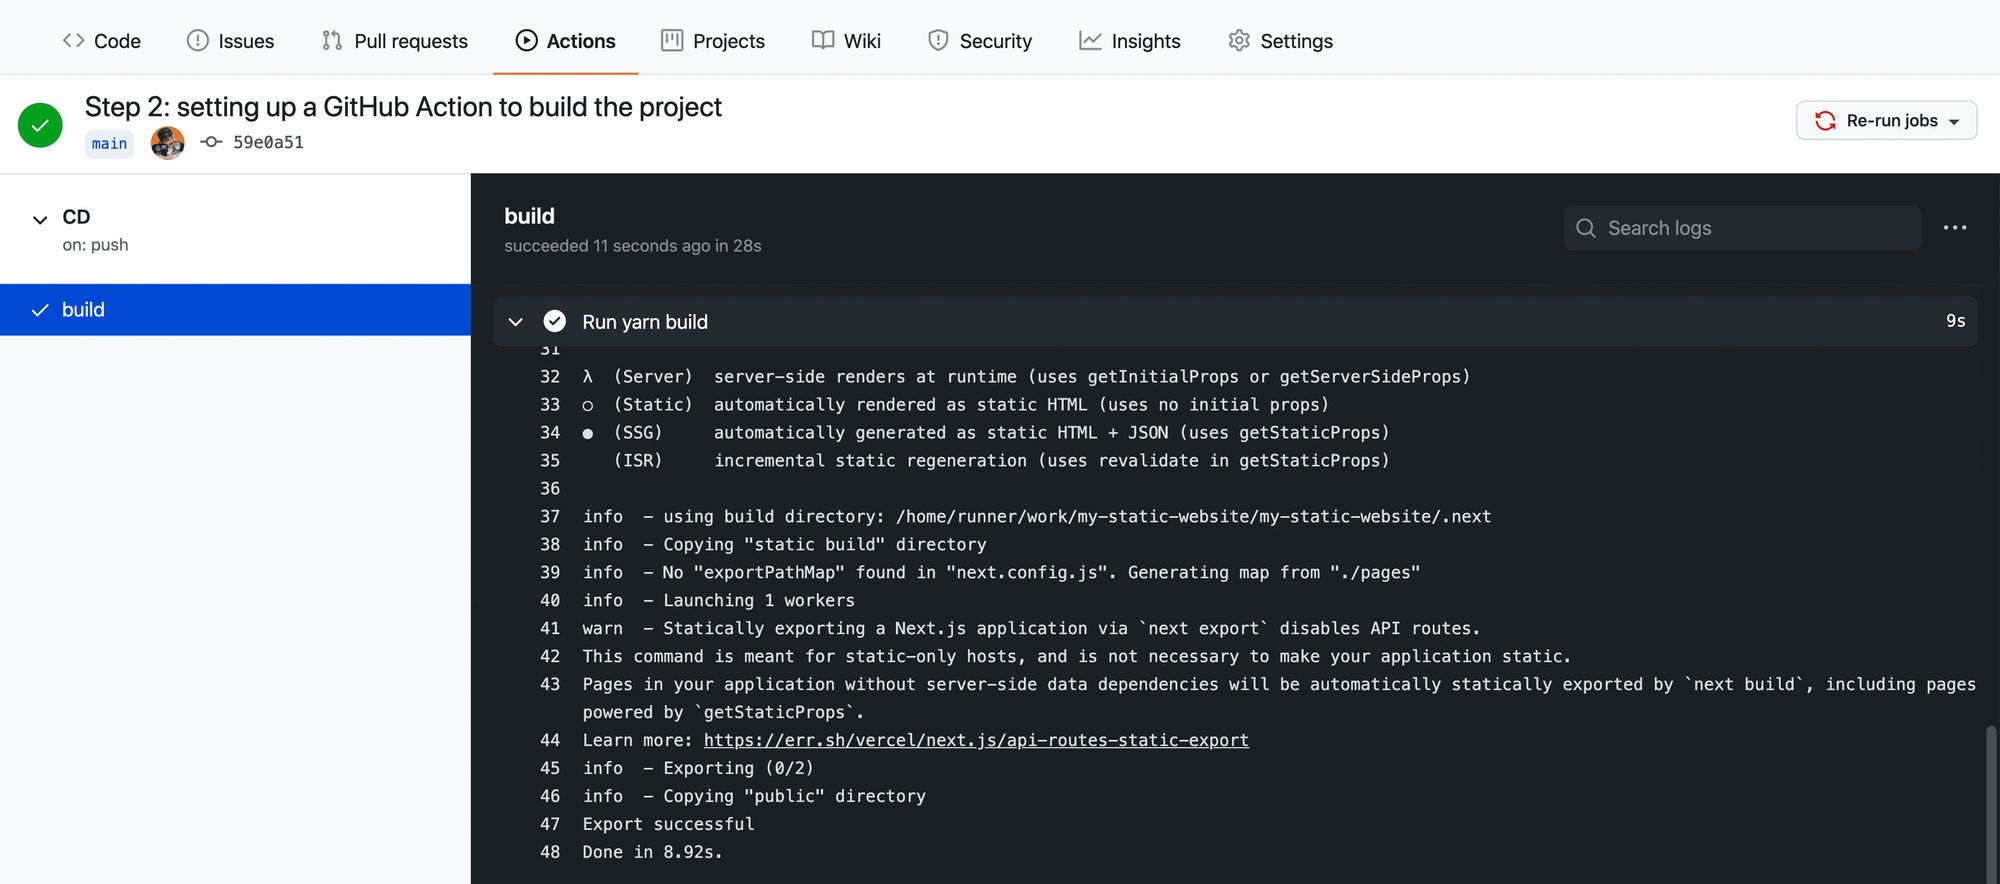 Successful build logs for a GitHub Action workflow
Step 3: Configuring a GitHub Action to deploy a static website to S3
Now that we’re building our project automatically, we want to automatically update our website in S3.
To do that, we’re going to use the GitHub Action aws-actions/configure-aws-credentials and the AWS CLI.
The GitHub Action that we’re using will take in our AWS credentials and configuration and make it available to use throughout the lifecycle of the workflow.
As of now, the Ubuntu instance that GitHub Actions provides allows us to use the AWS CLI as it comes included. So we’ll be able to use the CLI commands right in our workflow.
Alternatively, we could use the S3 Sync action. But by using the AWS CLI, we gain more flexibility to customize our setup, we can use it for additional CLI commands, and it’s also generally nice to get familiar with the AWS CLI.
So to get started, let’s add the following snippet as additional steps in our workflow:
- uses: aws-actions/configure-aws-credentials@v1
  with:
    aws-access-key-id: ${{ secrets.AWS_ACCESS_KEY_ID }}
    aws-secret-access-key: ${{ secrets.AWS_SECRET_ACCESS_KEY }}
    aws-region: us-east-1
What the above will do is use the AWS credentials configuration action to set up our AWS Access Key, Secret Key, and region based on our settings.
The AWS Region can be customized to whatever region you typically use with your AWS account. I’m in the northeast United States, So I’ll keep us-east-1.
The Access Key and Secret Key are credentials that you’ll need to generate with your AWS account. The way our code is set up is that we’ll store those values inside of GitHub Secrets, which will prevent those keys from being leaked. When the action runs, Github changes those values to stars (***) so people can't access those keys.
So to set up those secrets, we first want to generate Access Keys in AWS.
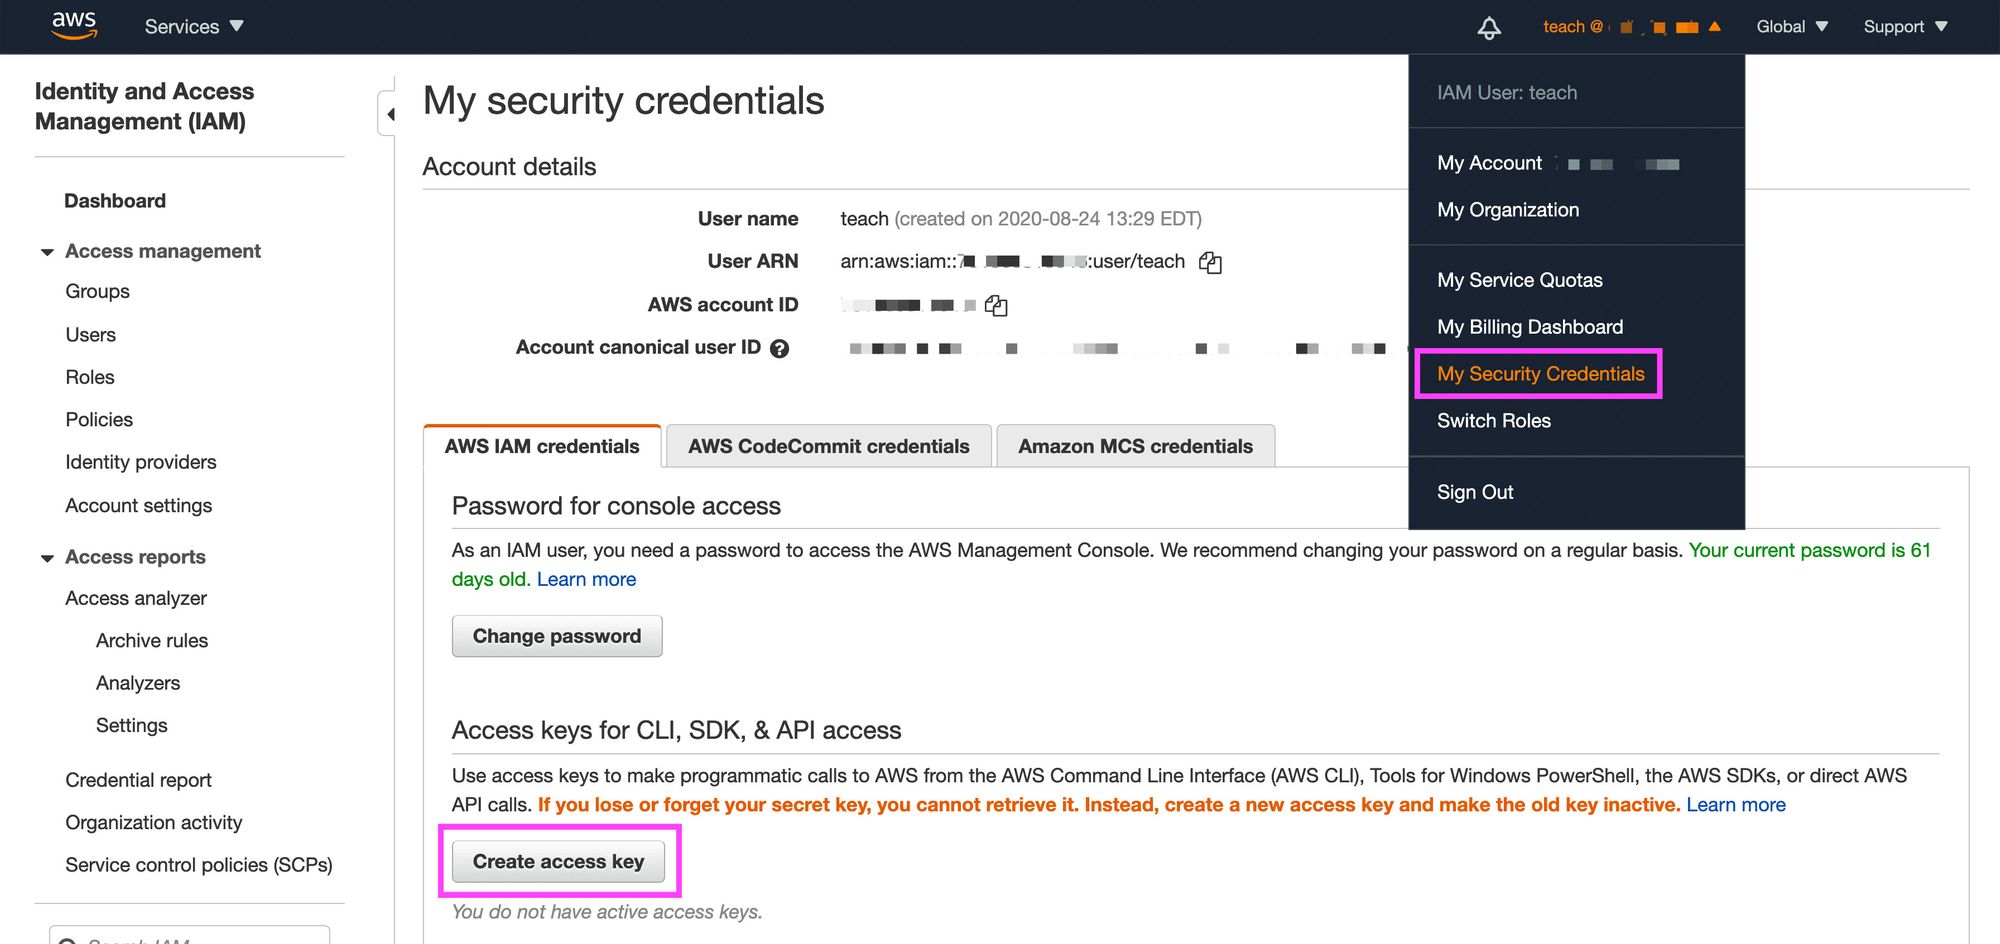
Navigate to the AWS console. Under the user menu, select My Security Credentials, and then select Create access key.
 Creating an Access Key in AWS
This will provide you with two values: the Access key ID and the Secret access key. Save these values, as you won’t be able to access the Secret key ID again.
 Finding Secret and Access Key in AWS
Note: remember to NOT include the Access Key and Secret Key inside of your code. This could lead to someone compromising your AWS credentials.
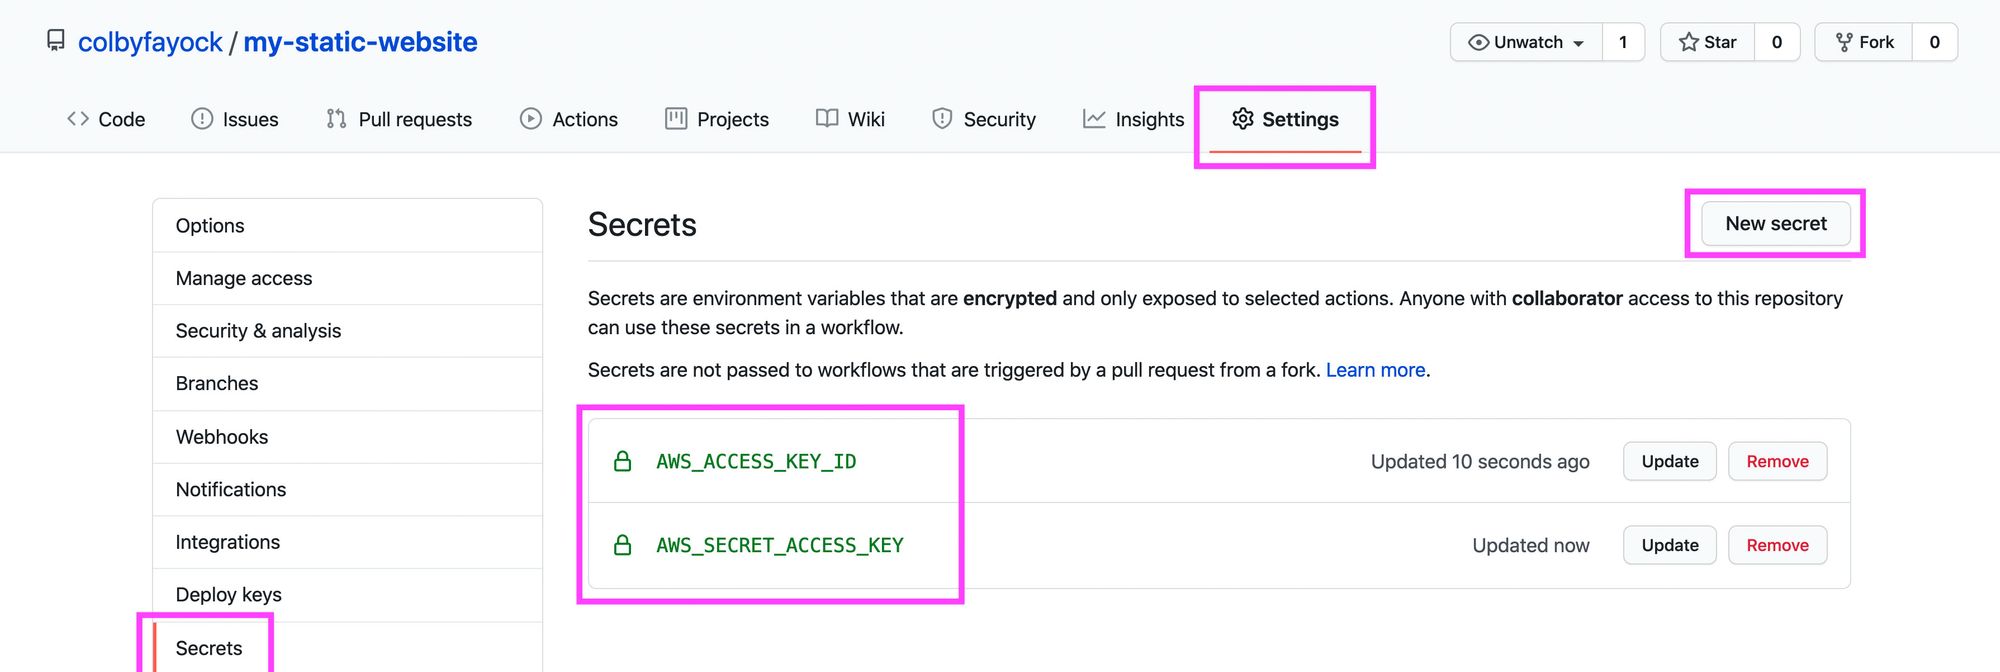
Next, inside of the GitHub repo, navigate to Settings, Secrets, then select New secret.
Here we’ll want to add our AWS keys using the following secrets:
- AWS_ACCESS_KEY_ID: your AWS Access key ID
- AWS_SECRET_ACCESS_KEY: your AWS Secret key
And once saved you should have your two new secrets.
 Creating Secrets in GitHub
Now that we have our credentials configured, we should be ready to run the command to sync our project to S3.
Inside of the GitHub Action, add the following step:
- run: aws s3 sync ./out s3://[bucket-name]
Note: be sure to replace [bucket-name] with the name of your S3 Bucket.
This command will trigger a sync with our specified S3 bucket, using the contents of the out directory, which is where our project builds to.
And now, if we commit our changes, we can see that our action is automatically triggered once committed to the main branch, where we build our project and sync it to S3!
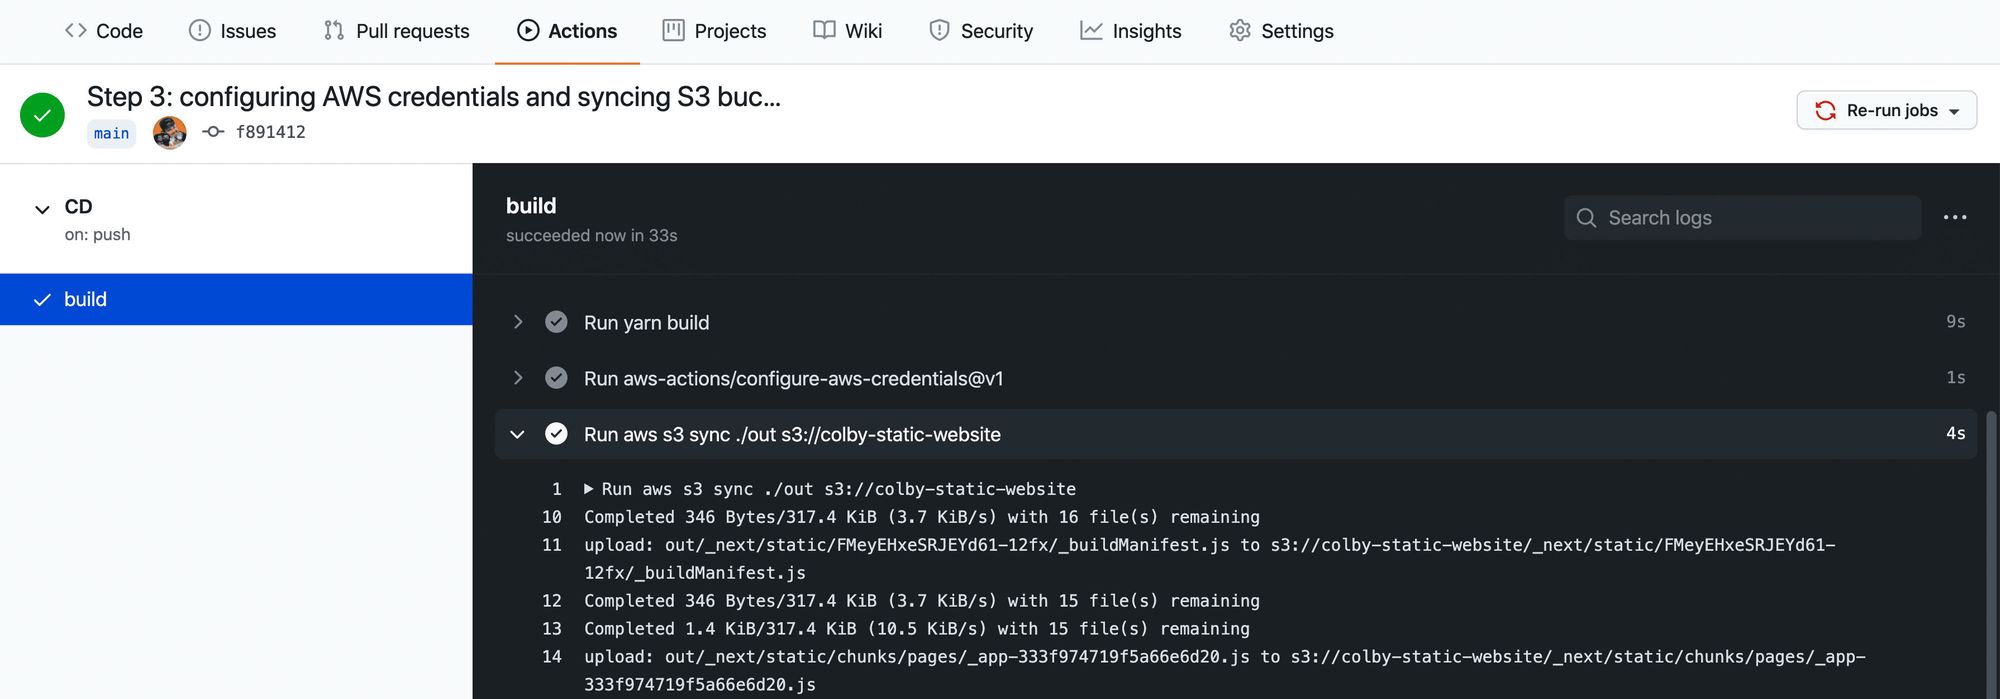 Successful AWS S3 sync in GitHub Action workflow
Note: Make sure that before setting up this action you’ve configured the S3 bucket to host a website (including unblocking permissions on S3 bucket) – otherwise this action may fail.
At this point, our project probably looks the same, as we didn’t make any changes to the code.
Next.js app on AWS S3
But if you make a code change, such as changing the title of the homepage inside of pages/index.js and commit that change:
<h1 className={styles.title}>
  Colby's <a href="https://nextjs.org">Next.js!</a> Site
</h1>
We can see that our change triggers the workflow to kick off:
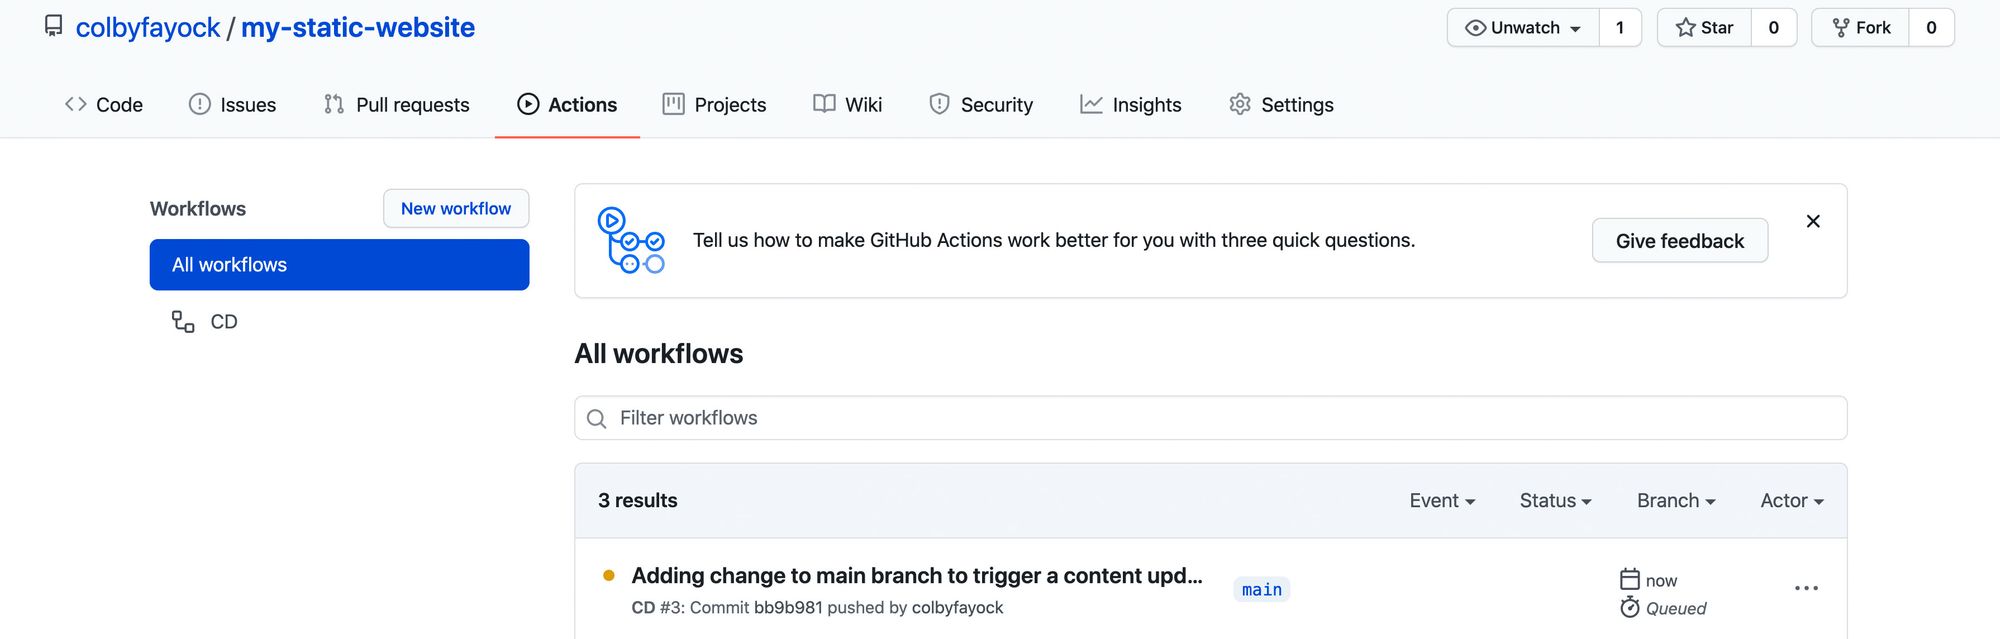 New GitHub Action workflow from code change
And once our workflow finishes, we can see that our content is now automatically updated on our website:
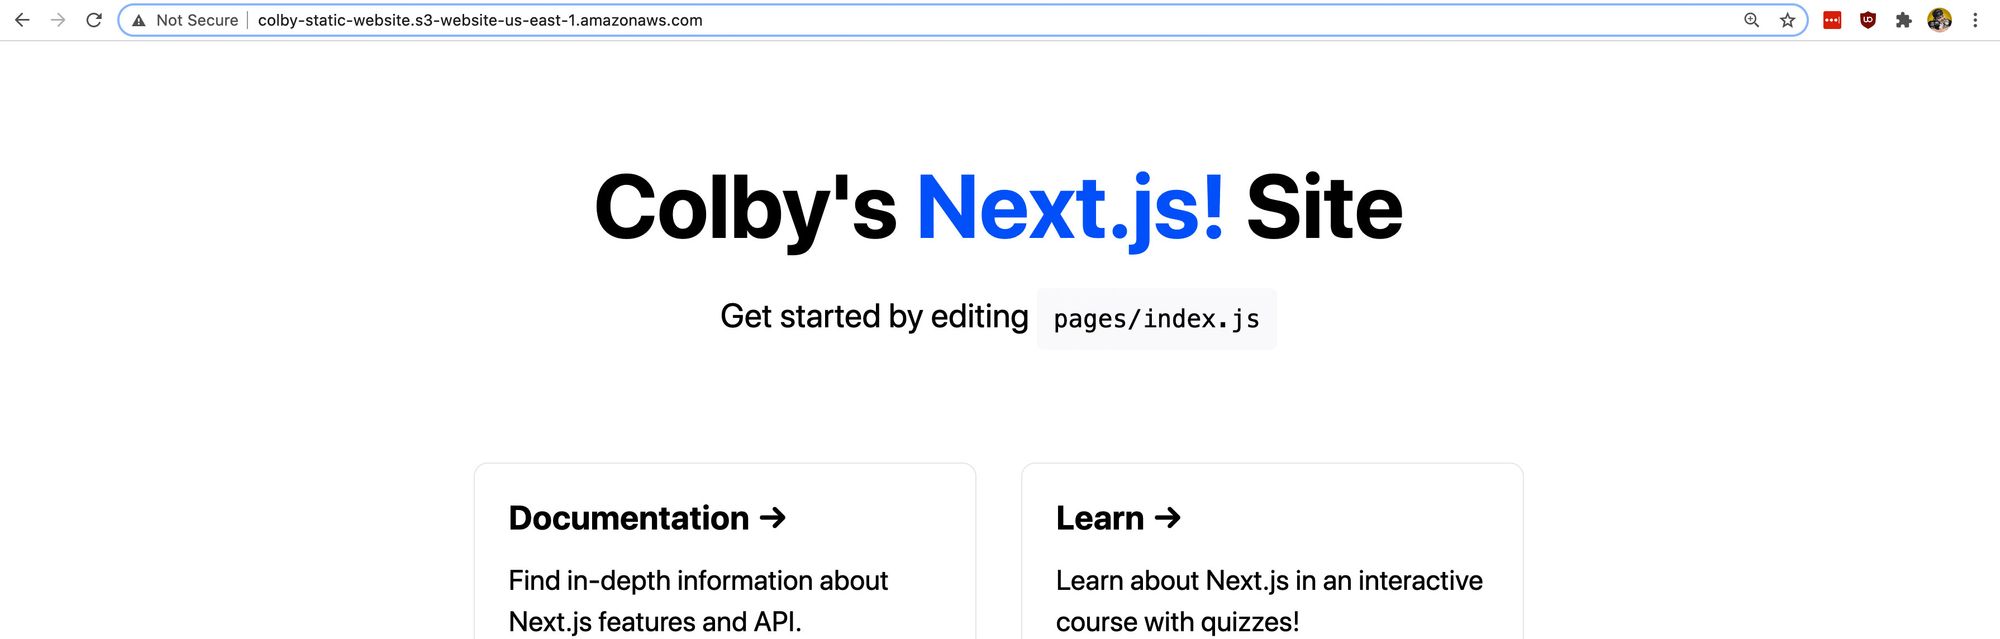 AWS S3 hosted app with updated code changes
Follow along with the commits:
What else can we do?
Setting up CloudFront
The goal of this post wasn’t to go through the entire process of configuring a website for AWS, but if you’re serving a website on S3, you might want to also include CloudFront in front of it.
You can check out my other guide here which walks you through setting up CloudFront as well as a step-by-step guide through creating the site in S3.
Invaliding CloudFront cache
If your S3 website is behind CloudFront, chances are, you’ll want to make sure CloudFront isn’t caching the new changes.
With the AWS CLI, we can also trigger a cache invalidation with CloudFront to make sure it’s grabbing the latest changes.
Check out the docs here to learn more.
Pull request deployments
If you’re constantly working on website changes in a pull request, sometimes it can be easier to see the changes live.
You can set up a new workflow that only runs on pull requests, where the workflow can dynamically create a new bucket based on the branch or environment and add a comment to the pull request with that URL.
You might be able to find a GitHub Action that exists to manage the comments on the pull request for you or you can check out the GitHub Actions docs.
