

For years, URLs have been synonymous with web navigation. But the tide is turning, especially with the emergence of single-page applications. In the React universe, URLs are stepping up to play a pivotal role in state management.
This article will guide you through the transformative journey of URLs as state managers in the context of React applications.
Prerequisites
- Fundamentals of HTML and CSS
- Fundamentals of ES6 JavaScript
- Fundamentals of React, React Router and React Hooks.
The Evolution of State Management in React
Let's journey through the past:
- setState: In the early days of React, many relied on component state, especially within class components. It was straightforward to manage component-specific data. But it wasn't ideal for larger applications.
- Redux & MobX: As applications grew in complexity, tools like Redux and MobX emerged. They centralized data management, making it easier to handle app-wide data.
- Context API & Hooks: React's own Context API, combined with the advent of hooks, brought about a more native way to manage the global state without adding extra libraries.
Managing State with URLs
At first, using a URL for managing state might seem unusual. But as you explore further, you'll discover several clear benefits:
- Save Your Spot: By keeping state in the URL, your webpage remembers your place. So, if you bookmark a page, it will look the same when you come back to it later.
- Easy Sharing: If you're looking at something specific on a page, like a product or a chart, you can share the URL. Anyone who clicks it will see exactly what you’re seeing, making collaboration a breeze.
- Troubleshoot with Ease: Developers can find and fix issues faster because the URL shows the state of the app. They can see problems just by clicking on the shared link.
In short, using URLs in this way helps keep your spot, share specific views, and makes problem-solving smoother for developers.
How to Implement URL-based State Management
Considering the size of this section, here’s everything you’ll learn.
- How to Set Up the Environment
- Clearing the clutter
- Project Breakdown / Analysis
- Install the Necessary Dependencies
- How to Fetch the Data and Design the UI
- How to Store State in the URL
- How to Read the State Stored in the URL
- How to Customize the Product Page
How to Set Up the Environment
Open your inbuilt terminal or code editor’s terminal (preferably) and run the following:
npm create vite@latest
This command uses Vite (a lightweight tool that is used for building fast and optimized web applications) to scaffold a web app environment. Navigate down using your arrow keys and select React.
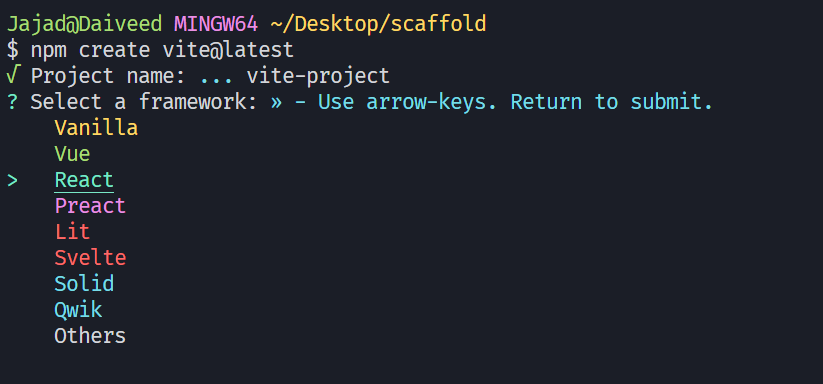 Selecting React from Vite Setup
Then select your preferred language combination – I’ll be using plain JS.
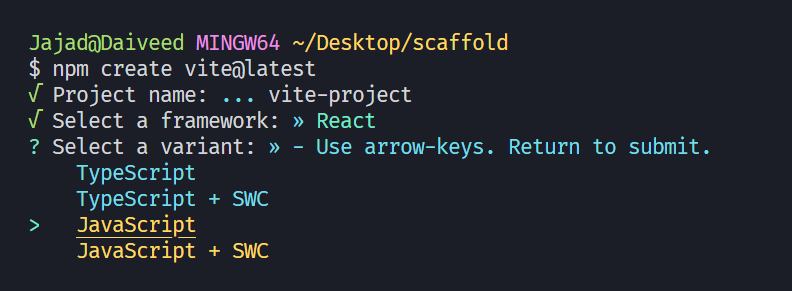 Selecting Language in React
Next, move into your react folder using the cd “project-name” folder and run npm install to install all the project’s dependencies.
Finally, start the development server by running npm run dev and going to the respective URL (http://localhost:5173/).
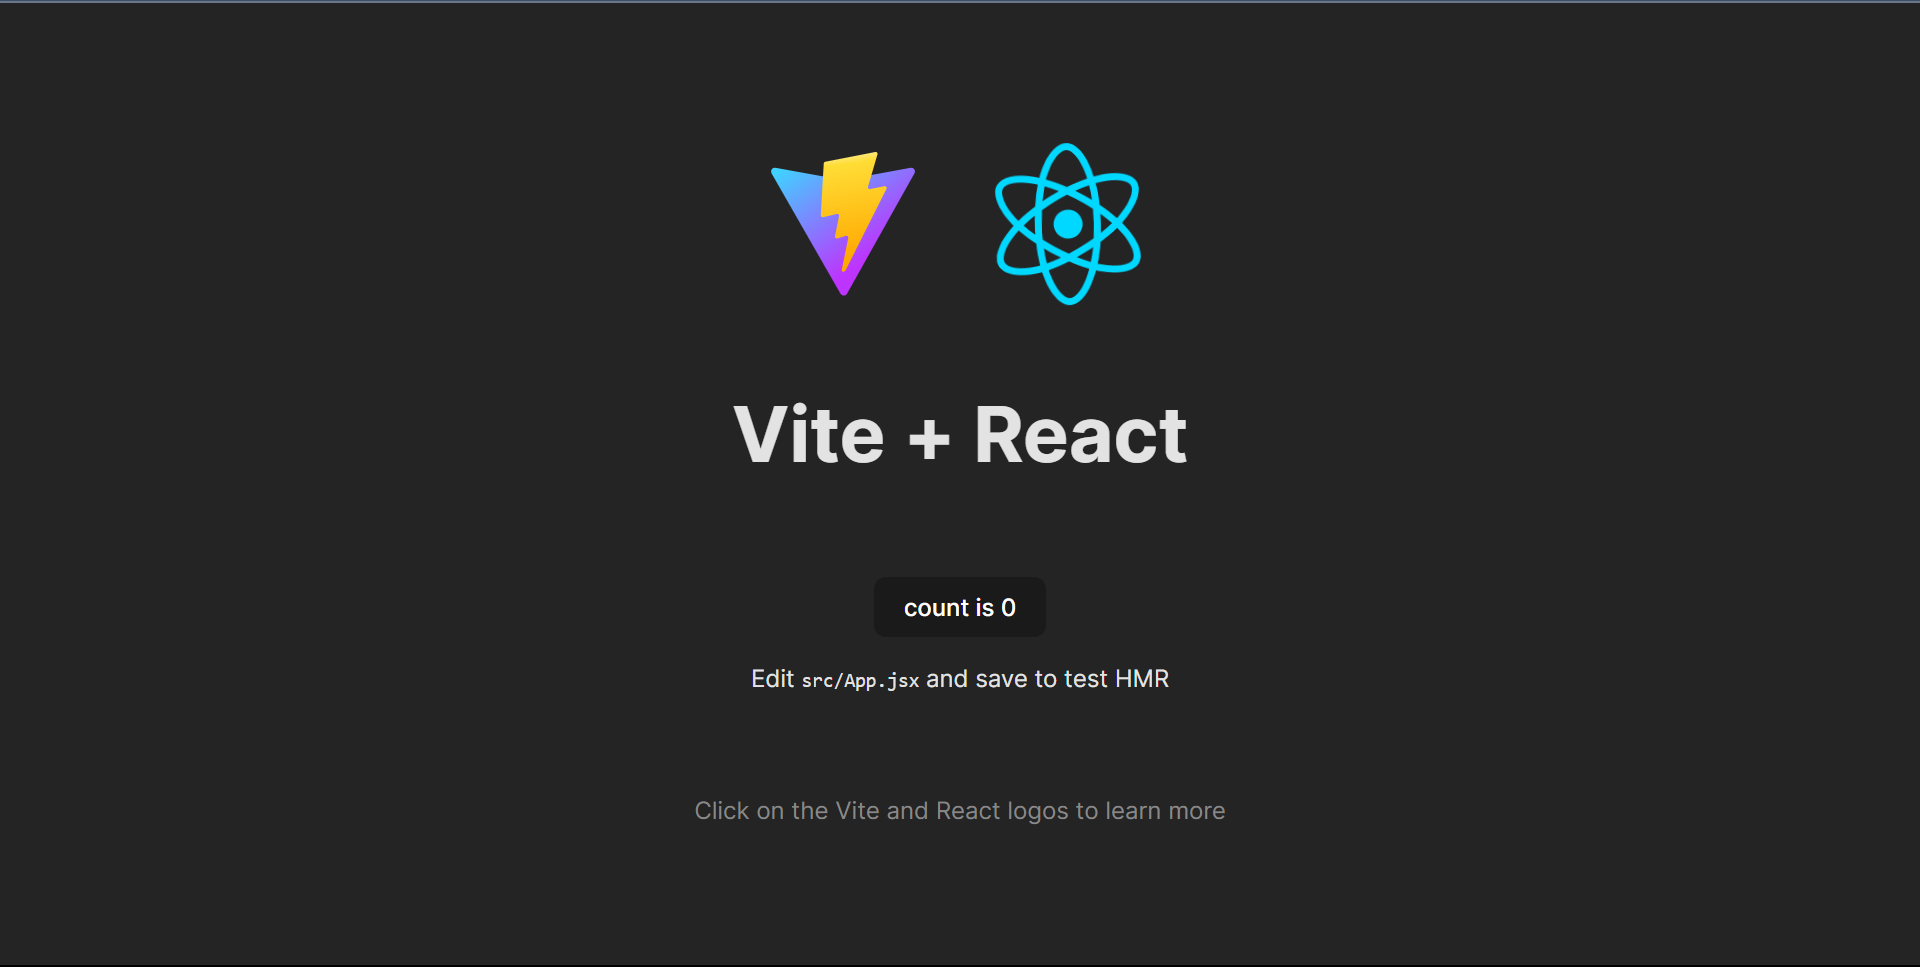 Dev Server running
Clearing the clutter
Make sure to clear the contents of all the CSS files and delete the App.css as you’ll need only 1 style file. Then, clear the contents of the App component and replace it with basic JSX content.
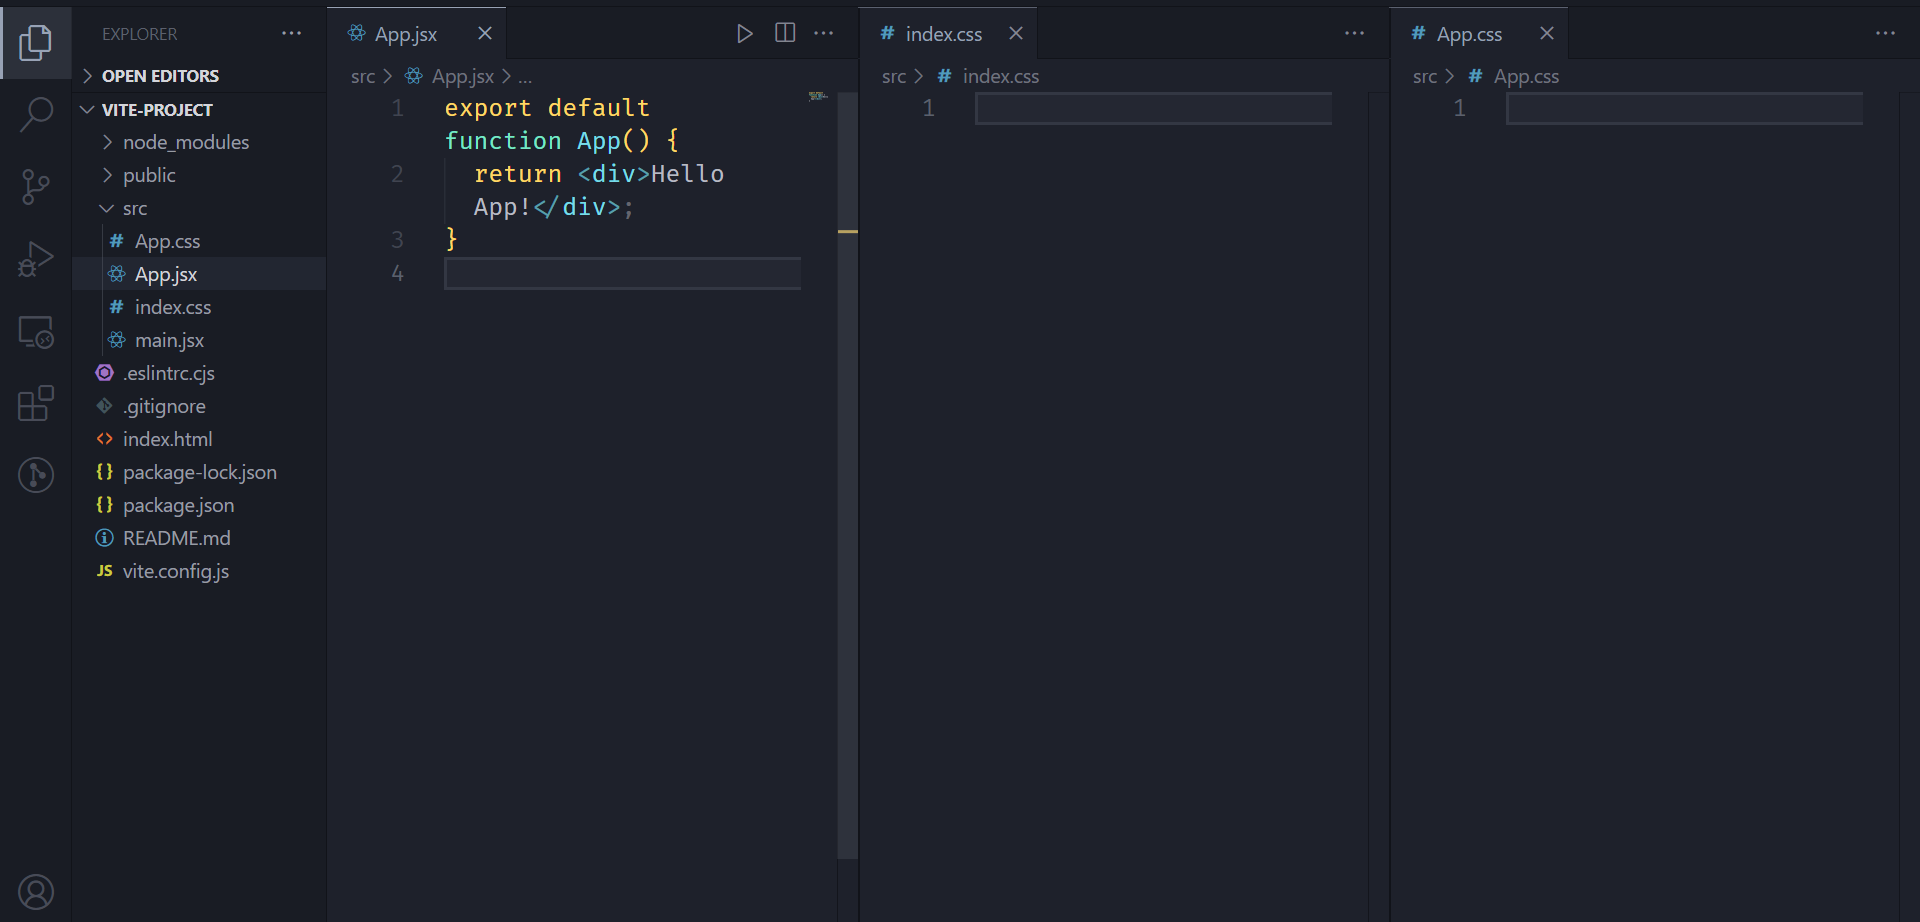 Clutter Cleared in Dev Environment
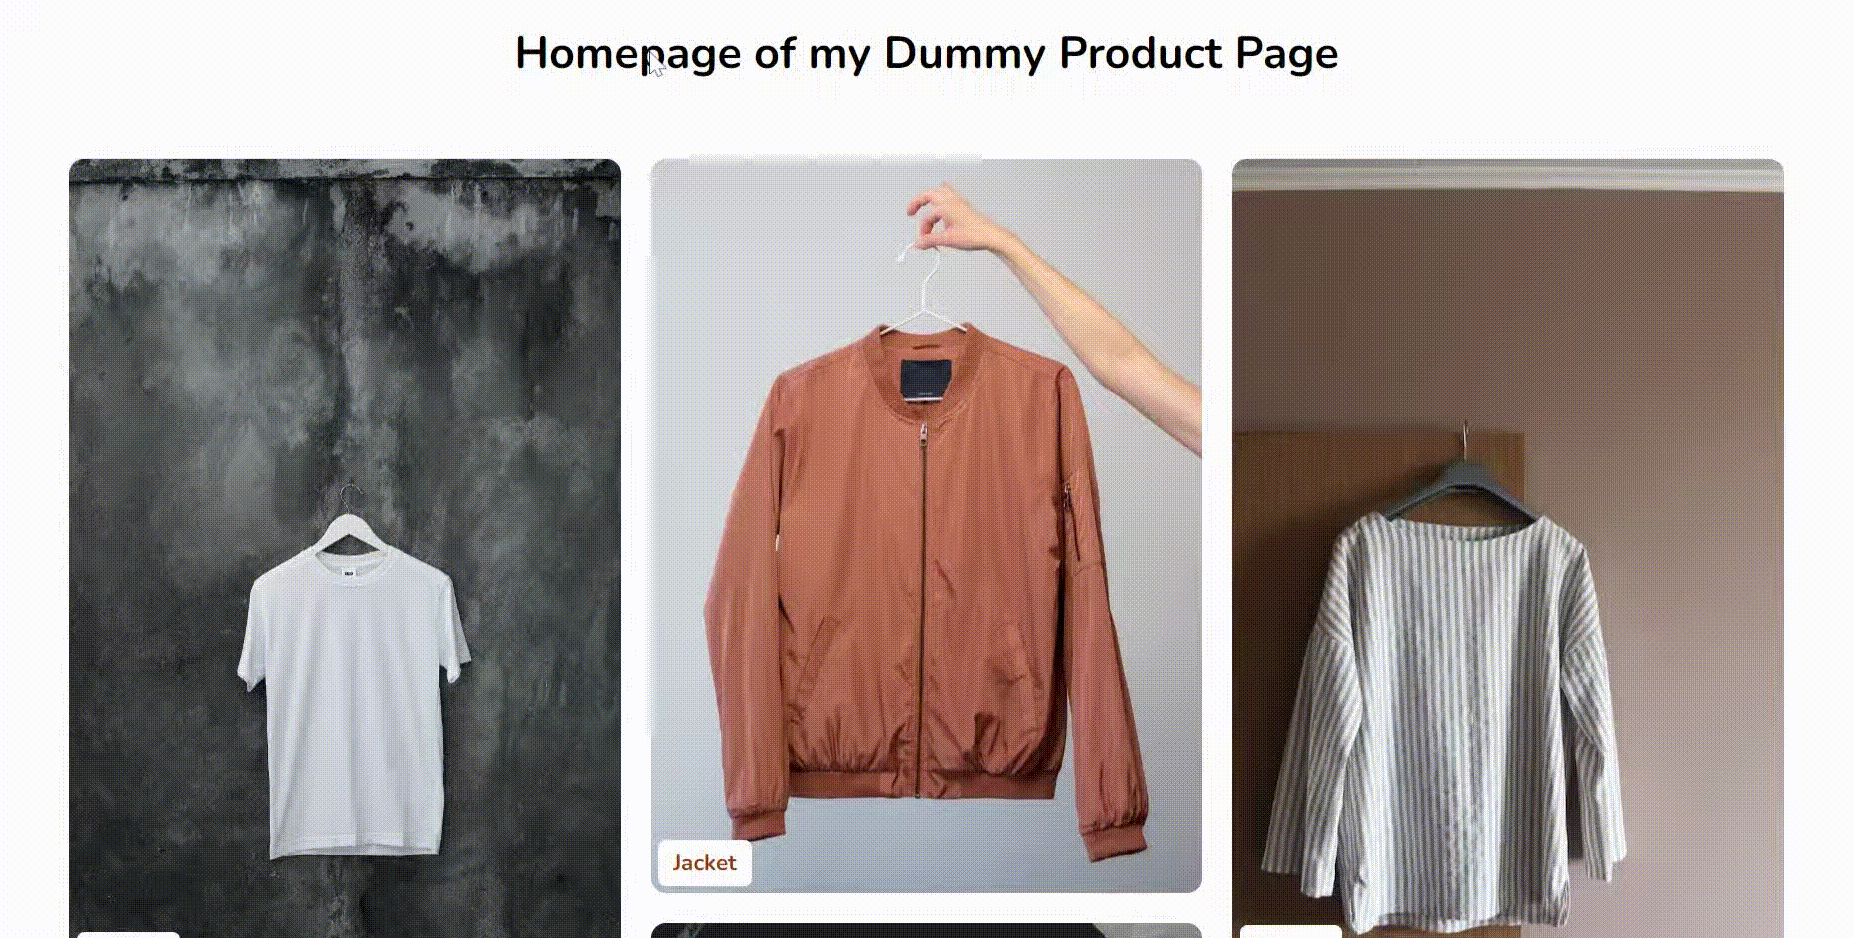
This returns a clear page on your local server that looks like this:
 Clear Server page
Project breakdown / analysis
The project involves getting data from an API and persisting that data globally via the URL to be accessible across many components/pages.
A relatable example is when you’re on your favourite e-commerce site, you may see this cool gadget and want to share it with your friend.
You usually share the link from the browser to your friend’s social media DM which they can use to view the same product without any fuss by opening the link you sent to them.
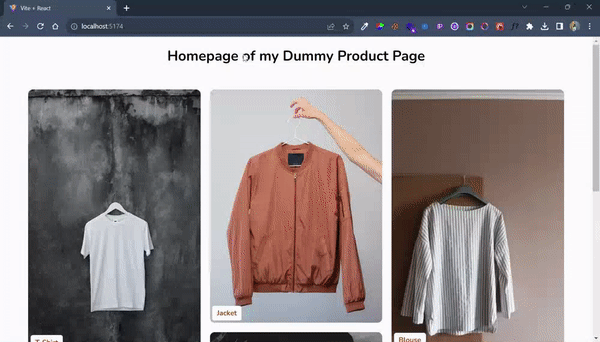
Here’s a sneaky peek at the project we're going to build: 😉
 Sneaky peek of complete project
Intrigued?🌚 Let’s dive in then.
Install the necessary dependencies
Before you put anything on the page, you must first fully configure your development environment with the necessary dependencies.
- json-server: This package hosts your data on a local server, enabling you to fetch it like an external API.
- react-router: This package enables React to create SPAs that allow navigating without refreshing the page.
npm i json-server react-router-dom
 Installing dependencies
- Then download the JSON data from this GitHub(json-data), and the assets from this GitHub(assets-data).
Now create a data folder in your root project directory and place the JSON file inside. Then create an assets folder in your public directory and place all images in that assets folder.
Your current folder structure should be like this:
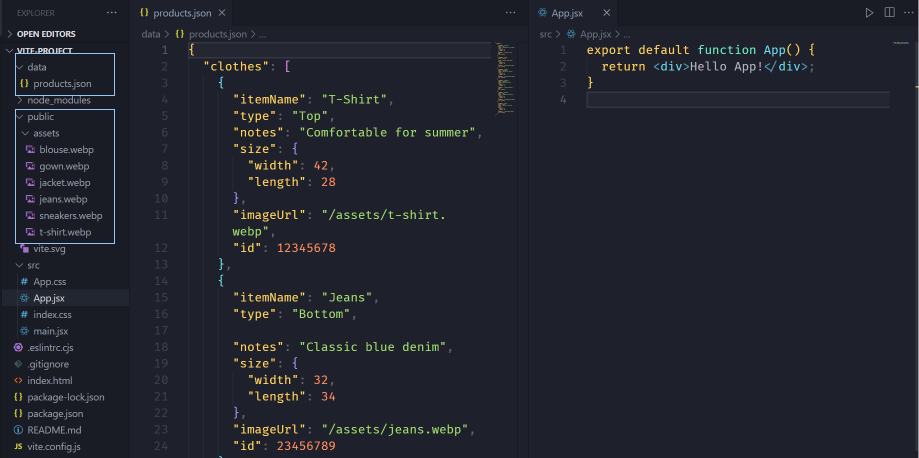 Folder structure after downloading files
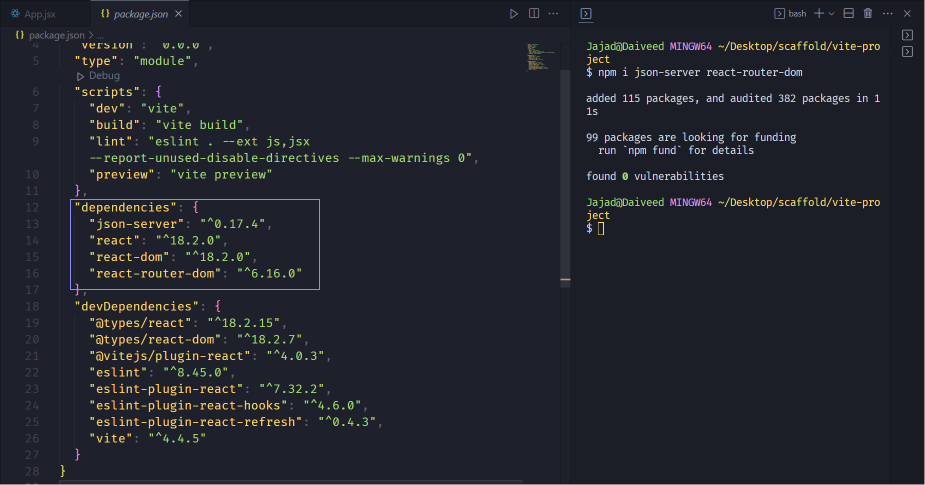
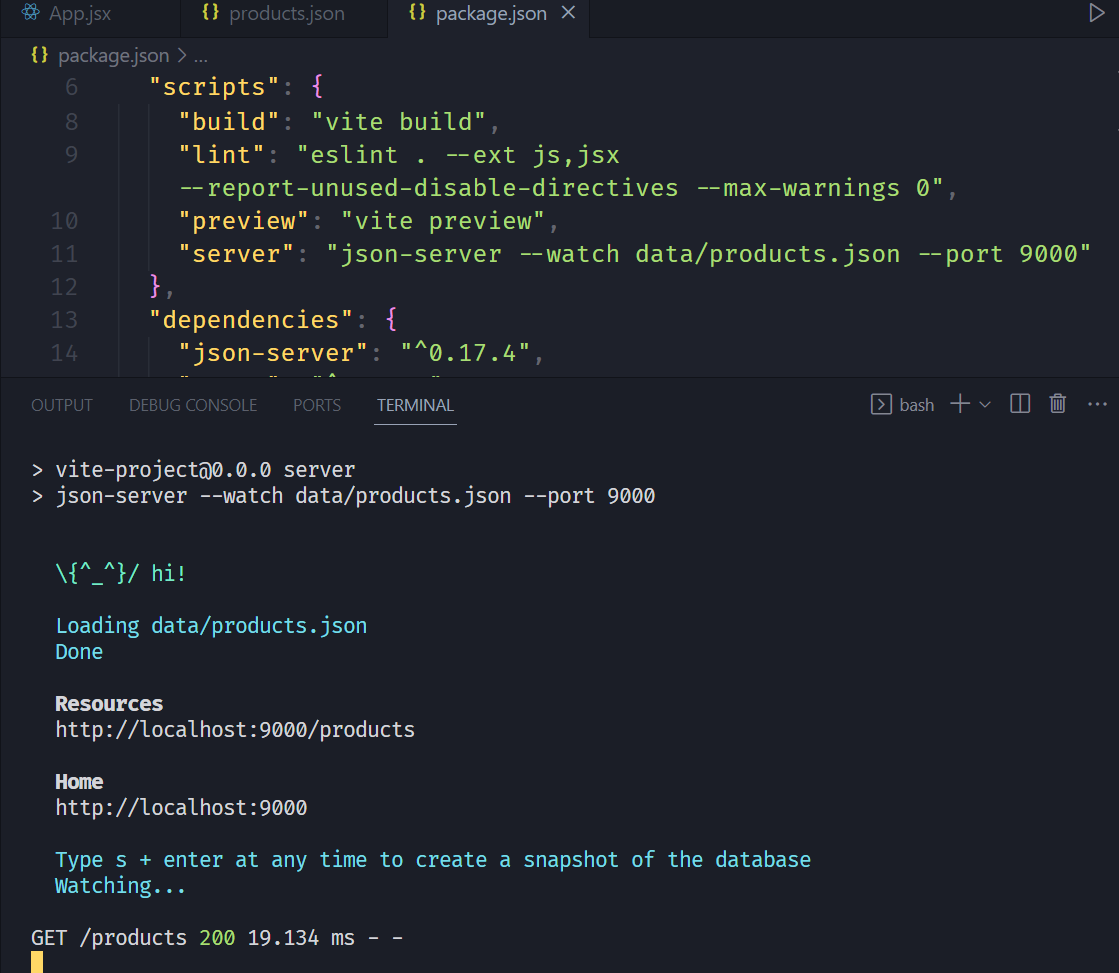
Next, modify your package.json file by adding a script which starts up the json-server
"server": "json-server --watch data/products.json --port 9000 "
 Adding server script to package.json
After that, open your terminal and start up the server with npm run server:
 Starting data server
With this, your server is running and the content of your JSON file can be accessed through the URL provided.
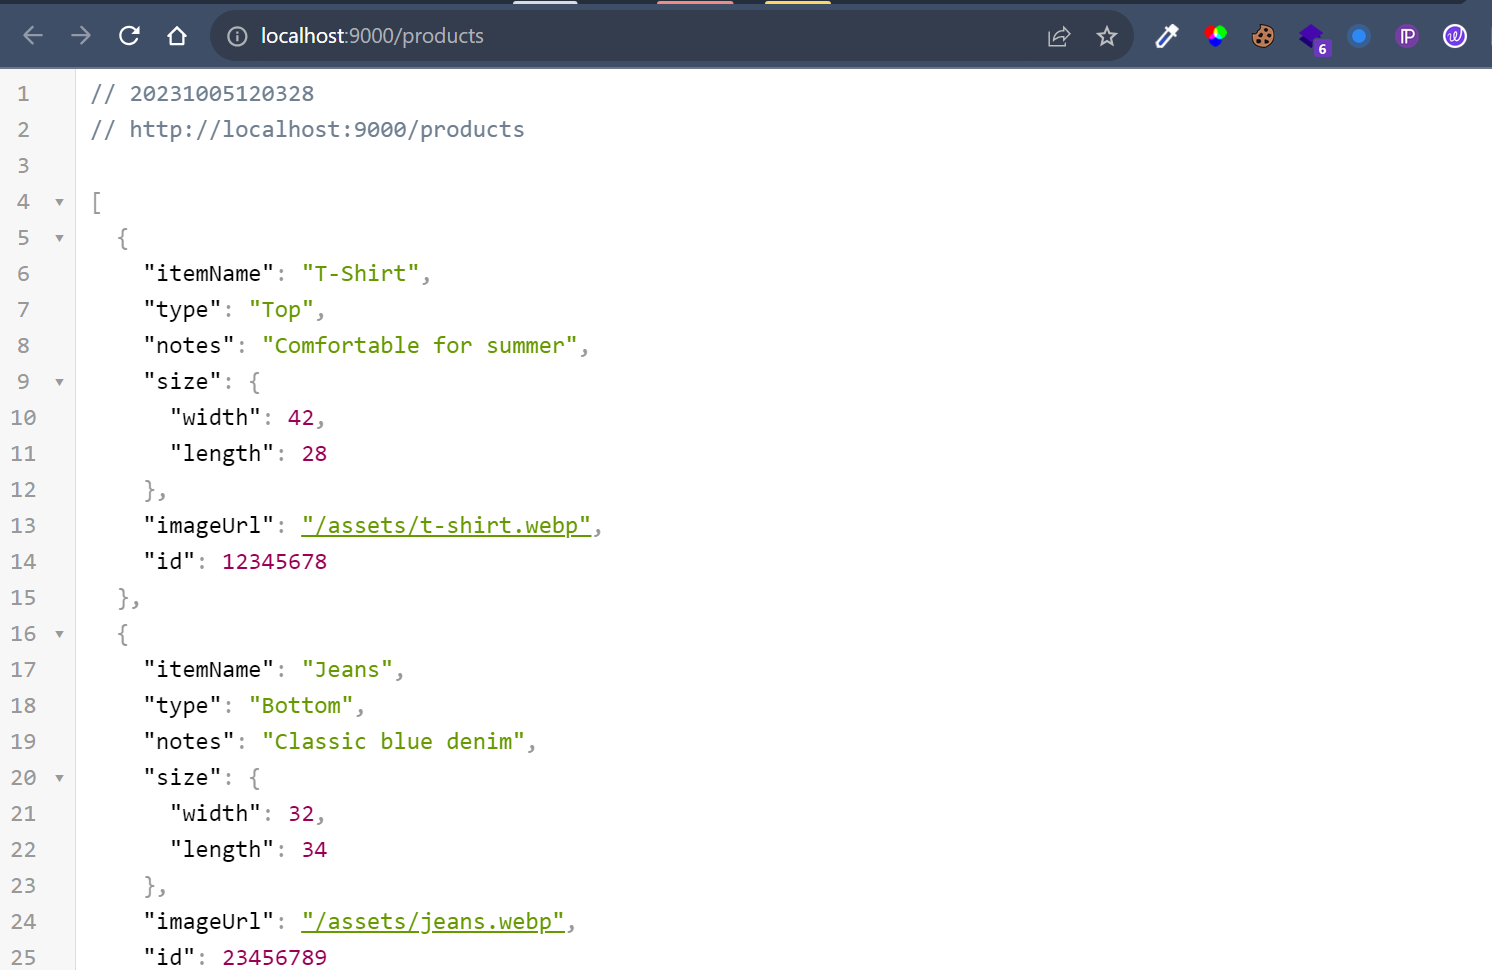 Data on Browser
Ps: If you want to view JSON files in the browser like I do, download the browser extension – JSON Viewer.
How to fetch the data and design the UI
Start by creating a HomePage component and importing it into the App component. This component will contain all the data in the first screen you saw earlier.
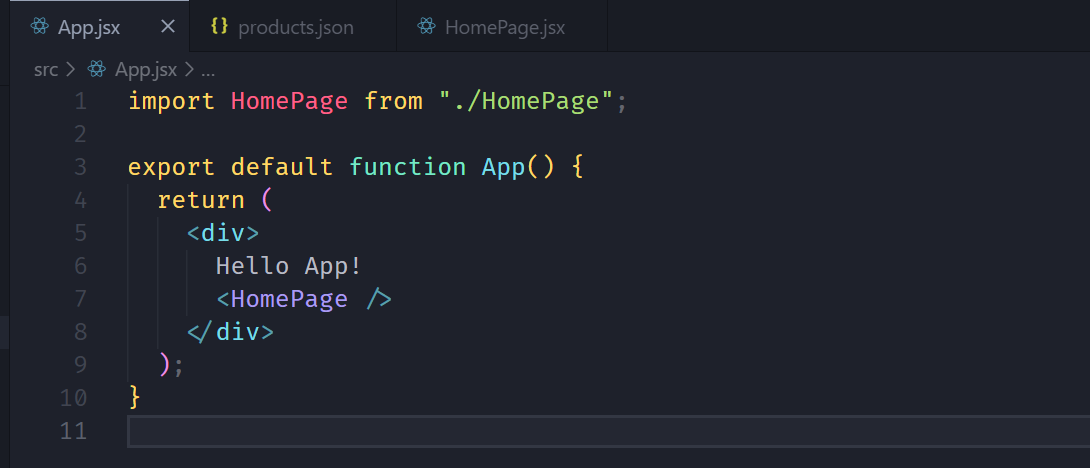 Importing the Homepage
In the HomePage component, use a useEffect hook to fetch all the data from your local API.
import { useEffect } from "react";

export default function HomePage() {
  useEffect(function () {
    async function fetchData() {

      try{
      const res = await fetch("http://localhost:9000/products");
      const clothesData = await res.json();
      console.log(clothesData);
      }
      catch (error) {  console.log(error);}
      }
    fetchData();
  }, []);

  return (
    <main className="homepage">
      <h1>Homepage of my Dummy Product Page</h1>
    </main>
  );
}
At the moment, you can already view the data fetched in the console.
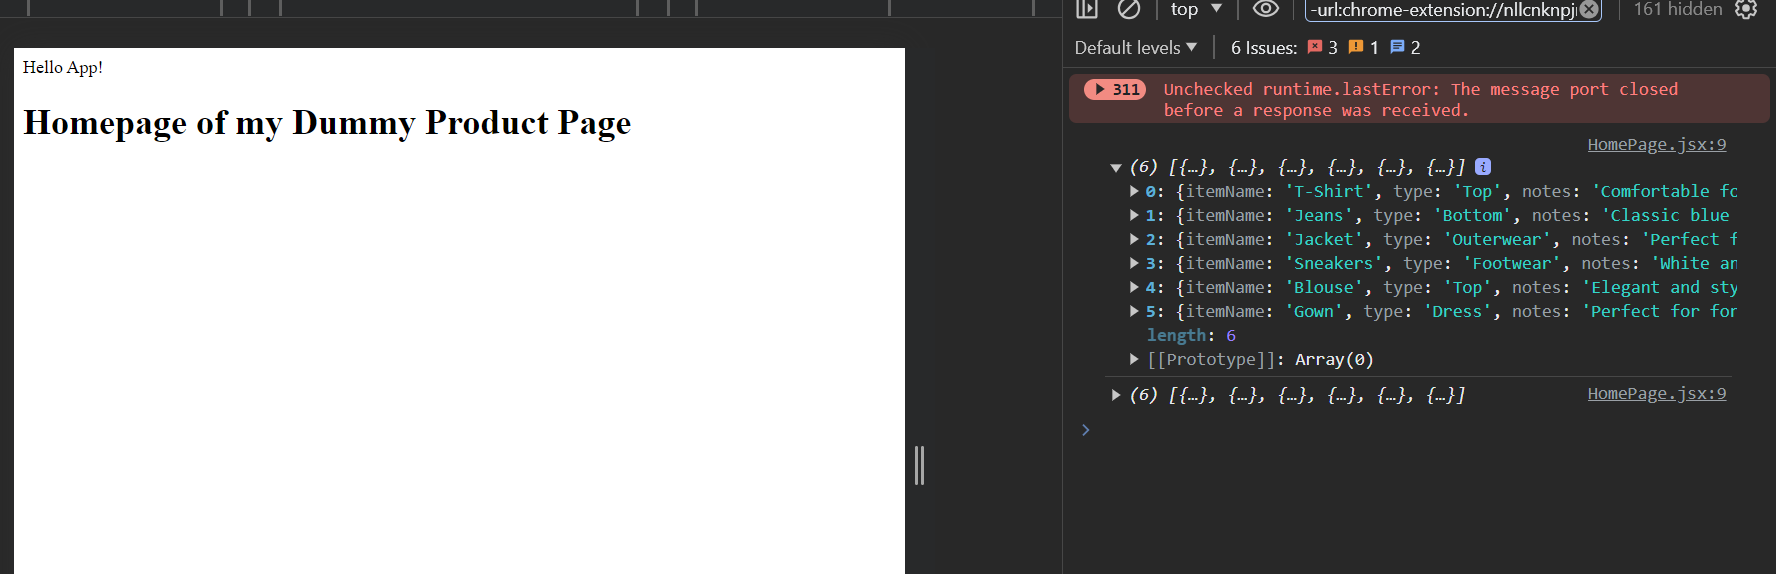 Evidence of data fetching
Next, store your data in a state using the useState hook and populate your interface with that data.
import { useEffect, useState } from "react";

export default function HomePage() {
  const [products, setProducts] = useState([]);

  useEffect(function () {
    async function fetchData() {
      try {
        const res = await fetch("http://localhost:9000/products");
        const clothesData = await res.json();
        console.log(clothesData);
        //Storing happens here
        setProducts(clothesData);
      } catch (error) {
        console.log(error);
      }
    }
    fetchData();
  }, []);

  return (
    <main className="homepage">
      <h1>Homepage of my Dummy Product Page</h1>
      <div className="products__list">
        {products.map((product) => (
          <div
            key={product.id}
                      className="product__item"
          >
            <img loading="lazy" src={product.imageUrl} alt="" />
            <h2>{product.itemName}</h2>
          </div>
        ))}
      </div>
    </main>
  );
}
All the styling required in this project is in this CSS file. Alternatively, you can paste these stylings in your index.css, which gives the same result.
@import url("https://fonts.googleapis.com/css2?family=Nunito:wght@400;700&display=swap");

*,
::before,
::after {
  margin: 0;
  padding: 0;
  box-sizing: border-box;
}
html {
  font-size: 62.5%;
}
body {
  font-family: "Nunito", sans-serif;
}

h1 {
  text-align: center;
  font-weight: 700;
  font-size: 3rem;

  & span {
    cursor: pointer;
    margin-right: 3rem;
  }
}

a,
h3 {
  text-decoration: none;
  color: #a04000;
}

img {
  width: 100%;
  display: block;
  transition: all ease-in 0.3s;
}

.homepage {
  min-height: 100vh;
  display: flex;
  align-items: center;
  padding: 1rem;
  flex-direction: column;
  gap: 3rem;

  & > * {
    width: 100%;
  }
}

.products__list {
  column-count: 1;
  column-gap: 2rem;
  padding: 2rem;

  & > * {
    break-inside: avoid;
    margin-bottom: 2rem;
  }

  & .product__item {
    border-radius: 1rem;
    overflow: hidden;
    display: block;
    position: relative;
    transition: all ease-in 0.3s;

    & h2 {
      background: #fff;
      bottom: 5px;
      left: 5px;
      padding: 0.5rem 1rem;
      border-radius: 5px;
      z-index: 2;
      position: absolute;
      transition: all ease-in 0.3s;
    }

    &:hover img {
      scale: 1.1;
    }

    &:hover h2 {
      transform: translate(10px, -10px);
    }
  }
}

.single__product {
  display: flex;
  flex-direction: column;
  padding: 2rem;
  gap: 4rem;
  border-radius: 1rem;
  overflow: hidden;

  & section {
    display: flex;
    justify-content: center;
    flex-direction: column;

    & figure {
      border-radius: 1rem;
      overflow: hidden;

      & .product__img {
        width: 100%;
      }
    }

    & aside {
      display: flex;
      flex-direction: column;
      justify-content: flex-end;
      padding: 1.5rem;

      & > h2 {
        font-size: 2.5rem;
      }
      & > h3 {
        font-size: 1.6rem;
      }
      & span {
        background: rgba(160, 64, 0, 0.5);
        padding-inline: 1rem;
        align-self: flex-start;
      }
    }
  }
}

/* Small devices (portrait tablets and large phones, 600px and up) */
@media only screen and (min-width: 600px) {
  .products__list {
    column-count: 2;
  }

  .single__product {
    & section {
      flex-direction: row;

      & .product__img {
        max-width: 300px;
      }
    }
  }
}

/* Medium devices (landscape tablets, 768px and up) */
@media only screen and (min-width: 768px) {
  .homepage {
    padding: 2rem 4rem;
  }
  .products__list {
    column-count: 3;
  }
}
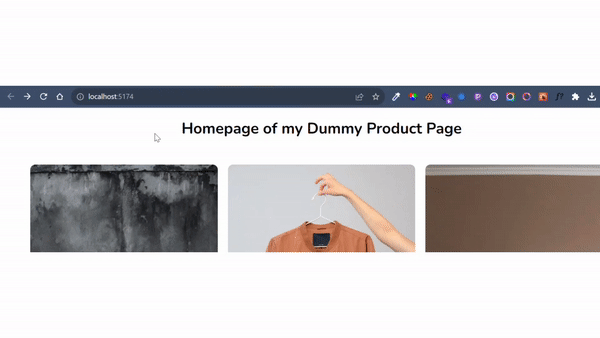
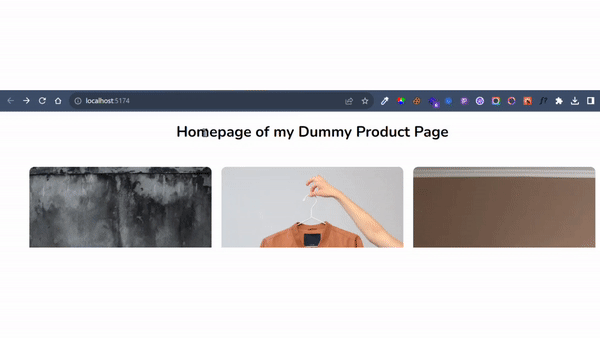
At the moment, your home page should already look identical to the demo version.
 Home page with styles added
How to store state in the URL
In order to manage and share state across multiple pages using the URL, you first need to define routes using the react-router package.
Start by creating a route for the homepage:
import { BrowserRouter, Route, Routes } from "react-router-dom";

import HomePage from "./HomePage";

export default function App() {
  return (
    <BrowserRouter>
      <Routes>
        <Route index element={<HomePage />} />
      </Routes>
    </BrowserRouter>
  );
}
- The BrowserRouter component wraps your entire application or the part of your app where you want to use routing.
- The Routes component wraps all your Route components and is responsible for rendering the first route that matches the current location.
- The Route component represents a single route in your application.
Next, create a ProductItem component responsible for showing a single item and its equivalent route.
import { BrowserRouter, Route, Routes } from "react-router-dom";

import HomePage from "./Homepage";
import ProductItem from "./ProductItem";

export default function App() {
  return (
    <BrowserRouter>
      <Routes>
        <Route index element={<HomePage />} />
         <Route path="product" element={<ProductItem />} />
      </Routes>
    </BrowserRouter>
  );
}
To view the ProductItem component, head over to your HomePage and wrap each individual product with a Link element pointing to the product page with their unique ID.
import { useEffect, useState } from "react";
import { Link } from "react-router-dom";

export default function HomePage() {
  const [products, setProducts] = useState([]);

  useEffect(function () {
    async function fetchData() {
      const res = await fetch("http://localhost:9000/products");

      const clothesData = await res.json();
      console.log(clothesData);
      setProducts(clothesData);
    }
    fetchData();
  }, []);

  return (
    <main className="homepage">
      <h1>Homepage of my Dummy Product Page</h1>
      <div className="products__list">
        {products.map((product) => (
          <Link
            key={product.id}
           // Moving to the product page
           to={`/product?id=${product.id}`}
            className="product__item"
          >
            <img loading="lazy" src={product.imageUrl} alt="" />
            <h2>{product.itemName}</h2>
          </Link>
        ))}
      </div>
    </main>
  );
}
Clicking on any product now routes you to the product page and shows the ProductItem component.
On closer observation, you may notice that the id of each item is appended to the URL via its id property (for example: product?id=12345678). This implies that you have successfully stored the id state to the URL.
How to read the state stored in the URL
In order to show data for each product, you have to read the state stored in the URL.
To implement this, start by creating a new custom hook (this helps for reusability). In your custom hook, import the useSearchParams hook.
import { useSearchParams } from "react-router-dom";

export function useURLID() {
  const [searchParams] = useSearchParams();
}
The useSearchParams hook allows you to interact with the query parameters of the URL (part of the URL that comes after the ? as seen in your URL earlier).
In order to retrieve the values from the URL, use the get method and pass in the name of the value you want to retrieve, in this case, the id.
import { useSearchParams } from "react-router-dom";

export function useURLID() {
  const [searchParams] = useSearchParams();
  const id = searchParams.get("id");
  return { id };
}
To test out your hook, import it into the ProductItem page and extract the values.
import { useURLID } from "./useURLID";

export default function ProductItem() {
  const { id } = useURLID();
  return <div>Product Item {id}</div>;
}
And voilà! Your id state is now global and can used by any component in your app. Bravo!
How to customize the Product Page
In order to fully achieve what was shown in the demo, perform another fetch based on the id to get the data for that product.
Start by creating states to store the data and account for the data loading.
const [singleProduct, setSingleProduct] = useState({});
const [loading, setLoading] = useState(false);
Then use a useEffect hook to fetch and store the data based on the unique product id.
  useEffect(() => {
    async function fetchData() {
      setLoading(true);
      try {
        const res = await fetch(`http://localhost:9000/products/${id}`);

        const data = await res.json();

        setSingleProduct(data);
      } catch (error) {
        console.log(error);
      } finally {
        setLoading(false);
      }
    }
    fetchData();
  }, [id]);
Next, use the data received to populate the interface.
import { useEffect, useState } from "react";
import { useURLID } from "./useURLID";


export default function ProductItem() {
  const { id } = useURLID();
  const [singleProduct, setSingleProduct] = useState({});
  const [loading, setLoading] = useState(false);

  useEffect(() => {
    async function fetchData() {
      setLoading(true);
      try {
        const res = await fetch(`http://localhost:8000/products/${id}`);

        const data = await res.json();

        setSingleProduct(data);
      } catch (error) {
        console.log(error);
      } finally {
        setLoading(false);
      }
    }
    fetchData();
  }, [id]);


  // If loading, display the loading div
  if (loading) return <div>Loading...</div>;

  // If not loading, display the product details
  return (
    <div className="single__product">
      <h1>
               <span>
          {singleProduct.itemName} Page id: {id}
        </span>
      </h1>
      <section>
        <figure className="product__img-container">
          <img
            className="product__img"
            src={singleProduct.imageUrl}
            alt="Image"
          />
        </figure>
        <aside>
          <h2>{singleProduct.itemName}</h2>
          <h3>{singleProduct.notes}</h3>
          <h4>
            Category: <span>{singleProduct.type}</span>
          </h4>
          <p>
            Width: <strong>{singleProduct?.size?.width}</strong>
          </p>
          <p>
            Length: <strong>{singleProduct?.size?.length}</strong>
          </p>
        </aside>
      </section>
    </div>
  );
}
Finally, account for easy navigation by providing a back button to go to the home page. You can do this using the useNavigate hook in react-router. This hook provides a function that allows you to programmatically navigate to other parts of your application.
Simply import the useNavigate hook, and initialize it with a variable like this:
import { useNavigate } from "react-router-dom";
const navigate = useNavigate();
Then call this function with an event handler, and pass in the home page route.
import { useEffect, useState } from "react";
import { useURLID } from "./useURLID";
import { useNavigate } from "react-router-dom";

export default function ProductItem() {
  const { id } = useURLID();
  const [singleProduct, setSingleProduct] = useState({});
  const [loading, setLoading] = useState(false);

  useEffect(() => {
    async function fetchData() {
      setLoading(true);
      try {
        const res = await fetch(`http://localhost:9000/products/${id}`);

        const data = await res.json();

        setSingleProduct(data);
      } catch (error) {
        console.log(error);
      } finally {
        setLoading(false);
      }
    }
    fetchData();
  }, [id]);

  const navigate = useNavigate();

  // If loading, display the loading div
  if (loading) return <div>Loading...</div>;

  // If not loading, display the product details
  return (
    <div className="single__product">
      <h1>
       // Navigate to the home page
        <span onClick={() => navigate("/")}>🔙 </span>
        <span>
          {singleProduct.itemName} Page id: {id}
        </span>
      </h1>
      <section>
        <figure className="product__img-container">
          <img
            className="product__img"
            src={singleProduct.imageUrl}
            alt="Image"
          />
        </figure>
        <aside>
          <h2>{singleProduct.itemName}</h2>
          <h3>{singleProduct.notes}</h3>
          <h4>
            Category: <span>{singleProduct.type}</span>
          </h4>
          <p>
            Width: <strong>{singleProduct?.size?.width}</strong>
          </p>
          <p>
            Length: <strong>{singleProduct?.size?.length}</strong>
          </p>
        </aside>
      </section>
    </div>
  );
}
Testing your final result now gives the following:
 Final take showing all features
Real-World Examples
- E-commerce platforms: Think of sites like Amazon. They use URLs to let you share specific product searches or settings. Thanks to this, people can easily share their favourite items or shopping lists with friends.
- Data Tools: Tools like Tableau save your custom views in the URL. This means teams can share specific data pictures with each other, making talks, shows, and decisions faster and clearer.
Additional Information
I’d like to point out a couple of things in the article not highlighted.
- The CSS used contains native CSS nesting that isn’t fully supported by all browsers, so if there are UI irregularities you notice, it may be from the browser you’re using. Feel free to switch to a browser like Google Chrome for better support or check for browser support with a tool like CanIUse and add polyfills to your code.
- If this article delved into things that were a tad complicated for you (how routing works), feel free to check out this article on Routing Animations for a better understanding.
- If you’re interested in the full code, here’s the repo, GitHub, and the Live version is here. Demo
- As an added feature, I made the code fully responsive for anyone interested in creating masonry grids for future projects, cheers!🍷
Conclusion
React's state management has evolved, with URL-based state emerging as a standout. This method not only simplifies state management but also fosters collaboration and transparency between users and developers.
So, the next time you're online and think of sharing data via a URL, remember that you have the tools to implement this feature yourself 😉. It's a nudge for developers to explore the untapped potential of URLs in state management.
Contact Information
Want to connect or contact me? Feel free to hit me up on the following:
- Twitter / X: @jajadavid8
- LinkedIn: David Jaja
- Email: Jajadavidjid@gmail.com