
By Shubham Chadokar
Recently, I wrote my first technical book – yes, I finally finished it. ?
This project was on my list for a long time. And now that I've finally completed it, I'd like to share my experience with everyone.
In this post, I tried to document my complete journey of writing the book. I discuss everything motivation and hurdles to tools, techniques and resources.
My book focuses on the Hyperledger Composer Blockchain tool. It is completely free and right now is only available in PDF format.
All these points are equally helpful for technical blog writing. So let's get started and dive into what I learned.
Motivation
I have been writing technical articles and tutorials since late 2018. By now I am quite comfortable with the process of writing an article or a tutorial. I understand how to approach the article and which tools I should use.
But when it comes to book writing – and especially a technical book – the arena is quite different.
My motivation was curiosity. I wondered how authors write books. What is their thought process? What tools do they use? And of course, how does it feel to write a book? ?
I am a Software Engineer and I have been working on Blockchain since 2018. I have learned about different blockchains like Ethereum and Hyperledger Fabric. I have also used many tools like truffle, remix and hyperledger composer.
There were a few different things I wanted to write about, like Ethereum or Hyperledger Fabric.
But since it was my first book, these topics were not ideal for me. They would've required a lot more time and effort than I could give. So, I picked a simple one: Hyperledger Composer.
First Hurdle
Before getting started, I wondered which tool or editor I should use to write the book.
Should I write in MS Word, Google Docs, or use something else?
The major issue was how to format code snippets correctly. These editors are not designed for technical writing.
There are different work arounds to add code, but it would require additional formatting.
I read lots of articles about what good tools are available for technical book writing. I tried many of them, but I wasn't happy with any of them. I wasted a lot of time finding the perfect tool.
In the end, I realized that editors only ease the writing process and make managing the book simpler. But what really matters is the content. So, I stopped searching for the perfect editor and went to the basics.
The basics: VS Code
I used my favourite code editor to write the book. Yes, VS Code ?.
After spending days searching around on the Internet, not a single article suggested that you need any specific tool or editor to write a technical book. VS Code or Atom would be more than enough.
I wrote the whole book in VS Code in my favourite markdown format. To make my writing easier, I used a couple of markdown plugins like Markdown All in One and Markdown Preview Enhanced.
The first plugin helps you write markdown while the second helps in preview mode. It shows how the markdown will look and behave after converting it into HTML or other formats.
Markdown All in One also has a preview mode, but Markdown Preview Enhanced has multiple themes and options to export the markdown file in HTML, PDF, and other readable formats like epub or Mobi.
Just a heads up – those other formats require that you install Pandoc on your machine.
I am a Windows User. For Mac Users, I found there are many great editors available like bear, ulysses and many others.
Recently, I discovered that there are many markdown editors available on Windows and MacOS which you can use for book writing. Check out Notion, Typora, iA Writer, and SimpleNote.
Bottom line Don't waste too much time finding the perfect editor. Just start writing in your editor of choice. With time you'll figure it out.
Second Hurdle
Then I started asking myself, from where should I start writing? How should I write? How should I approach it?
In short, I wanted to know how exactly I should write this book so that the reader would get the most out of it.
These questions made me scratch my head a lot. In the beginning, I changed my approach 4 or 5 times.
At this point, I suggest spending some time to really ponder your approach. Because once you're in the middle of the book, it is not going to be an easy task to change it.
Ask the questions
I asked myself these questions about the book and noted my thoughts down.
- Who is my target audience? Are they beginner, intermediate, or expert?
- Do they need some prior knowledge of the subject?
- How should I organize the book?
- How should I name the files or chapters so it's easy to find each topic?
- How should I track my progress?
- How should I maintain the versions of the chapters and drafts of the book? There will be a number of occasions that last edit was actually much better than the current version.
These are a few basic questions which I asked, and they were helpful.
My approach
I'll now describe the approach I took to writing this book.
Create a todo list
First, I created a to-do list. In this list, I noted down all the main points, topics, sub-topics, references, preface, cover, title and so on.
I pretty much added all the thoughts that came to mind about the book.
I would suggest creating 2 todo lists: one on paper and the same as a soft copy.
First, note down all the points on paper. Once you note down everything, read it 2-3 times. Then whatever new ideas pop into your head, note them down.
For example, if you think about how you're going to explain a particular topic, note it down. It will make your work much easier. Then when you start writing about that topic, you can refer to these notes.
Once you have a todo list on paper, create a soft copy and save all the points in chronological order.
This is what my todo list used to look like:
Tasks
- [x] Index
- [x] Cover
- [x] Title
- [x] Subtitle
- [x] Preface
- [x] What is Blockchain and Hyperledger Fabric?
- [x] Introduction to Hyperledger Composer
- [x] Environment Requirements and Setup
- [x] Azure
- [x] AWS
- [x] GCP
- [x] Project Objective
- [x] Project Setup in Composer
- [x] Model File
- [x] Definition
- [x] Modeling Language
- [x] project code
- [x] Script File
- [x] Definition
- [x] syntax
- [x] project code
- [x] Query File
- [x] Definition
- [x] Query Language
- [x] project code
- [x] ACL File
- [x] Definition
- [x] syntax
- [x] project code
- [x] Deployment in Composer Playground
- [x] Testing in Composer Playground
- [x] Export the .bna
- [x] Composer Rest Server
- [x] Frontend
- [x] Conclusion
- [x] References
- [x] About Me
- [x] Grammar Check 1
- [x] Grammar Check 2
- [x] Read the draft
- [x] Read the final draft
- [x] PDF format
- [x] Add page no. to PDF
- [x] New chapter starts from the new page
- [x] Thank You Note
- [x] License
- [x] End cover
I used markdown format for my todo list. You can use whatever format is easiest for you.
Start Small but Do Start
Keep in mind that you don't need to write about each topic in order. There might be many topics which depend on previous topics, but others won't.
Also, you don't have to finish writing about the topic all at once either. Whatever topics you are feeling comfortable with, start there.
Your goal should be to start the book. Aim to write 10-20% of your book within a couple of weeks. Once you start, it will keep reminding you that you have to complete the book. In time you'll realize that this turns into a great motivator.
If there is a topic you don't know as much about, don't worry. Don't hesitate to get help from the Internet. Read how other people explained it. Take inspiration and then write about it in your way.
And remember – If you use any content from other people's work, make sure you inform them, cite it properly in your text, and list their work as a reference at the end.
Consider this as a professional courtesy. -- John Wick ?
Chronological Order
It took me a while to understand the importance of having a file naming convention.
At first I started following a Chapter 1, Chapter 2 naming convention for each topic. It turned out to be a terrible idea.
The problem with this naming scheme is that you have to maintain a separate file where you explain what is in the file. Or you have to open each file to see what it contains.
Another problem is that if you add a new chapter in between then you have to rename all the following chapters.
There are two conventions I found helpful, but each has its disadvantages.
One option is to use chapternumber-topic: Name the file as a chapter number followed by the topic of the chapter. Like this 10-Introduction-of-Blockchain.
Name the chapter number in 2 digits. This will help you add sub-sections to the same chapter in different files. Like this 11-History-of-Blockchain.
Another benefit of this naming convention is it will show all the files in the order of your book chapters.
Disadvantage: Adding new chapter in between requires that you rename all the following chapters.
The second option is to use filename as topic: Name all the files as the topic name. This will give you the freedom to write topics in random order. And you can maintain the order of the book in your todo list.
Disadvantage: All the files will be arranged in alphabetical order. After 10-15 files it will be difficult to track all the files, and it'll be harder to put them together in a draft.
In the end, I followed the second method. It worked alright for me.
To create a draft, I created a Node.js script. In this script, I entered all the topics in an array. Then I created a draft file and appended all the topics in it. Of course by reading them first ?. A few perks of being a Software Engineer ?.
This script was a saviour when I was editing. Many times I updated the topics or pictures within them. I fixed grammatical mistakes. Here Grammarly really saved me...but not completely as I was using the free version. ?
Chronicle of the book journey
Writing a book is not a sprint, it is a marathon. Always save your work when you complete a topic or are done for the day.
The next day, you might get a new idea for the same topic which you already completed. You might spend an hour on it, but it doesn't look good. In this case, UNDO is great but it also has limitations (and its limits vary from editor to editor). Do not test its limits too much.
Instead of relying on the editor or making duplicate copies, I used Git for version control. Don't think that git can only be used for managing your code. It is a versitile tool and its applications are only limited by your imagination.
For the readers who don't know about git:
Git is a distributed version control system for tracking changes in source code during software development. It is designed for coordinating work among programmers, but it can be used to track changes in any set of files. --Wikipedia
You don't have to learn everything about git to use it for writing. The basic commands like init, add, commit, logs and checkout are more than enough for you to maintain your versions and keep your text accessible and safe.
There are many Git code hosting platforms available, like GitHub, GitLab and others. To host your book on one of these platforms, you can follow the below steps:
- Create an account. My personal choice is GitHub.
- Create a private repository with default choices. You can change its visibility to public in the future.
- Follow the instructions provided once the repository is created. Basically, in this step, you're connecting your local Git to your hosted repository.
- Learn 2 more commands, push and pull. Use push to push the local changes to the cloud repo and use pull to get the content from the cloud.
After this, whenever you make any changes, just add, commit and push. Simple, isn't it? ?
After a couple of commits, you will feel comfortable with git.
Check out this amazing article to learn more: Learn Git and Version Control in an Hour
The tools and resources I used
I used many tools and resources while writing, editing, formatting and designing the book.
Writing
For writing, I used the VS Code editor with a couple of markdown plugins, as I've discussed above.
For emojis, I used copy and paste emojis.
Editing
For correcting grammatical mistakes I used the free version of Grammarly. In the free version, it corrects all the basic mistakes like incorrect or missing articles, prepositions, commas, and so on.
I used the online pdf editor to add page numbers to the book.
Formatting
I used the Markdown in Preview plugin in VS Code to generate the PDF format. I used the default Git markdown formatting. You can change the formatting in the settings.
Page breaks in the PDF
As I was writing in markdown format, the PDF output was inconsistent. For example, it starts a new topic from the last page instead of from a new page.
To fix this, I used the page break html code at the end of each topic.
<div style="page-break-after:always;"></div>
This will make the content that follows it start on a new page.
You can also add the end of the page-sequence like ***** this.
<div style="page-break-after:always; display:block; text-align:center; border:none">*****</div>
About Me Page
In the About Me section of my book, I divided the content into two columns: a brief about me and a profile picture.
It took me a while to realize the full capabilities of the markdown format. We can add plain html code in it. Here's what my "about me" page says:
<div >
  <img align="right" style="padding-left:65px" src="../images/profilepic.JPEG" width="400px" height="450px" />
</div>

Hello, I am **_Shubham Kumar Chadokar_**.

I am a Software Engineer and in my short career of almost 4 years, I've had the opportunity to work on Blockchain, Nodejs, Golang, and Docker.

I've learned about other tech as well, but these are my primary focus. I love to write articles and tutorials on new tech by following a hands-on approach. This is my first book.

Front end development isn't my specialty, and that's why I didn't include it in the book.

If you have any queries or questions, please feel free to drop me an email.

:e-mail: [hello@schadokar.dev](hello@schadokar.dev)
:globe_with_meridians: [schadokar.dev](https://schadokar.dev)
<img src="https://github.githubassets.com/images/icons/emoji/octocat.png" style="width:20px;" />[github.com/schadokar](https://github.com/schadokar)
For octacat, I used the img tag.
It looks like this.

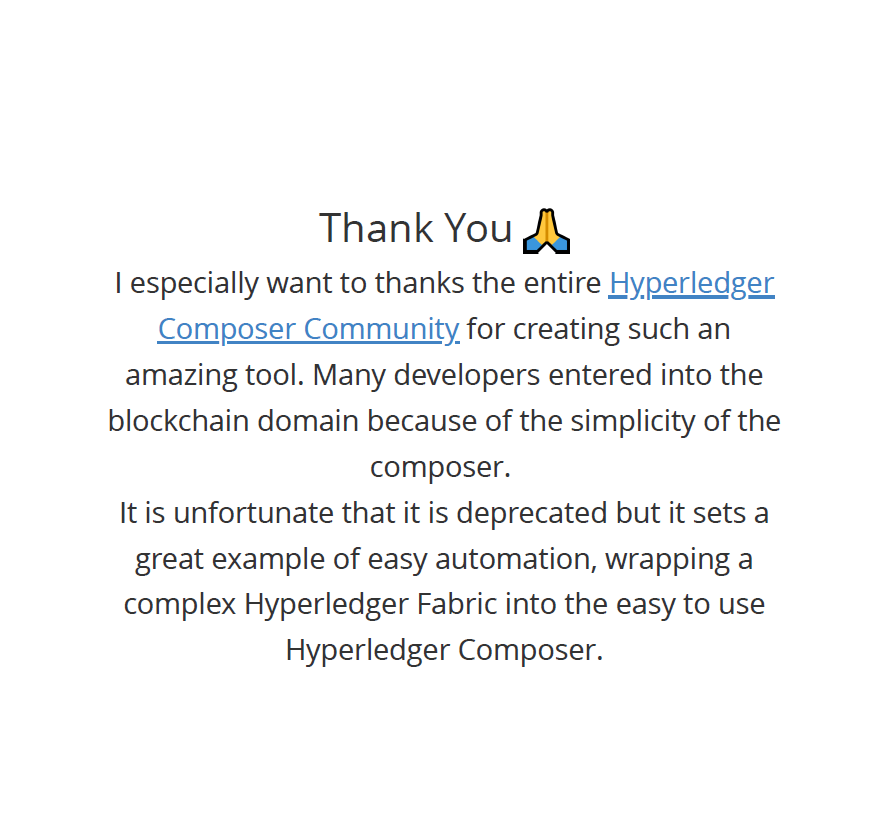
Thank You Page
I added a thank you page to express my gratitude to the Hyperledger Composer Community for their work. I tried to add the content in the middle of the page.
<div style="padding-top:40%; text-align: center; font-size:35px;">
Thank You <img src="https://emojipedia-us.s3.dualstack.us-west-1.amazonaws.com/thumbs/240/microsoft/209/person-with-folded-hands_1f64f.png" style="width:40px" />
</div>
<div style="text-align: center; font-size:25px;">
I especially want to thanks the entire
<a href="https://github.com/hyperledger/composer/graphs/contributors">Hyperledger Composer Community</a> for creating such
an amazing tool. Many developers entered into the blockchain domain because of the simplicity of the composer. <br />
It is unfortunate that it is deprecated but it sets a great example of easy automation,
wrapping a complex Hyperledger Fabric into the easy to use Hyperledger Composer.
</div>
It looks like this.
Book Title and Sub-title
The book title should make the contents of the book clear in a few words or one short sentence.
While you're writing the book, note down all the keywords you use. This will help you to come up with a great title. You want to capture the essence of the book and let readers know, for example, whether it's theoretical or more hands-on.
A sub-title should give readers more detail about what they will get from this book or what they are going to learn.
A one sentence sub-title is ideal, and shouldn't be any longer than two sentences. Don't overdo it – let readers read the book. The idea is to give readers a taste of the complete book in one sentence but still not to tell anything ?.
My book title is Playtime with Hyperledger Composer and sub-title is Create a supply chain management project in Blockchain using Hyperledger Composer.
When you start writing your book, don't spend much time on the book title. When you finish writing, you'll be in a much better position to decide the book title. Everything is written, you know what it is all about, and what others will get from it.
In my case, I changed the book title and book cover at the last moment before publishing it. Before that, it was so boring ?.
Designing the Book Cover
You might have heard the idiom Don't judge a book by its cover.
But the harsh reality is, a book's cover is very important. It is the face of the book.
Try to keep it simple and informative. Don't overdo it. A simple title and a short subtitle with an image or two is more than enough.
I started designing the book cover by taking references from other books, and trying to edit them in Paint. The result was a complete disaster, and I couldn't think of anything good.
Then I realized that designing is not my cup of tea. I decided to hire a freelancer for this, so I checked out freelancing sites like UpWork and Fiverr.
Then, I found Canva. It's such a great tool. Amazing! ? ? ? ?
Canva is a graphic design platform that allows users to create social media graphics, presentations, posters and other visual content. It is available on web and mobile and integrates millions of images, fonts, templates and illustrations. Wikipedia
I used one of the templates from the canva book cover section and created my book cover. Not bad, right? ?

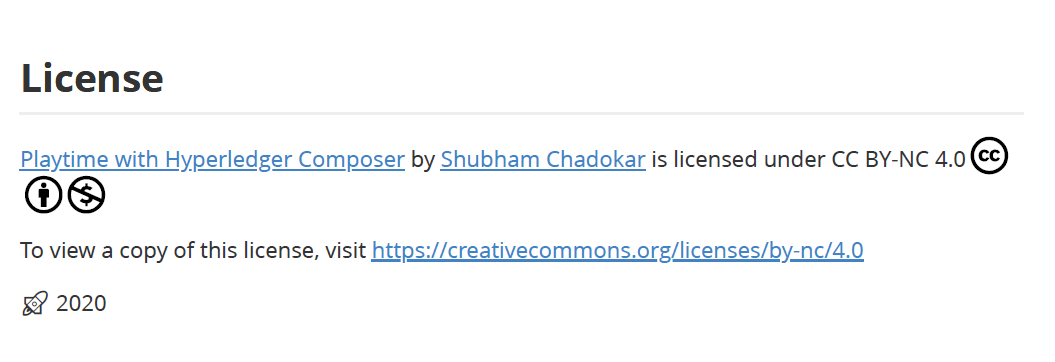
License
I wrote this book out of curiosity and for fun. So, I wanted it to be free, and open-source, but I didn't want others to monetize it. Without a license, there are no restrictions.
I searched for a while and found a great answer on StackOverflow regarding free licenses, Creative Commons Licenses.
Creative Commons is a nonprofit organization that helps overcome legal obstacles to the sharing of knowledge and creativity to address the world’s pressing challenges.
They have provided a form with a couple of questions related to what kind of license you want. Fill out the form and voilà ?, your license is ready. Copy and paste it or use the embedded link.
Publishing your book
There are many options you can choose from to publish your book. You can approach a publishing house and send in your draft. If they want to publish you can go ahead and secure a deal.
After this, the publishing house takes care of other processes like formatting, editing your book, creating an attractive book cover, all the licensing, the publishing process, and most importantly marketing.
In short, if you want to monetize your book and you're expecting a good amount, then a publishing house is the best option available.
Another option is self-publishing. Yes, we can self-publish our own books. Amazon's Kindle Direct Publishing provides a great platform for this. It is free and it publishes the book worldwide.
You'll get 70% of the profits for each sale. The kdp take cares of all the publishing process. You just have to write the book, upload it and format it.
You simply enter the price you want to charge, along with some basic info about the book and and yourself. You can follow their tutorials for more info – they have done a great job.
But I wanted to keep my book free and didn't have the patience for the above processes. So, I self-published it without using any third party.
I just converted the book to PDF format and saved it in an AWS S3 Bucket so that anyone can download it. Then I hosted the book on my website. Simple. ?
Share your work
Once you complete your masterpiece, it is time to show it to the world.
If you haven't teamed up with a publisher or even if you did, you have to spread the word.
These are the few platforms I used, but don't limit yourself.
LinkedIn is a professional platform and many developers are on it, no matter their specialty in the tech world. You'll also find people of every profession, you name it.
Share your work with them, ask for feedback. 90% of the time you'll get a reply. I shared my work with Dan Selmon, one of the Hyperledger Composer contributors, as well as Srinivas Mahankali, who wrote many books on Blockchain.
They were both very helpful and gave their honest feedback. I am thankful to Dan, who even offered to share the book among his network on LinkedIn and Twitter. ?
Reddit is a community hub. You will find many active communities on various subjects here. You just have to join the community that's relevant to your work and share it there.
You'll find a lot of active members on Reddit, in these groups, and they are not shy to share their opinion. If there is a room for improvement, some of them might offer to help.
But before sharing, DO READ THE GUIDELINES. If you violate any of them, they will remove your post.
Twitter is not just a social platform where people share their opinions. So don't underestimate it.
If you like facts and figures, here you go: there are 1.3+ billion accounts on Twitter, 330 million monthly active users, 152 million daily active users and 500 million tweets per day. This is huge.
You just have to craft your message and select the right keywords within the 280 characters limit and you can potentially reach a large audience.
Blogs
Do some research and figure out which publications or digital magazines publish articles in your book's category. Share your book summary and details with them.
Ask them if they can write an article about your book. Or you can write an article about your book and share the draft with those publications.
There are also many other platforms you can try – just do a bit of digging.
Conclusion
This was my first experience writing a book. It took some time but it was worth it. Now, I have another badge on my portfolio. ?
I learned a lot from this experience. This article serves as documentation of all my learning for anyone who wants to write their first book or their next book.
Below is the final list of tools I've used so far.
Any suggestions for others are most welcome.
Thank you for reading and don't forget to share your first book with me. ?
Final List of Tools I used
- Editor: Visual Studio Code with 2 Markdown plugins
- Versioning Tool:Git and GitHub
- Emojis: Copy and Paste emojis
- Grammar Check: Grammarly
- License: Creative Commons Licenses
- Cover Design: Canva
- PDF page number: online pdf editor
- eBook storage: AWS S3 bucket.
- Book Hosting: On my blog
Thanks for Reading
If you have any feedback or suggestions to help me improve this article please connect with me on twitter or email me.
- Read my other articles
- Subscribe to My Newsletter
Cover photo by Thought Catalog on Unsplash