

As I’ve described in both my Linux in Action book and Linux in Motion course, Nextcloud is a powerful way to build a file sharing and collaboration service using only open source software running on your own secure infrastructure. It’s DropBox, Skype, and Google Docs all rolled into one, but without the vendor lock-in, security, and privacy fears.
While the platform is certainly well-designed and polished, the initial installation can be tricky. Looking for proof? Try manually installing Nextcloud on an Ubuntu 18.04 server using any one of the detailed instructions available around the internet. Sometimes everything goes smoothly, but not always. You might encounter packages no longer supported by the official upstream repositories or changed dependencies. Don’t blame the people who wrote those guides: blame the pace of change in official Linux software repositories.
Using snapd to Install Nextcloud
There is a better way, but it’s got its own dark side.
As I wrote in this article, Canonical’s snapd package management system was designed to simplify the safe and predictable distribution of software across multiple Linux distributions and releases. And it works. Take the Nextcloud snap. Rather than investing 15 minutes, a lot of terminal typing — and some serious troubleshooting when things don’t go the way you’d hoped — preparing the underlying software stack on your server for Nextcloud works with a single command:
snap install nextcloud
That’s it. No really. The snap system will stand up a working Nextcloud server for you, complete with backend layers running standalone instances of MySQL, Apache, Redis, and PHP. Try it yourself on your snap-enabled Linux machine.
So far so good. You can now manually set up an admin account and assign a password (hopefully better than the one in this example):
nextcloud.manual-install admin password
One more step. By default, Nextcloud will accept HTTP requests addressed to localhost from the server itself. But, as will usually be the case, you’ll probably be setting things up on a remote or virtual server (like an AWS EC2 instance, for instance). So you’ll need to tell Nextcloud to expect remote browser requests made to your IP address or domain name. This is how it might look. Note how you assign a separate ID number (1 and 2 in this example) for each domain.
nextcloud.occ config:system:set trusted_domains 1 \
    --value=nextcloud.bootstrap-it.com$ nextcloud.occ \
    config:system:set trusted_domains 2 \
    --value=192.168.2.45
Those values will be saved to the config.php file, which you can read for yourself.
cat /var/snap/nextcloud/current/nextcloud/config/config.php
With that done, you should now be able to browse to the Nextcloud server’s IP address (or domain name) and log yourself into the admin console using the admin credentials you set up just before. I’ll let you explore the interface on your own.
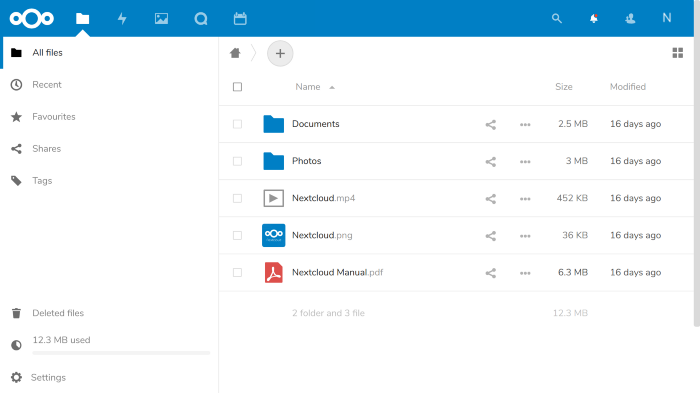 The Nextcloud UI
Nextcloud Troubleshooting and Administration
But I did say that the Nextcloud snap had its dark side, didn’t I? Well, suppose something goes wrong. Suppose, one fine day, your users are unexpectedly prevented from logging in normally to the Nextcloud UI. Even login attempts by admin users fail. Your first and only option at this point is to SSH into the server.
I’m sure this won’t be your first administration experience on a Linux server. You’re wearing a fully-stocked tool belt and — to be honest about it — you’re actually looking forward to the challenge.
But wait! What’s this? The /etc/ directory contains no files with any obvious connection to the Apache, Redis, and MySQL services that you know are running, and the logs in /var/log/ are all mysteriously quiet. Even systemctl status doesn’t offer any hope. So much for your fully-stocked Linux tool belt.
Then, like the proverbial ton of bricks, it hits you: you installed Nextcloud using snapd. All the old rules don’t apply. Where are you going to go for help on this one? Well, if I may humbly suggest, you could start by reading my Managing Ubuntu Snaps article. That will explain where snapd hides important snap-based configuration files on your file system. It will also introduce you to some helpful snap admin tools.
However, the rest of this article will focus on the Nextcloud project’s own command line tools — tools that can help you through some serious administration magic.
You already saw the Nextcloud CLI at work when you created your admin user and added one or two new trusted domains. One more important setup step is adding TLS encryption to your web service. The odds are that you would normally use the Electronic Freedom Frontier’s certbot tool to get a free cert from Let’s Encrypt. But that won’t work here…because snap. Instead, you’ll run Nextcloud’s own tool for requesting and installing a Let’s Encrypt certificate:
nextcloud.enable-https lets-encrypt
But for a full overview of the whole range of available CLI operations, run nextcloud.occ. You’ll be shown a long list of facilities along with their descriptions and some syntax guidance. Spend a couple of minutes looking through what that command displayed on your machine.
nextcloud.occ
You could, for instance, list all the applications currently available to Nextcloud organized by Enabled or Disabled.
nextcloud.occ app:list
Enabled:
  - accessibility: 1.1.0
  - activity: 2.8.2
  - calendar: 1.6.4
  - cloud_federation_api: 0.1.0
  - comments: 1.5.0
  - dav: 1.8.1
  - federatedfilesharing: 1.5.0
  - federation: 1.5.0
[..]
Your next step might be to disable one of the currently enabled apps (or vice versa):
nextcloud.occ app:disable calendar
You can use app:update to manually update all or specified apps:
nextcloud.occ app:update --all
spreed new version available: 5.0.3
spreed updated
Someone forget a password? You can reset it:
nextcloud.occ user:resetpassword admin2
Enter a new password:
Confirm the new password:
Successfully reset password for admin2
I’m sure you’re getting the idea: you use top-level commands — like app, user, and maintenance — and add a colon and then a secondary command like list. Everything is nicely arranged into fairly intuitive domains. Here are some examples:
nextcloud.occ app:list
nextcloud.occ user:add
nextcloud.occ maintenance:repair
Finally, the status command will print some basic version information:
nextcloud.occ status
  - installed: true
  - version: 15.0.7.0
  - versionstring: 15.0.7
  - edition:
I think you’ve got the basics you’ll need to find your way around. The rest is up to you.
Looking for more? You might enjoy my books and Pluralsight courses on Linux, AWS, and Docker-related topics.