

Hack The Box (HTB) is an online platform allowing you to test your penetration testing skills. It contains several challenges that are constantly updated. Some of them are simulating real world scenarios and some of them lean more towards a CTF style of challenge.
Note. Only write-ups of retired HTB machines are allowed.
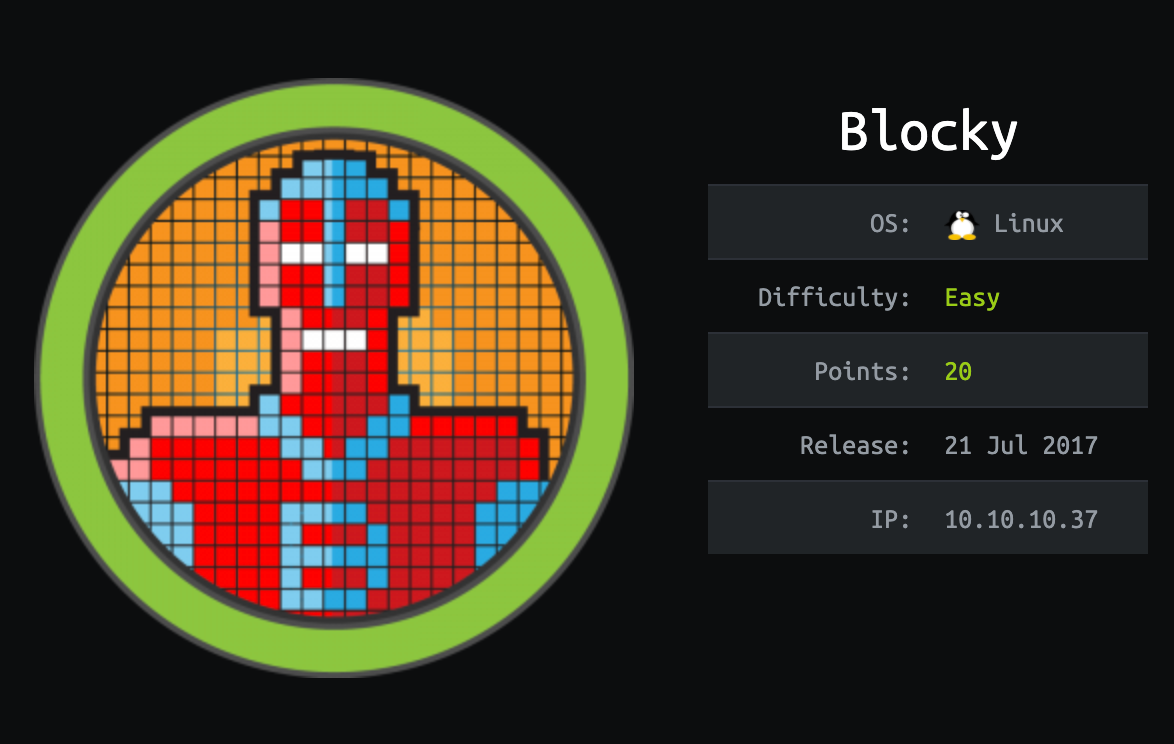
Blocky is fairly simple overall, and was based on a real-world machine. It demonstrates the risks of bad password practices as well as exposing internal files on a public facing system.
We will use the following tools to pawn the box on a Kali Linux box:
- nmap
- nikto
- gobuster
- wpscan
- jd-gui
- hash-identifier
Let's get started.
I add blocky on the /etc/hosts file
nano /etc/hosts
with
10.10.10.37 blocky.htb

Step 1 - Reconnaissance
The first step before exploiting a machine is to do a little bit of scanning and reconnaissance.
This is one of the most important parts as it will determine what you can try to exploit afterwards. It is always better to spend more time on this phase to get as much information as you can.
Port scanning
I will use Nmap (Network Mapper). Nmap is a free and open source utility for network discovery and security auditing. It uses raw IP packets to determine what hosts are available on the network, what services those hosts are offering, what operating systems they are running, what type of packet filters/firewalls are in use, and dozens of other characteristics.
There are many commands you can use with this tool to scan the network. If you want to learn more about it, you can have a look at the documentation here.
I use the following command to perform an intensive scan:
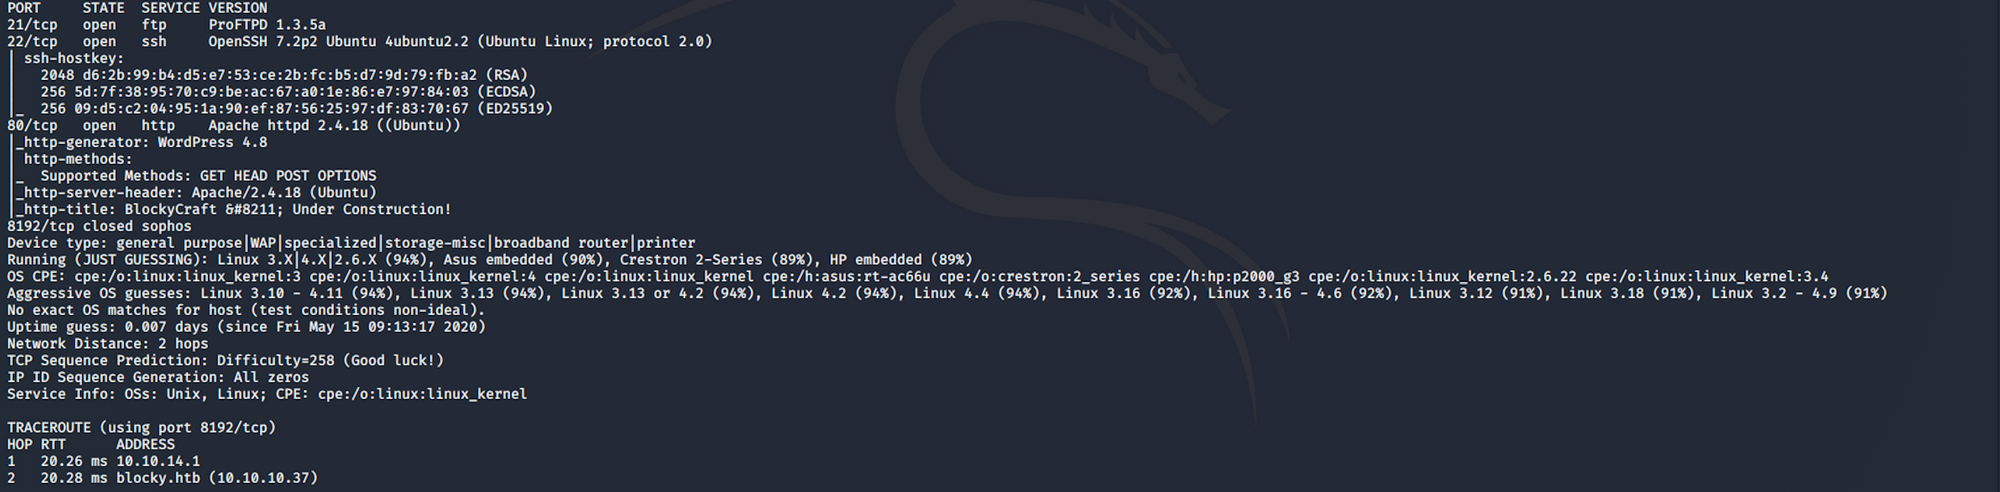
nmap -A -v blocky.htb
-A: Enable OS detection, version detection, script scanning, and traceroute
-v: Increase verbosity level
blocky.htb: hostname for the Blocky box
If you find the results a little bit too overwhelming, you can do another command to get only the open ports.
nmap blocky.htb

We can see that there are 3 open ports:
Port 21, File Transfer Protocol (FTP) control (command)
Port 22, Secure Shell (SSH), secure logins, file transfers (scp, sftp) and port forwarding
Port 80, most often used by Hypertext Transfer Protocol (HTTP)
Directory scanning
I use Gobuster. Gobuster is a directory scanner written in Go. More info on the tool here. Gobuster uses wordlists on Kali which are located in the /usr/share/wordlists directory. I'm using wordlists from dirb and dirbuster, but you can download more wordlists from SecLists here
I use this command for the dirb common.txt wordlist
gobuster dir -u blocky.htb -w /usr/share/wordlists/dirb/common.txt

We can see some there are WordPress directories (wp-admin, wp-content-wp-includes). There is also a couple of other interesting pages (/phpmyadmin and /plugins)
I use Nikto.
Nikto is an Open Source web server scanner which performs comprehensive tests against web servers for multiple items, checks for outdated versions of over 1250 servers, and version specific problems on over 270 servers. It also checks for server configuration items such as the presence of multiple index files, HTTP server options, and will attempt to identify installed web servers and software.
More info on the tool here
I use this command to launch the scan
nikto -host blocky.htb

I see a couple of directories that could be interesting (/wp-content/uploads/ and /wp-login.php)
Finally I use WPScan. WPScan is a black box WordPress vulnerability scanner that can be used to scan remote WordPress installations to find security issues
I use this command to launch the scan
wpscan --url blocky.htb -e
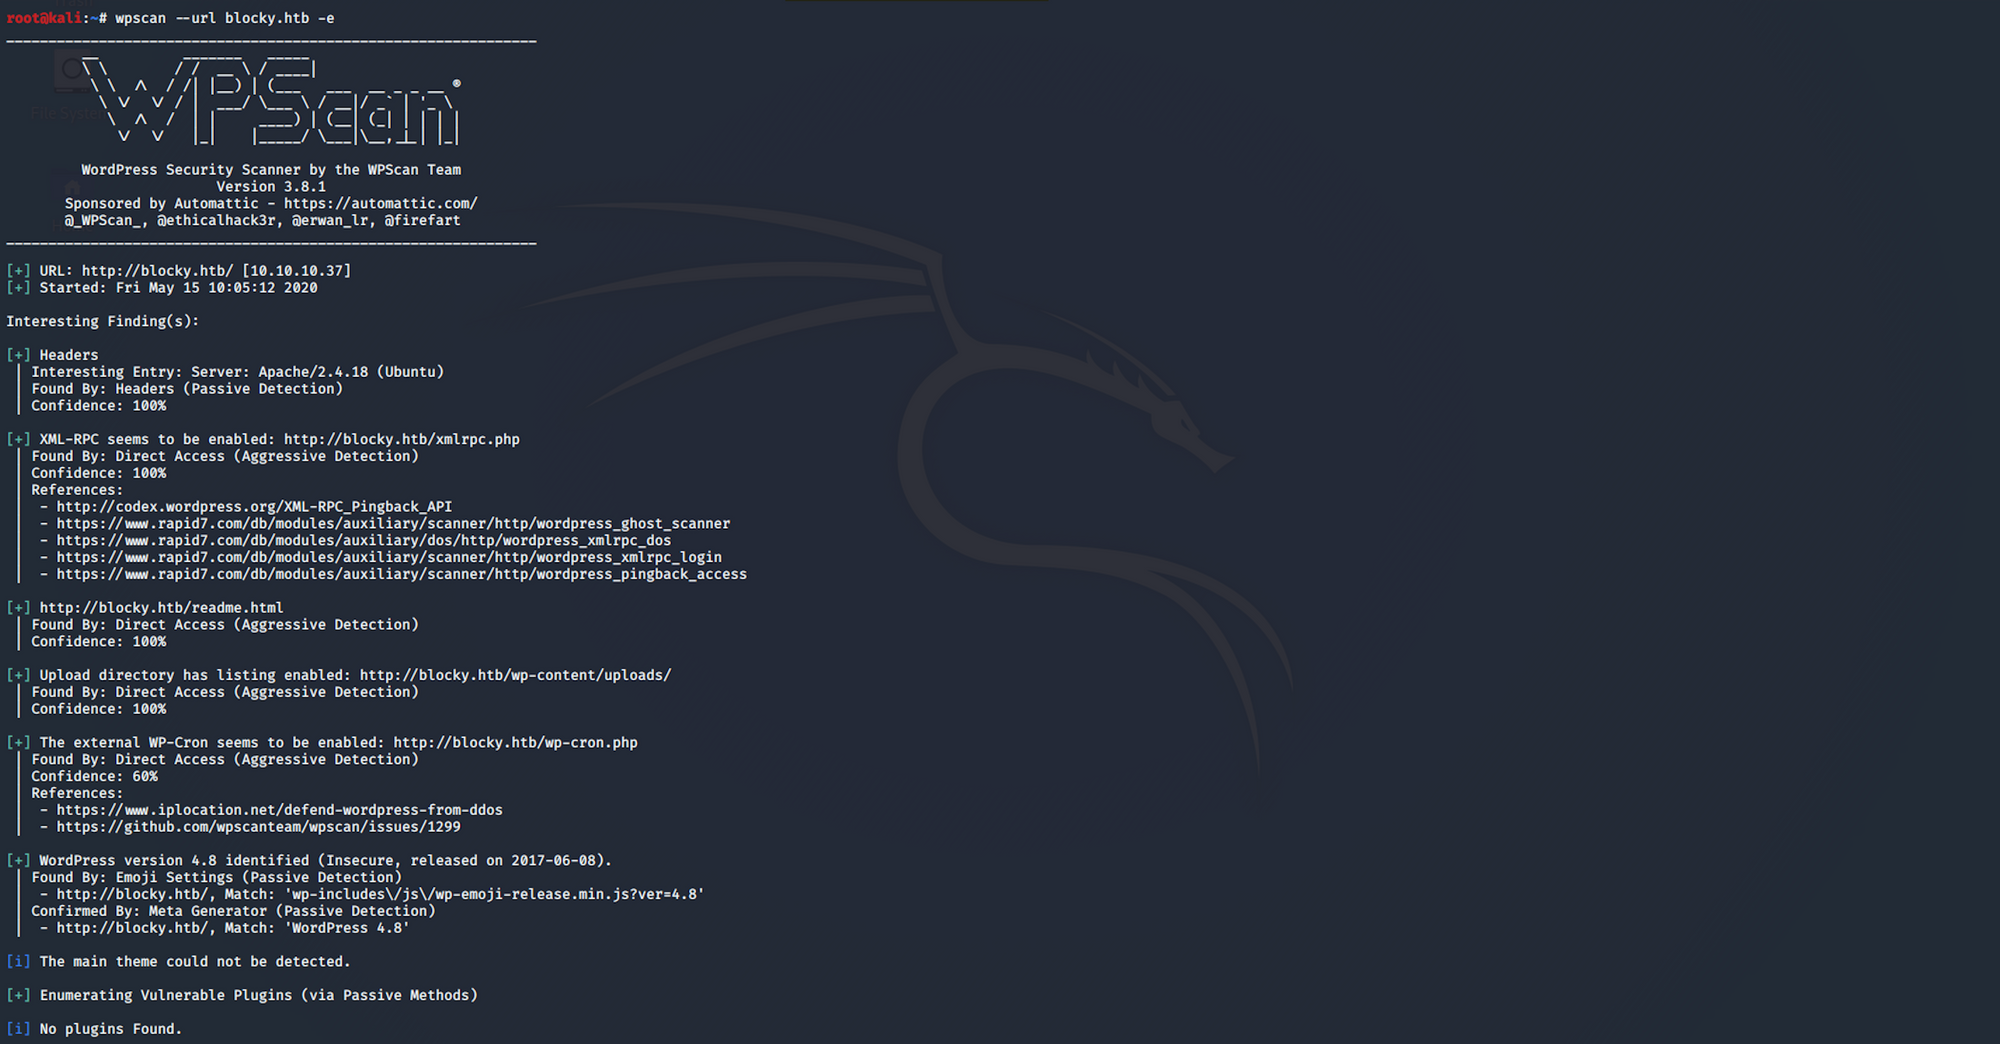
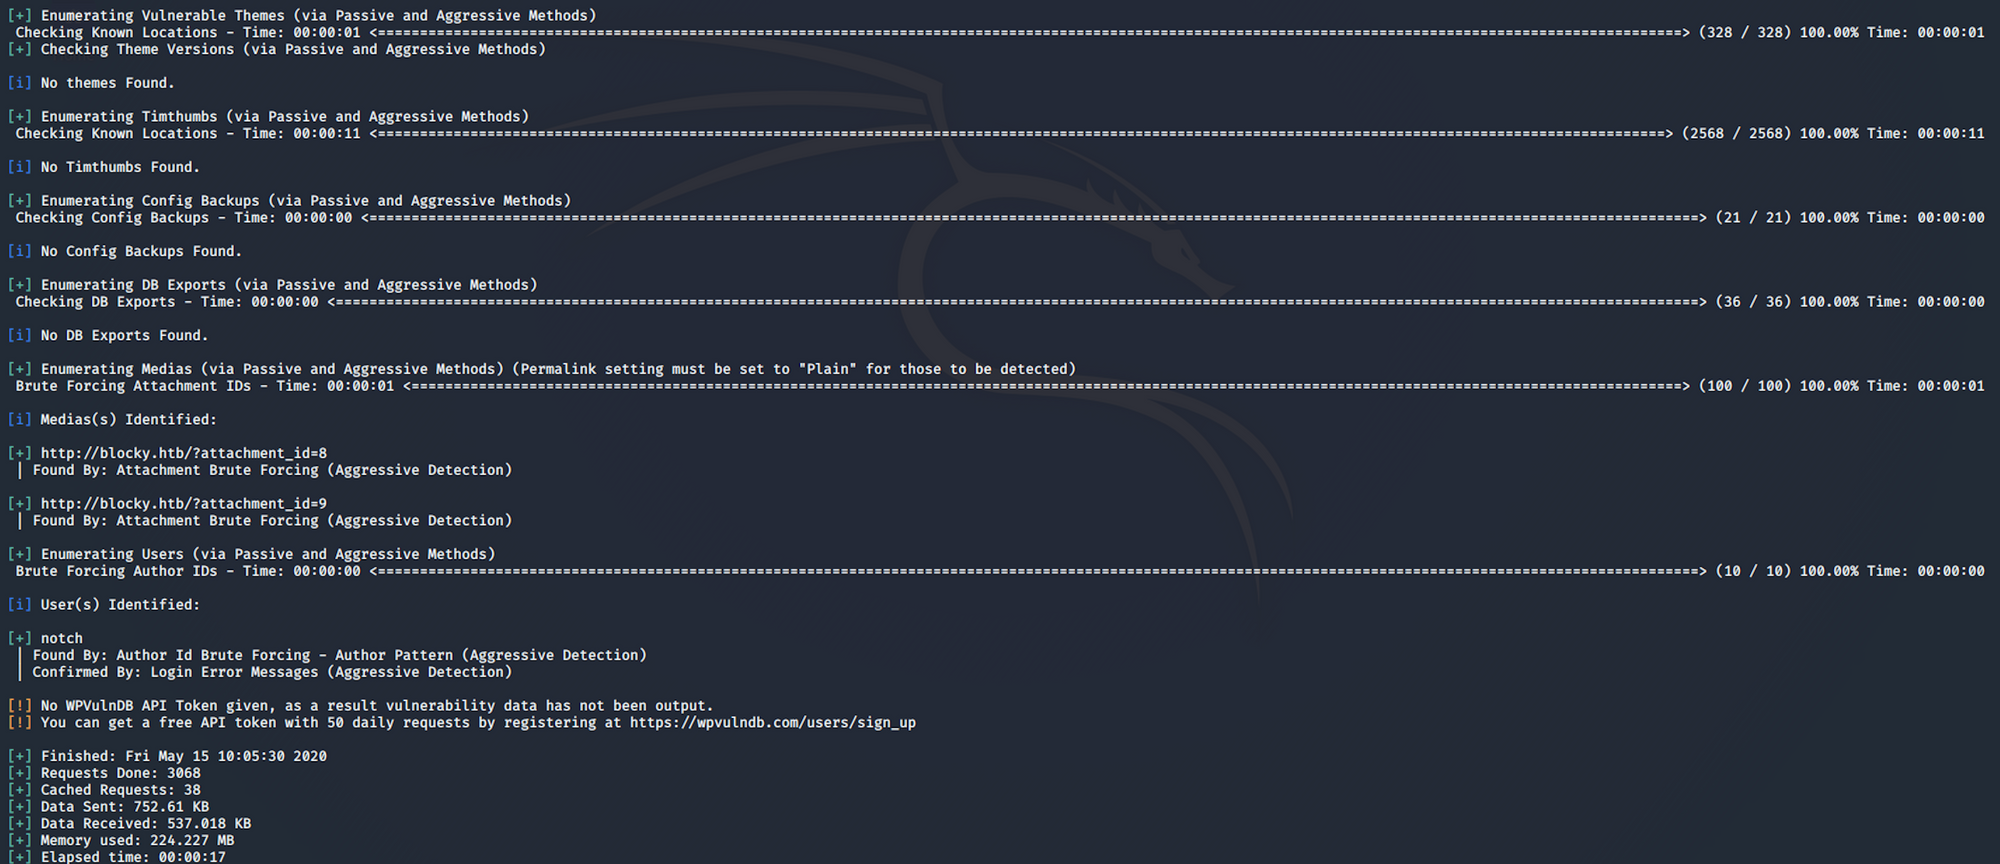
We have one username, Notch
Step 2 - Visiting the web page
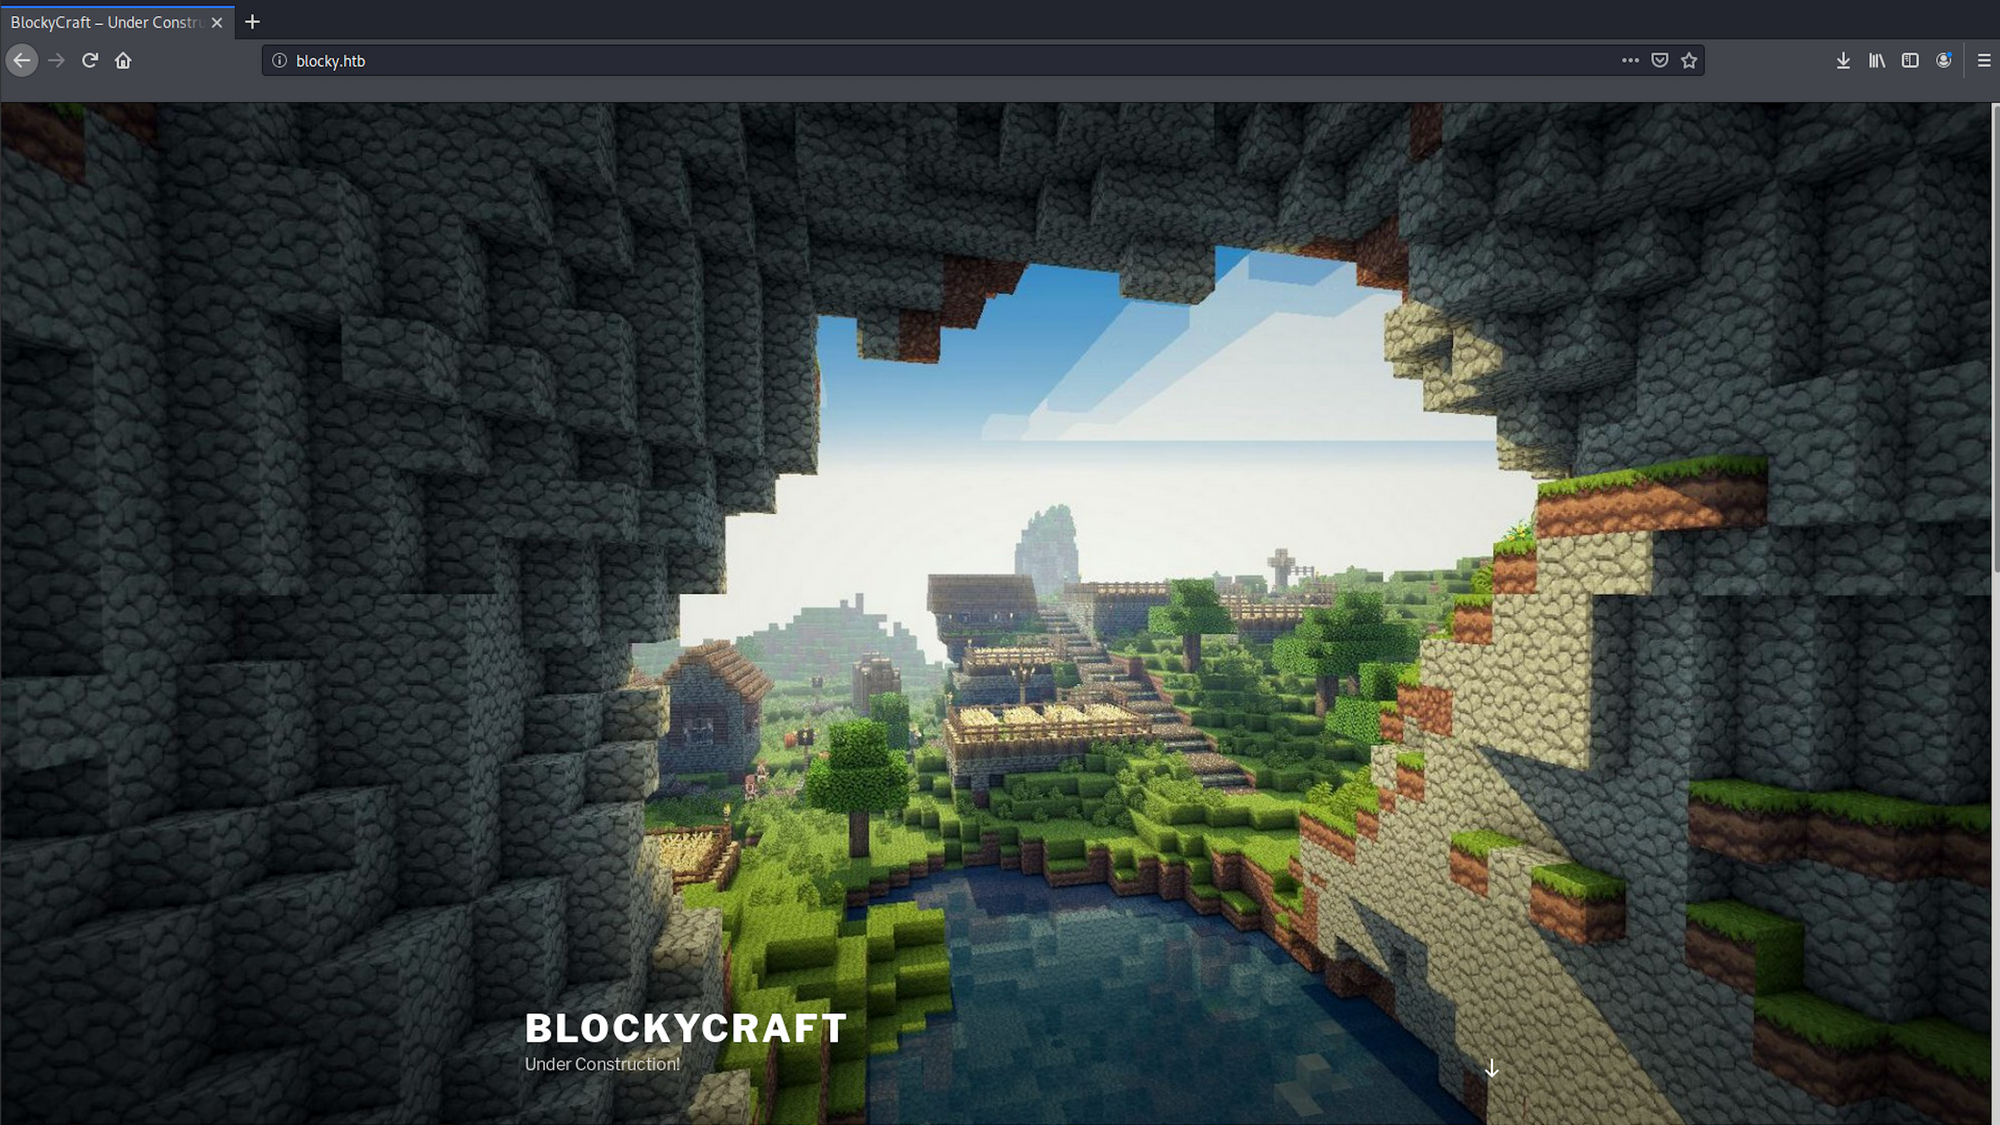
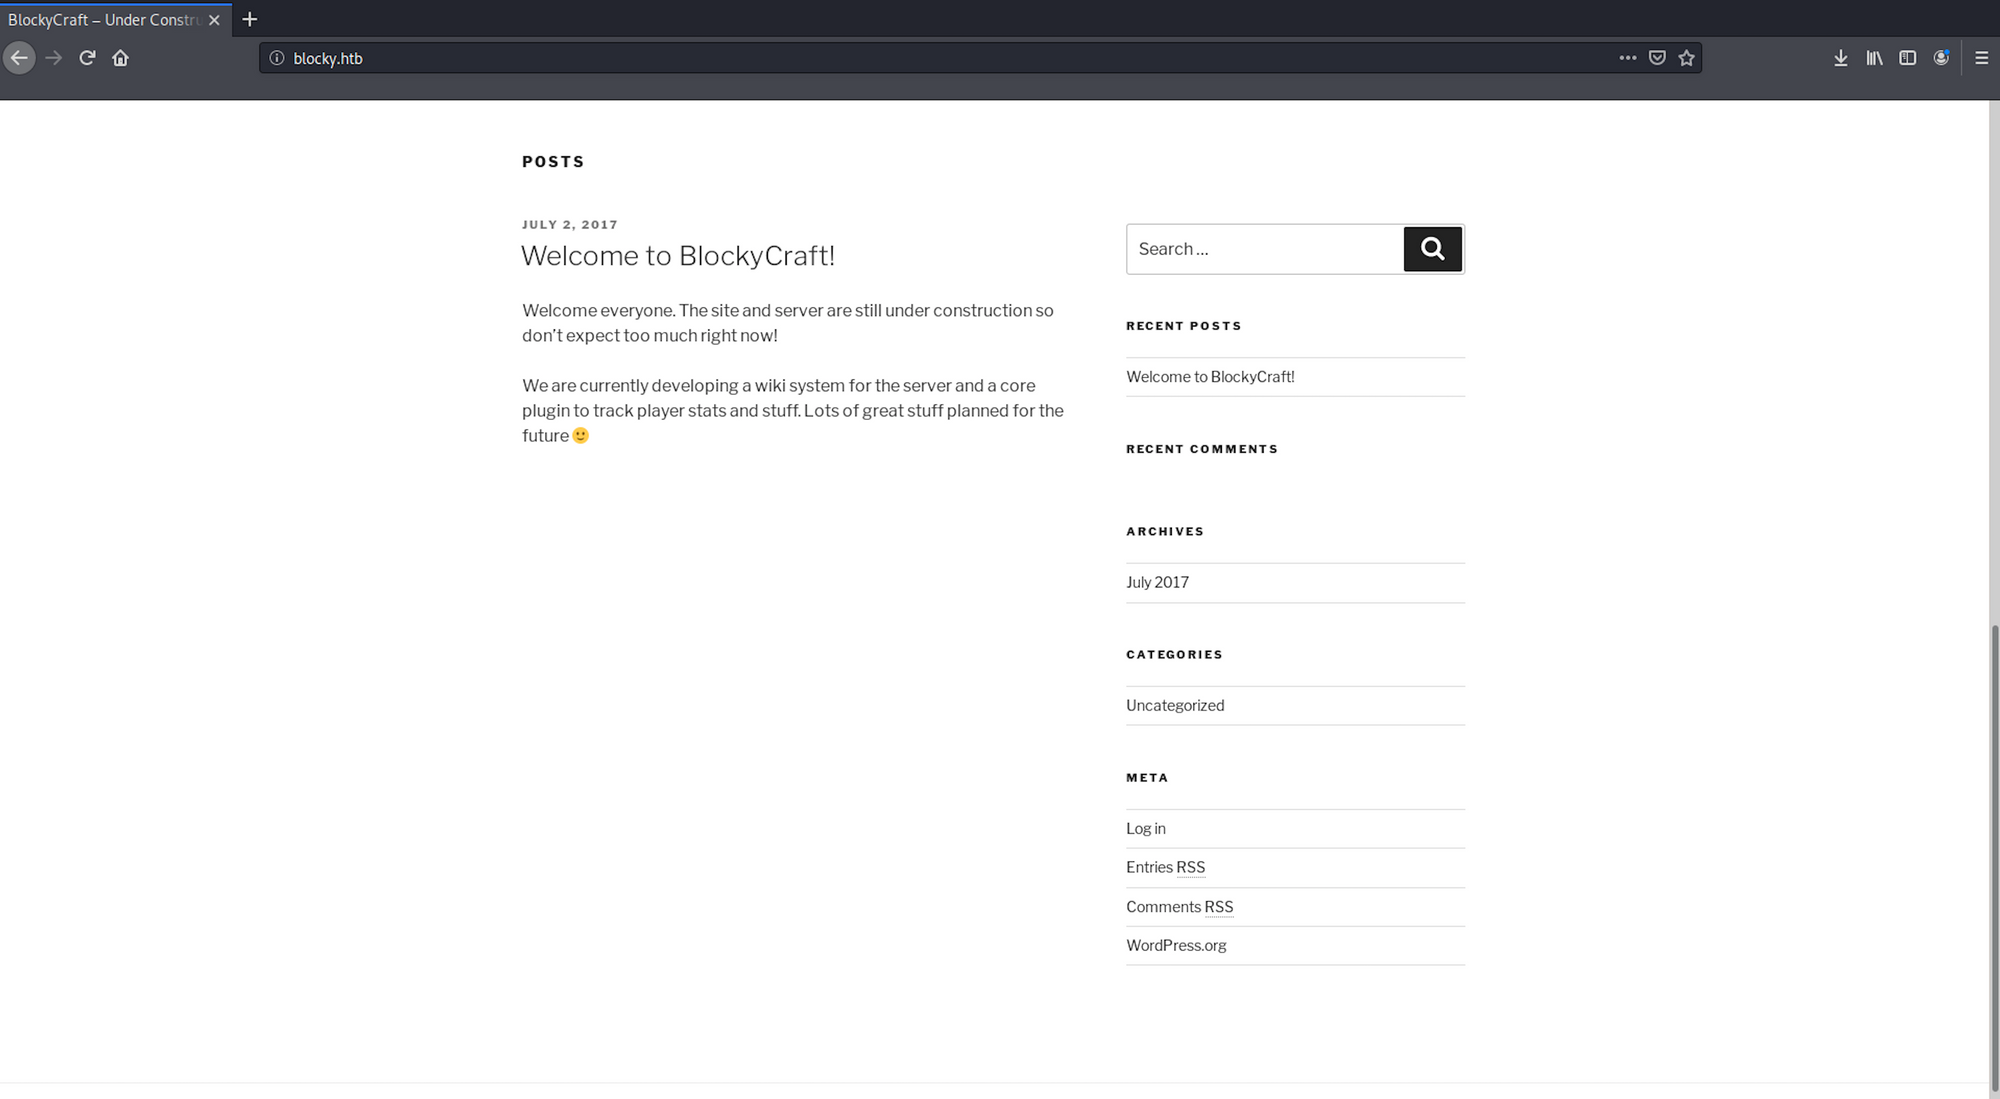
Let's visit the pages we found from the reconnaissance phase. Let's start by the main web page. It's a blog on Minecraft - BlockyCraft
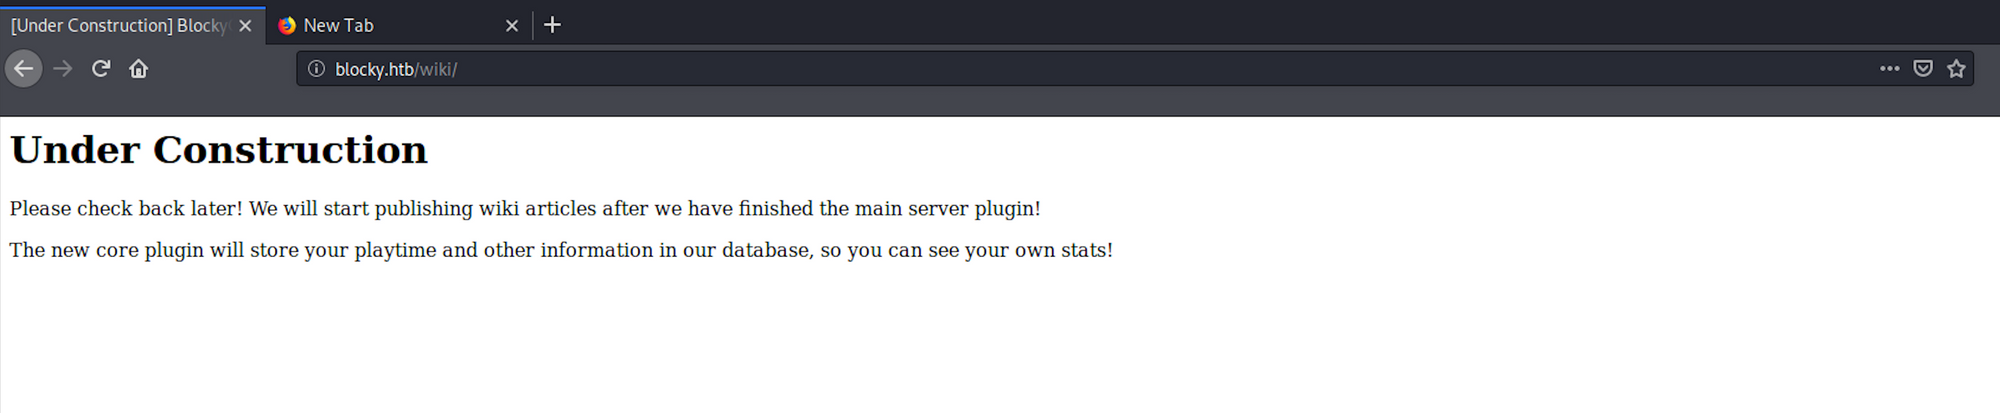
I look at the wiki page. Nothing interesting
I have a look at the /wp-content/uploads page. Nothing interesting

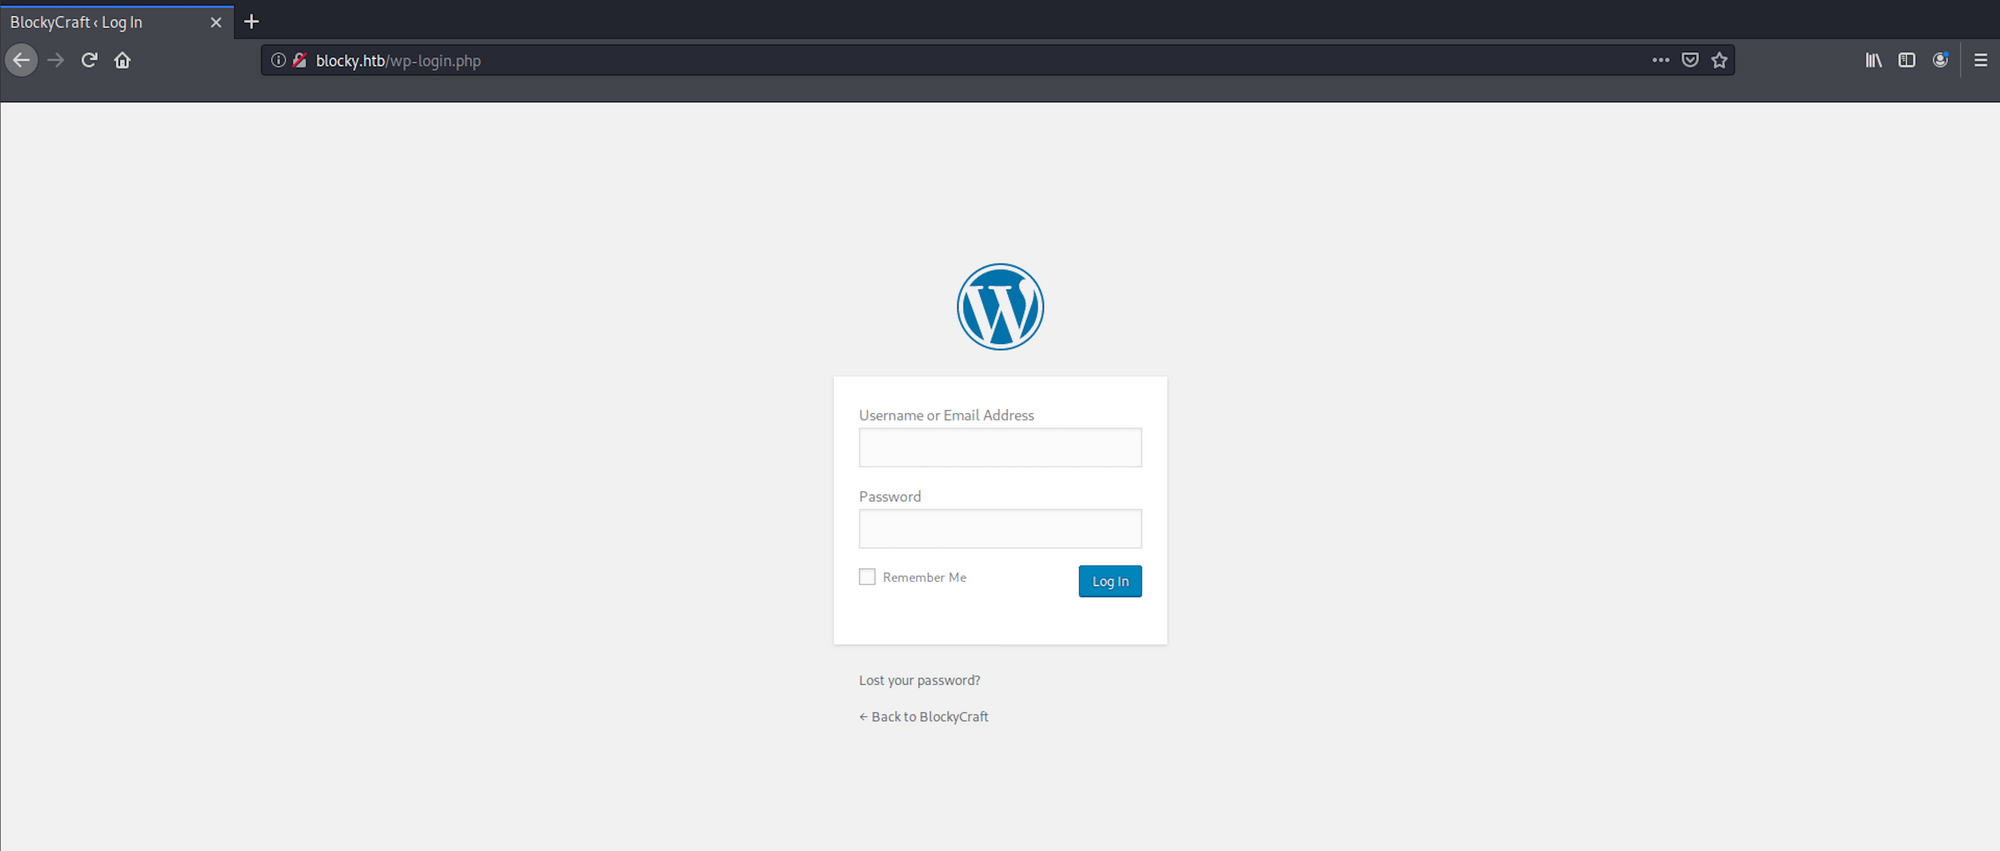
I find the admin panel
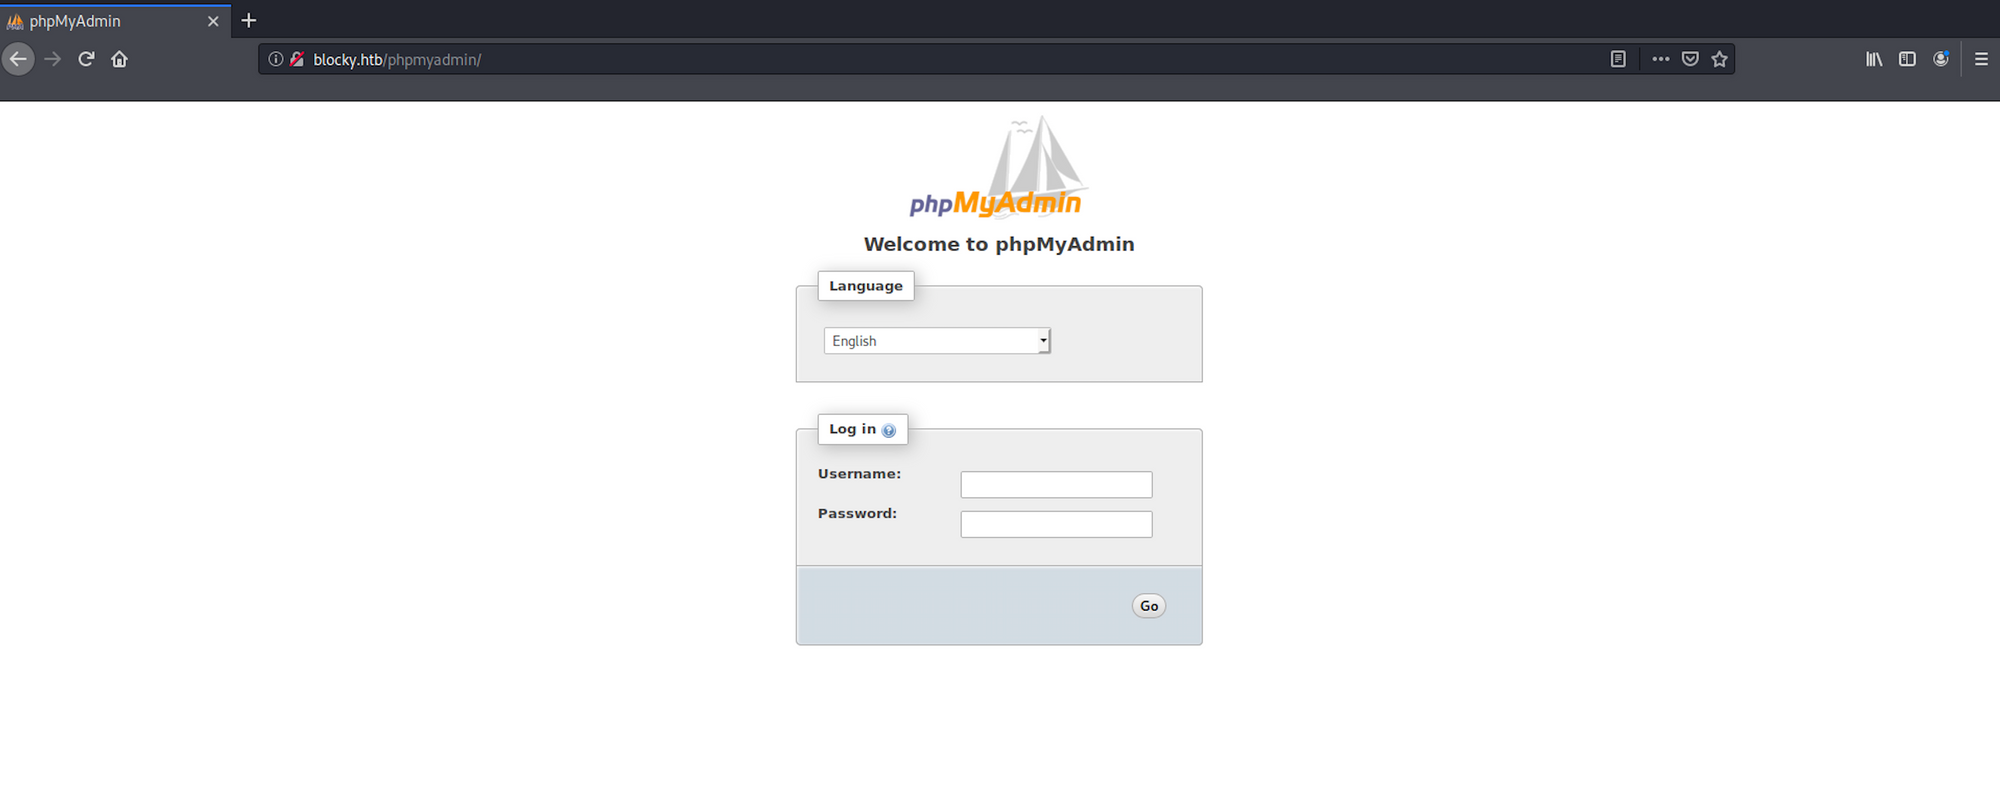
as well as the phpMyAdmin panel
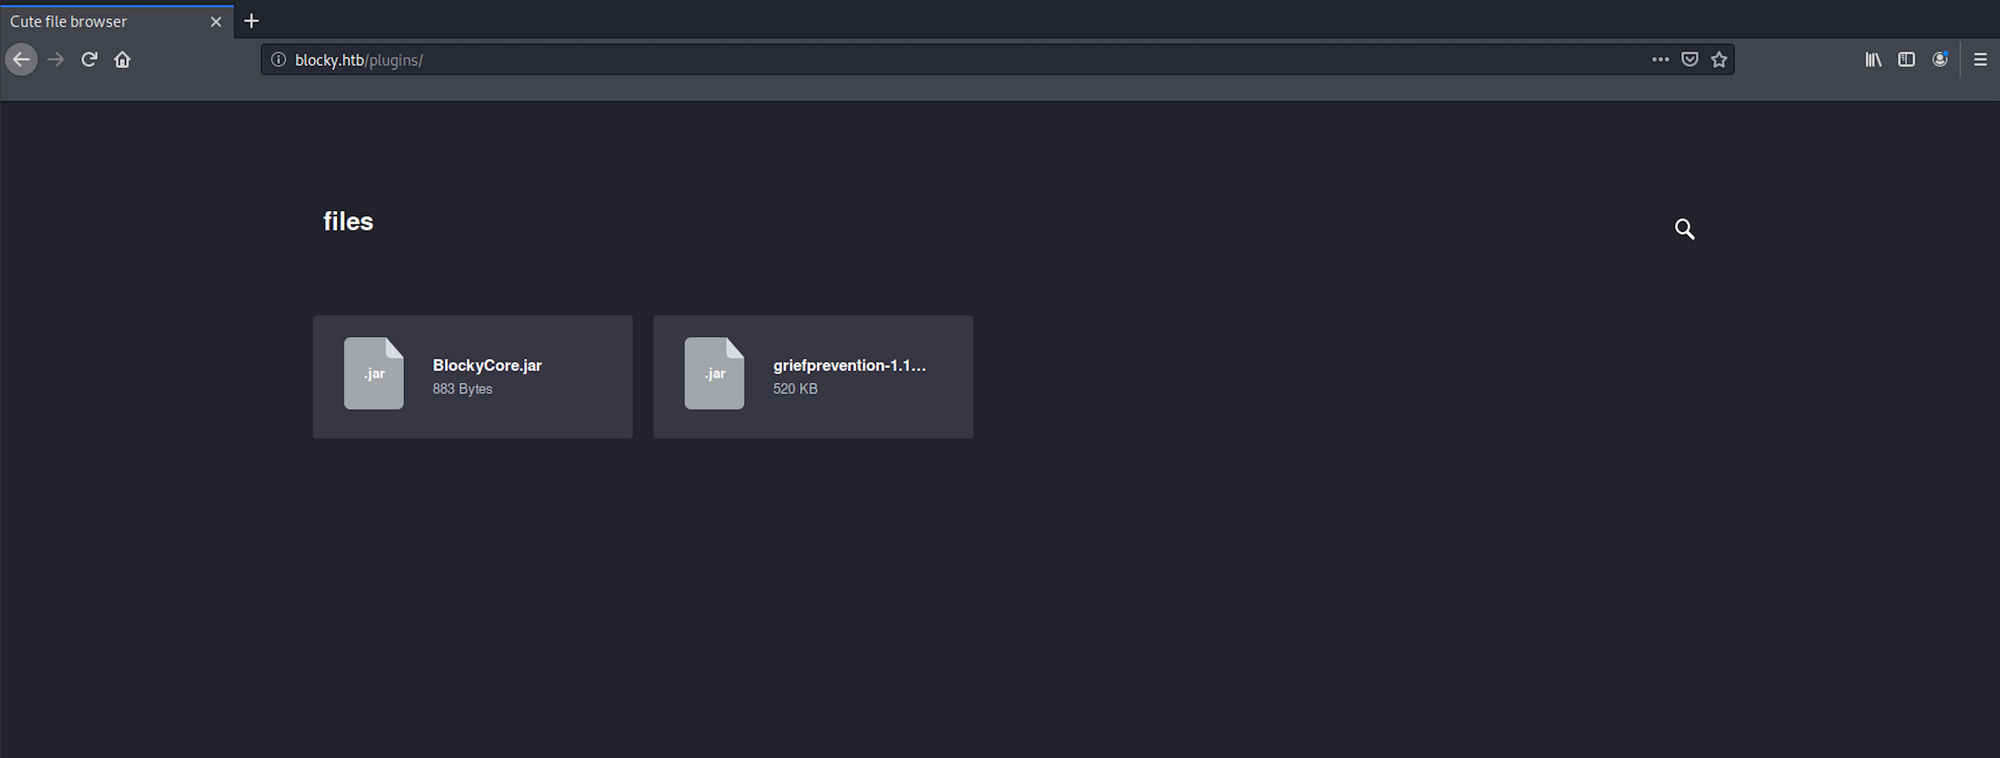
I navigate to the /plugins folder and find two jar files.
A JAR is a package file format typically used to aggregate many Java class files and associated metadata and resources into one file for distribution. JAR files are archive files that include a Java-specific manifest file. They are built on the ZIP format and typically have a .jar file extension
I download both zip files on my Kali box
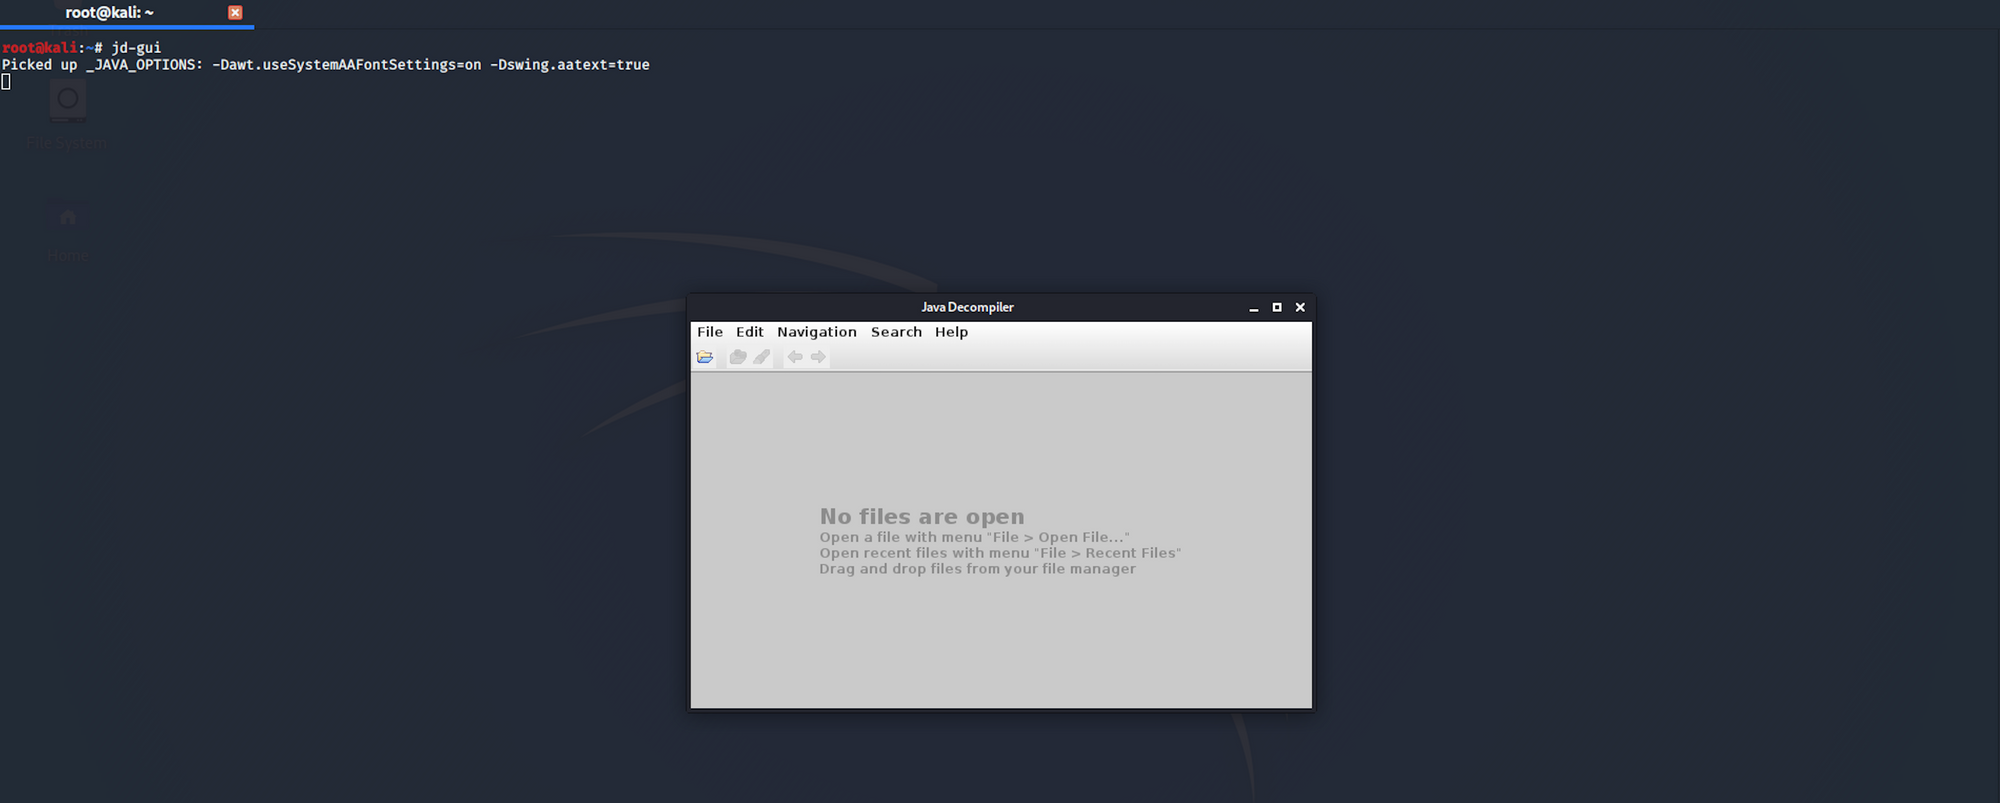
I use JD-Gui to be decompile the java files. JD-GUI is a standalone graphical utility that displays Java source codes of “.class” files. More info on the tool here
I launch the tool with
jd-gui
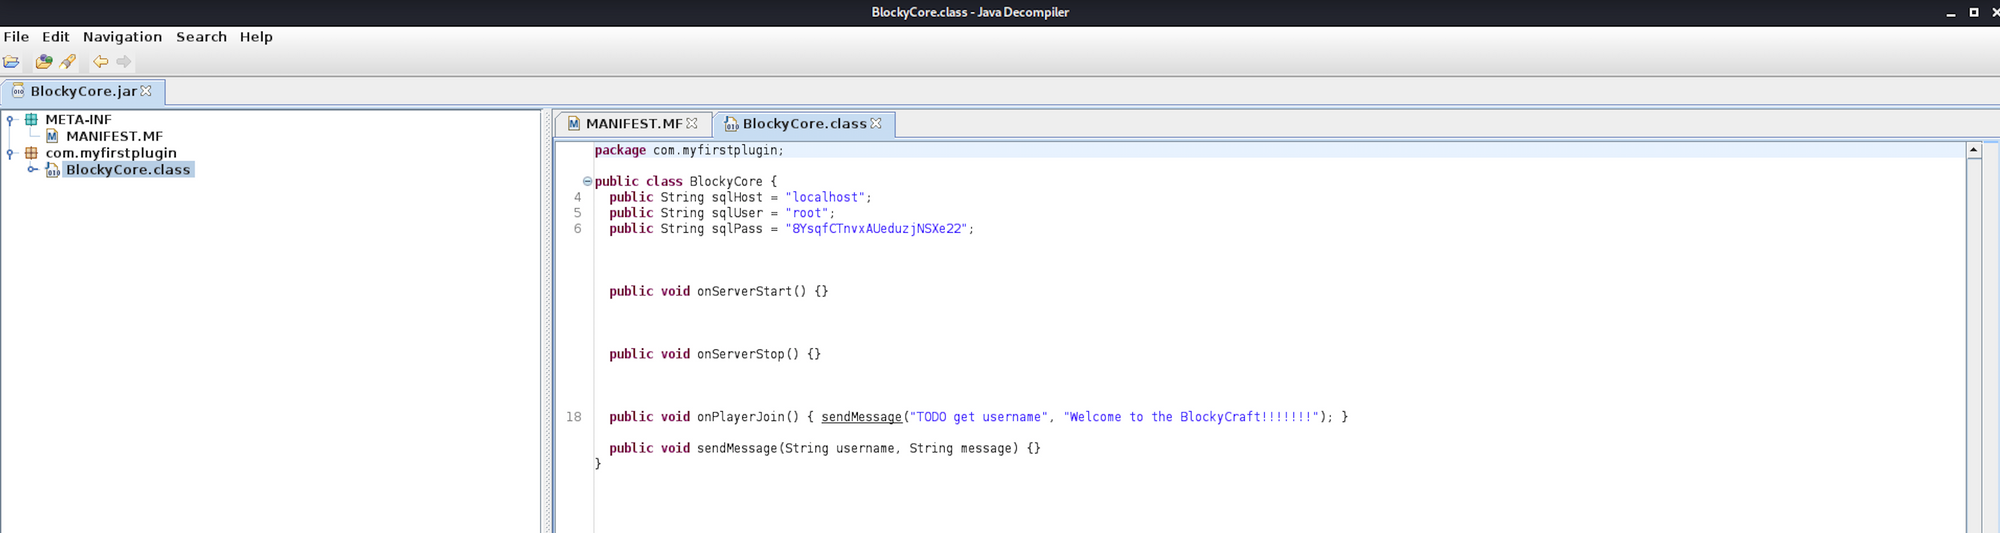
And then select the JAVA class I want to read - BlockyCore.class
I can see a username and a password
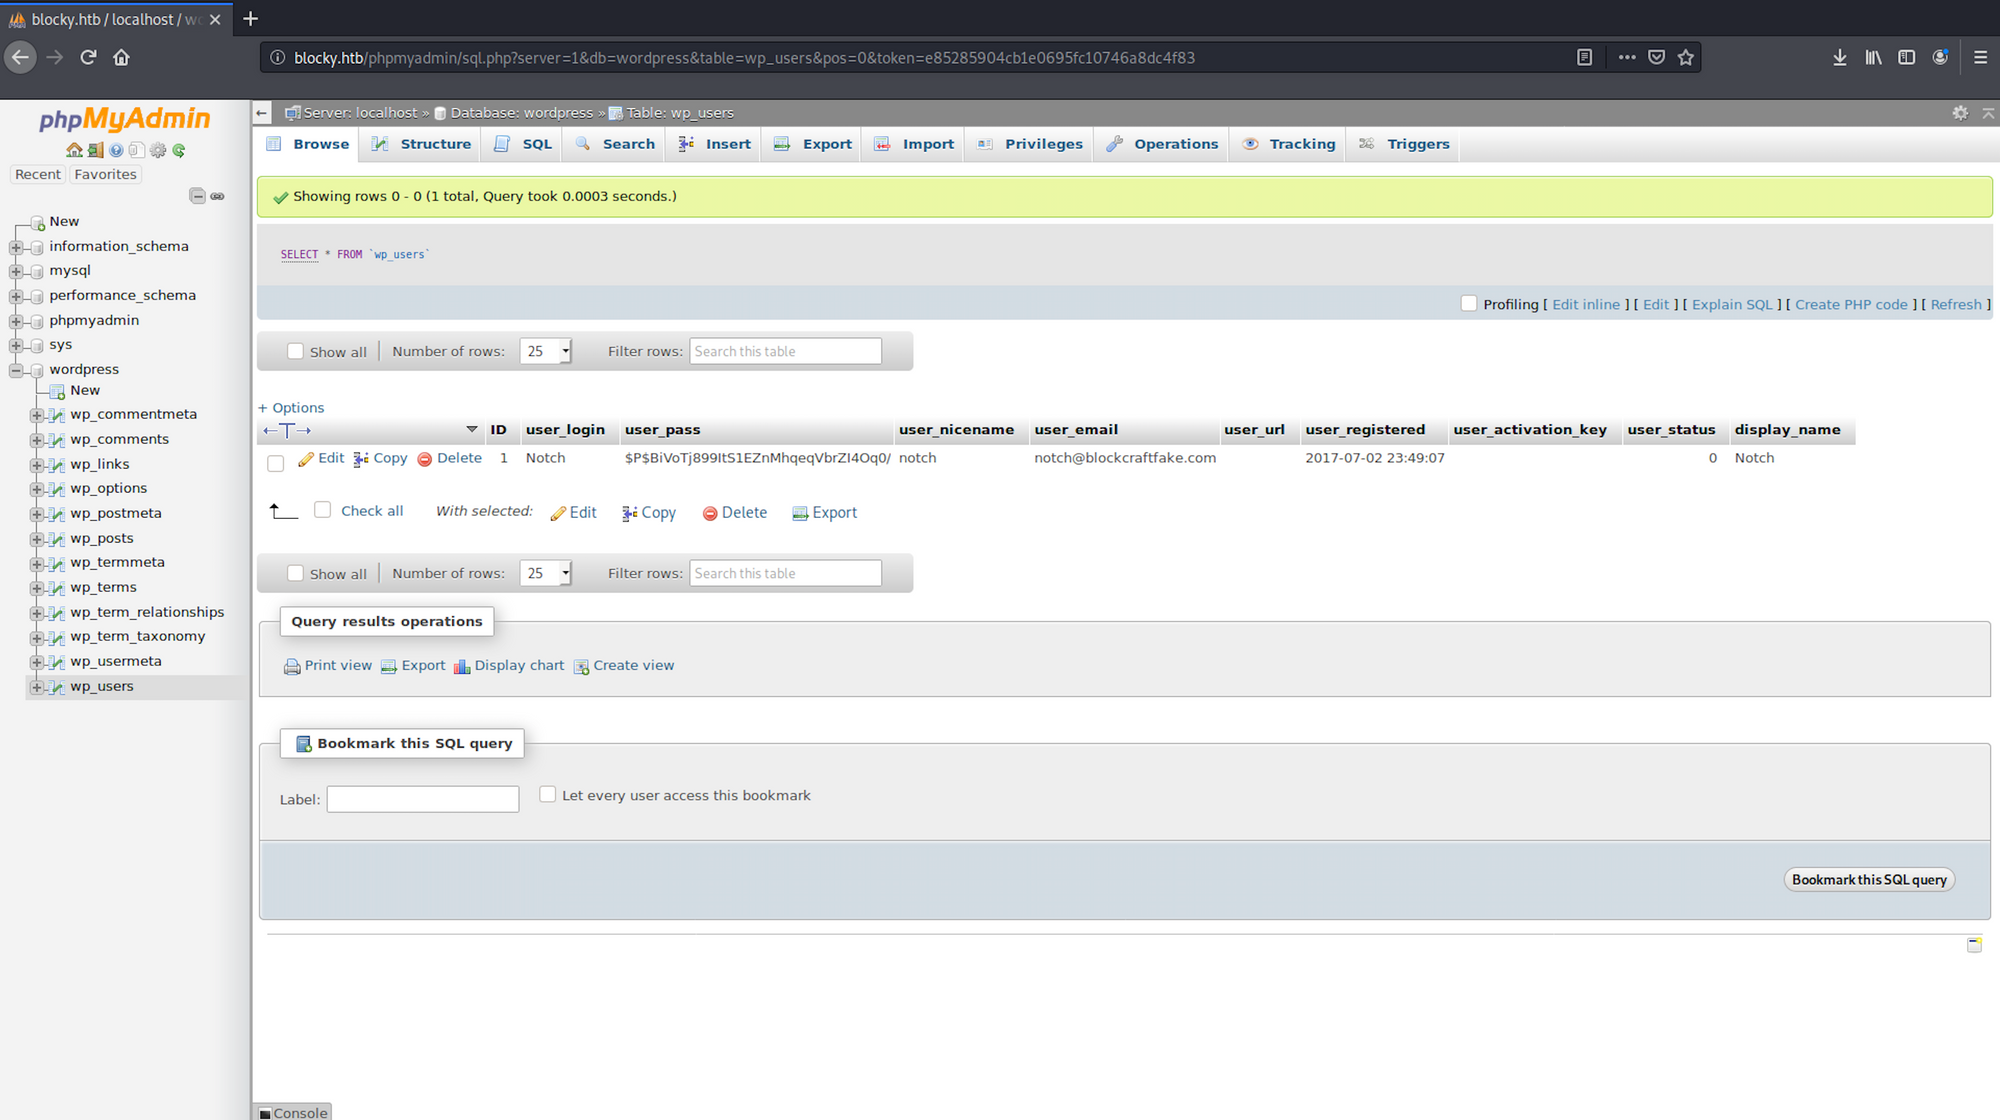
I navigate back to phpMyAdmin and enter the credentials I just found. I have access to the database

I have a look at the table wp_users within the wordpress folder to see if I can get more information about the users of the blog
The SQL query
SELECT * FROM `wp_users`
which can be translated by select all the users from the table wp_users would only give us one result, Notch
I use hash-identifier to identify the possible hash. Hash-identifier is a software to identify the different types of hashes used to encrypt data and especially passwords. You can find more information here.
I launch hash-identifier with the following command:
hash-identifier
and copy/paste the hashed password I got earlier:
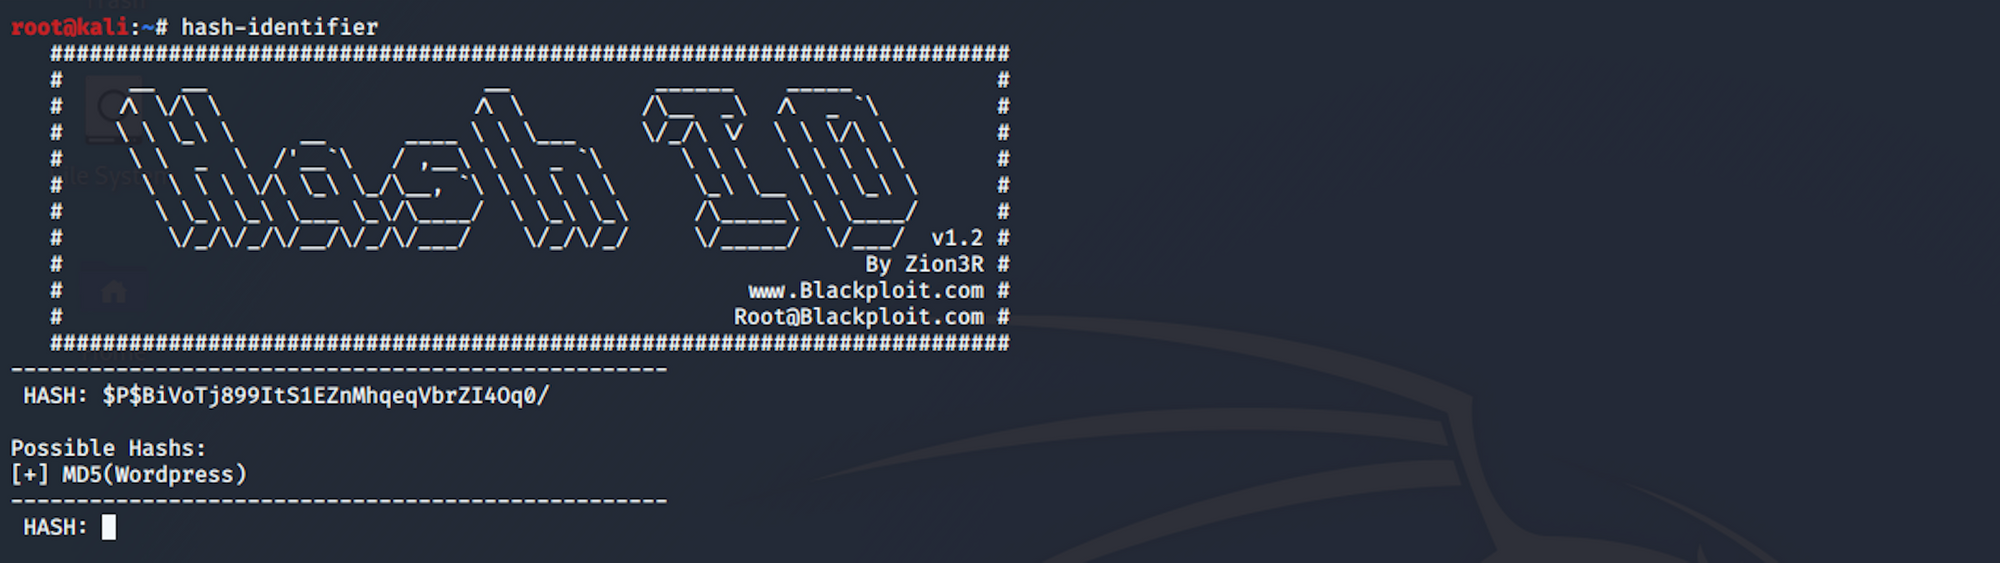
We see the hash is most likely to be an MD5 (Wordpress) hash
Step 3 - Using the port 22
I'm back on my terminal and connect using SSH
The SSH protocol (also referred to as Secure Shell) is a method for secure remote login from one computer to another. It provides several alternative options for strong authentication, and it protects the communications security and integrity with strong encryption. It is a secure alternative to the non-protected login protocols (such as telnet, rlogin) and insecure file transfer methods (such as FTP).
More info here on the SSH Protocol
I use the following command
ssh notch@10.10.10.37
and I enter the password I found on the BlockyCore.class file earlier

Step 4 - Looking for the user.txt flag
I'm now connected as Notch. I list all the folders/files
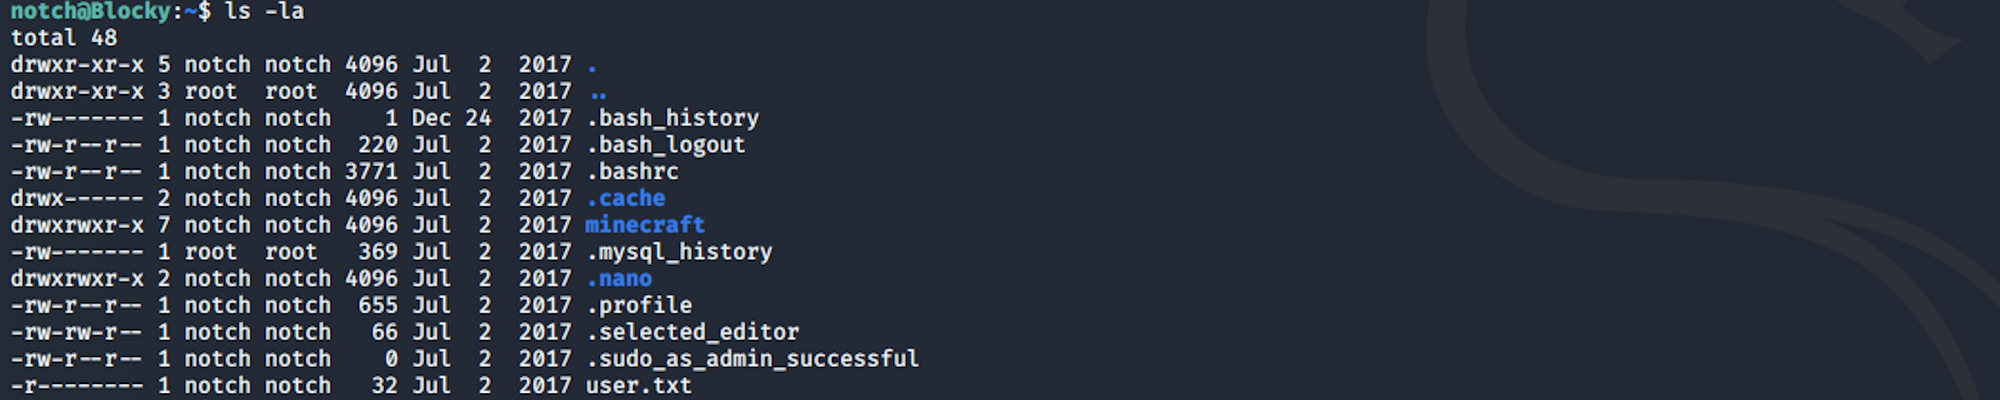
I find the user.txt file!
To read the content of the file I use the command
cat user.txt
Now that we have the user flag, let's find the root flag!
Step 5 - Performing Privilege Escalation
I check the current access user with sudo.
sudo is a program for Unix-like computer operating systems that allows users to run programs with the security privileges of another user, by default the superuser. It originally stood for "superuser do" as the older versions of
sudowere designed to run commands only as the superuser
More info on sudo here
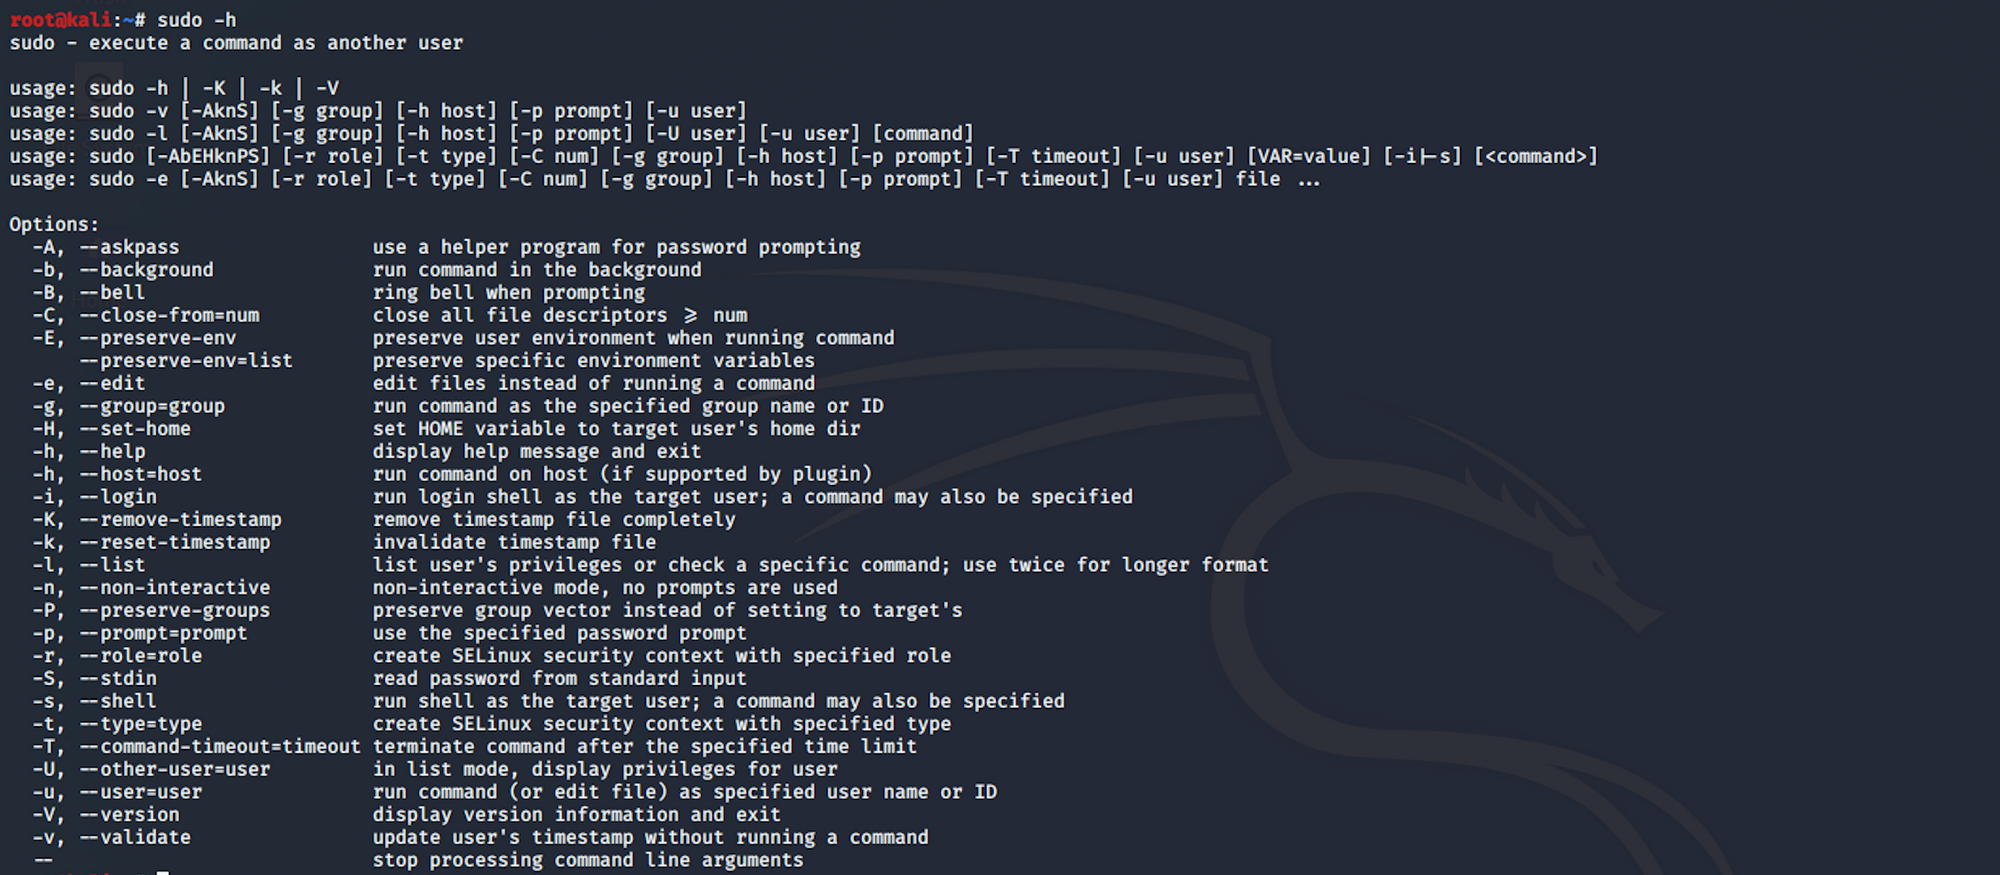
I list the user's privileges with this command
sudo -l
I use the same password I found previously

I can see that Notch has unlimited privileges and can run any command on the system. I check the id. The id command in Linux is used to find out user and group names and numeric ID’s of the current user or any other user in the server

I escalate to root using this command
sudo su

Step 6 - Looking for the root.txt flag
I am now a root user and can navigate to the root folder
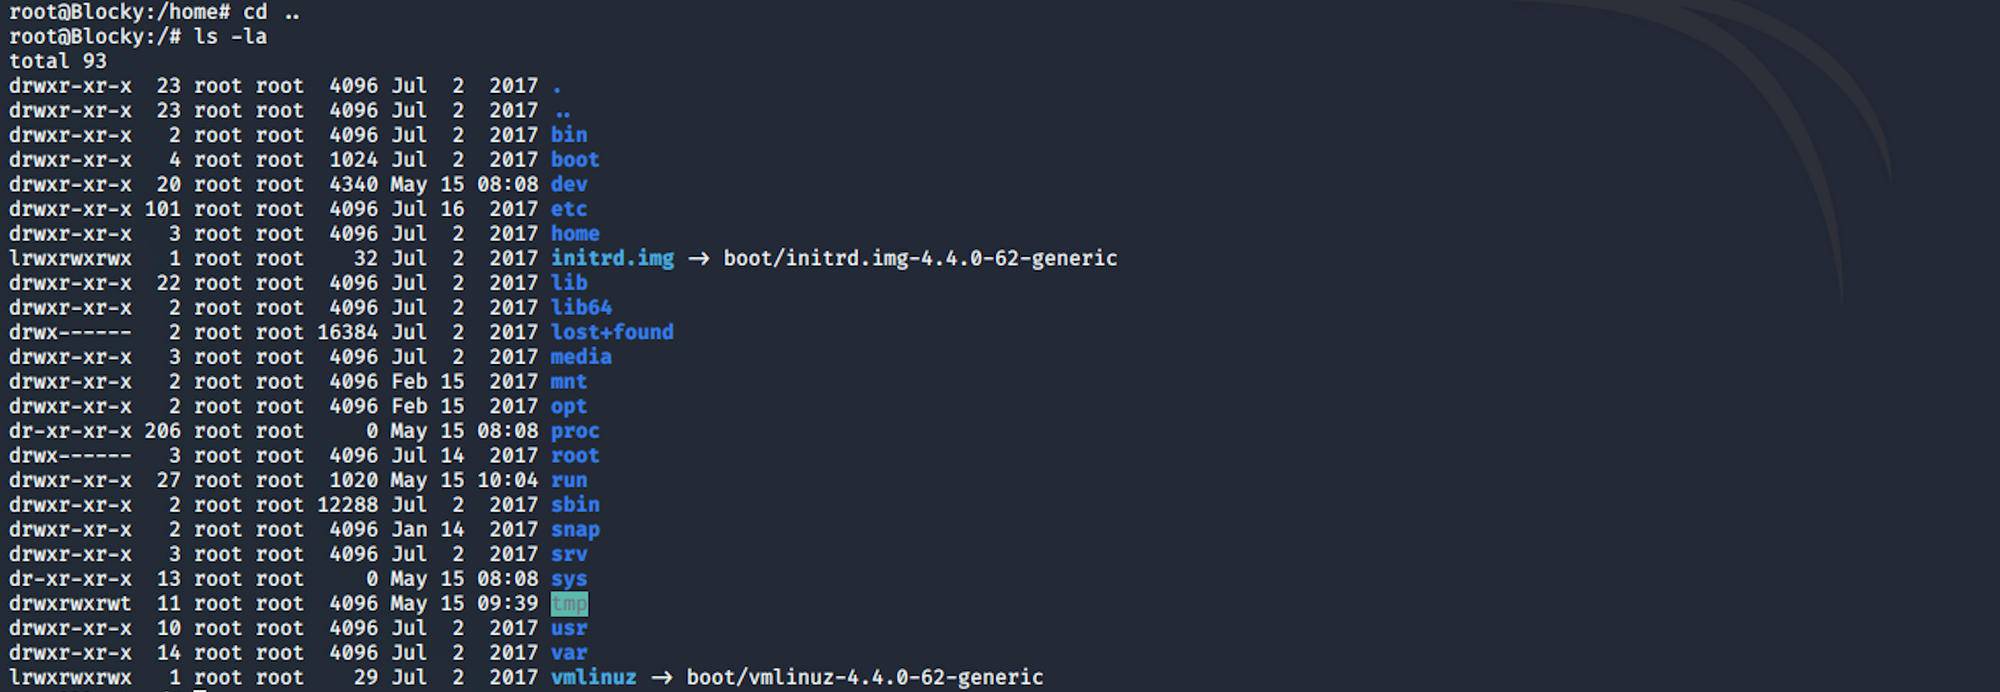
I find the root.txt file!

To read the content of the file I use the command
cat root.txt
Congrats! You found both flags!
Please don’t hesitate to comment, ask questions or share with your friends :)
You can see more of my articles here
You can follow me on Twitter or on LinkedIn
And don't forget to #GetSecure, #BeSecure & #StaySecure!
Other Hack The Box articles
- Keep Calm and Hack The Box - Lame
- Keep Calm and Hack The Box - Legacy
- Keep Calm and Hack The Box - Devel
- Keep Calm and Hack The Box - Beep
- Keep Calm and Hack The Box - Optimum
- Keep Calm and Hack The Box - Arctic
- Keep Calm and Hack The Box - Grandpa
- Keep Calm and Hack The Box - Granny
- Keep Calm and Hack The Box - Bank