
HTML (HyperText Markup Language) is an important markup language for building websites. HTML represents the content of the web page.
But when you are learning this information for the first time, it can be hard to keep track of all of the different HTML elements.
In this article, I have created a study guide for the entire Learn HTML by Building a Cat Photo App practice project. This study guide is filled with additional information, links, and videos to help you understand the concepts better.
Feel free to reference this guide as you go through the certification. If you are interested in a detailed introduction into HTML, please read through this freeCodeCamp HTML article.
Here is the complete list of topics covered. Click on any of the links below to learn more about the topic.
Table of Contents
- Heading elements - Steps 1-2, 17, 18,25,33
- Paragraph elements - Step 3
- HTML comments - Step 4
- Main element - Step 5
- HTML indentation - Step 6
- Image elements - Steps 7-9, 21,28,29
- Anchor elements - Steps 10-11,63
- Nesting anchor elements inside paragraphs - Step 12
- Target attributes - Step 13
- Nesting images inside anchor tags - Step 14
- Section elements - Steps 15-16,32
- Unordered List elements - Steps 19-20
- Figure and Figcaption elements - Steps 22-23,27,30
- Emphasis Elements - Step 24
- Ordered List elements - Step 26
- Strong elements - Step 31
- Form elements - Steps 34-35
- Form text inputs and submit buttons - Steps 36-42
- Form radio buttons - Steps 43,47,48
- Label elements - Steps 44-46,55
- Fieldset and Legend elements - Steps 49-52
- Form checkbox elements - Steps 53-54,56-58
- Value and checked attributes - Steps 59-60
- Footer elements - Steps 61-62
- Head and title element - Steps 64-65
- lang attribute - Step 66
- DOCTYPE - Step 67
Additional HTML resources
- Learn HTML – Full Tutorial for Beginners (2022)
- HTML Full Course - Build a Website Tutorial
- HTML Tutorial - How to Make a Super Simple Website
Heading elements
HTML heading elements represent the main heading and subheadings of a web page.
The h1 element represents the most important heading and should only be used once per web page.
<h1>I represent the main heading of a web page</h1>
The h2 element represents the second most important heading on the page.
<h2>I am the second most important heading element</h2>
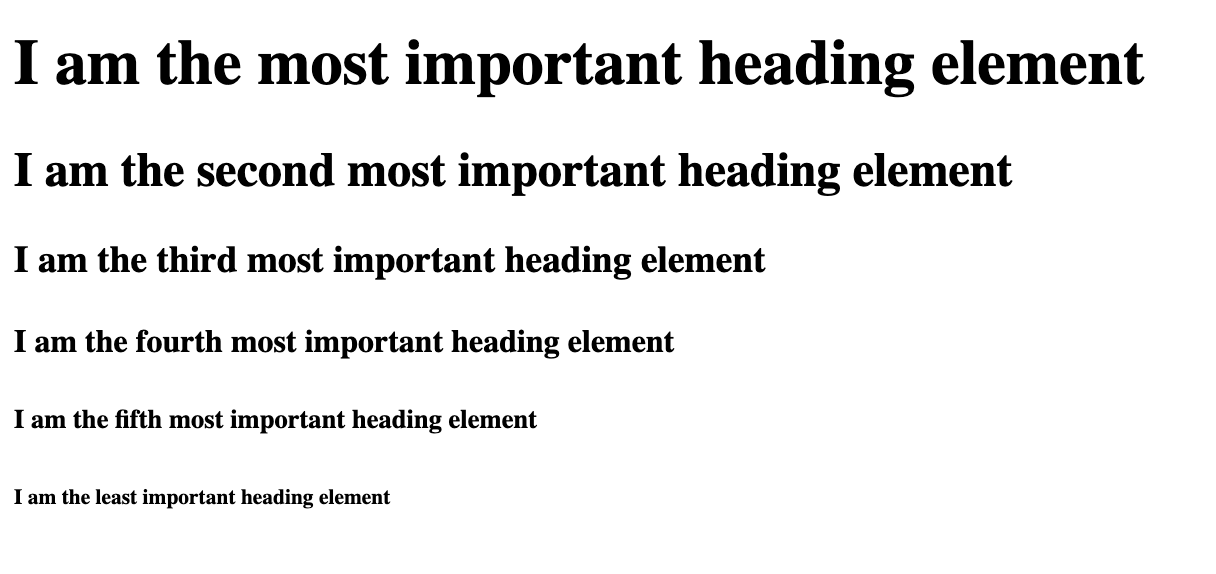
There are a total of six section heading elements.
<h1>I am the most important heading element</h1>
<h2>I am the second most important heading element</h2>
<h3>I am the third most important heading element</h3>
<h4>I am the fourth most important heading element</h4>
<h5>I am the fifth most important heading element</h5>
<h6>I am the least important heading element</h6>
This is what it looks like rendered to the page.
To learn more about heading elements, please read through this DevDocs detailed heading elements explanation.
Paragraph elements
Paragraph elements represent the paragraphs on a web page.
<p>I love learning with freeCodeCamp. They have thousands of free articles and videos to help me learn how to code.</p>
This is what it looks like rendered to the page.

To learn more about paragraph elements, please read through this DevDocs p element detailed explanation.
HTML comments
HTML comments can be helpful in code when you need to leave messages for your future self or other developers reading your code. Comments will not be rendered to the web page.
<!--I am a comment. I am not displayed on the web page.-->
<p>I am a paragraph element.</p>
This is what the result looks like rendered to the web page.
To learn more about HTML comments, I suggest reading through these helpful articles.
Main element
The main element is used to group all of the main content of the web page.
<h1>What freeCodeCamp has to offer</h1>
<main>
  <p>The core freeCodeCamp curriculum teaches full stack JavaScript and Python. There are hundreds of lessons to go through to get you ready for an entry level developer job.</p>

  <p>freeCodeCamp has thousands of free articles on their news publication. They also have hundreds of videos on their YouTube channel.</p>
</main>
This is what the code looks like rendered to the page.

To learn more about the main element, please read through this DevDocs detailed main element explanation.
HTML indentation
Whenever you have HTML elements nested inside other HTML elements, it's best to use indentation. Nested elements are known as children of their parent element.
Indentation is used to make your code more readable by other developers. To indent your code, you will move the element two spaces to the right.
This is an example without indentation.
<main>
<h2>Let's learn about indentation</h2>
<p>There is no indentation here</p>
</main>
But if I edit the code by moving the h2 and p elements two spaces to the right, now we have proper indentation.
<main>
  <h2>Let's learn about indentation</h2>
  <p>This is indentation</p>
</main>
Now we can see that the h2 and p elements are children of the main element.
To learn more about HTML indentation and why it is important, please read through this helpful indentation article.
Image elements
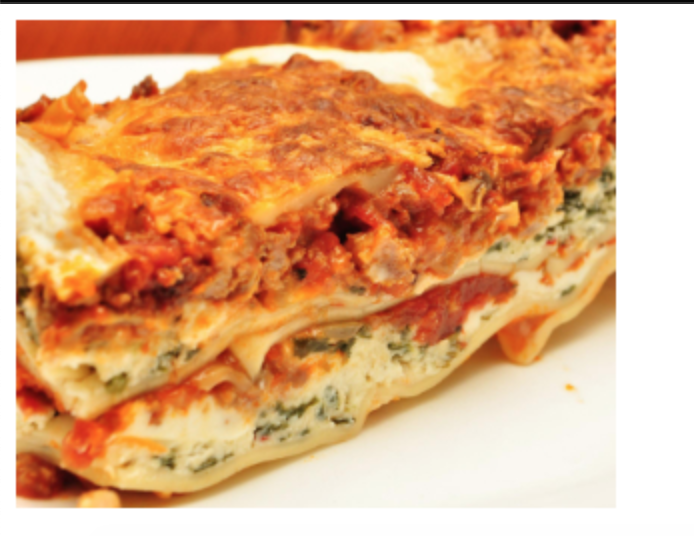
img elements are used to add images to the web page.
The src attribute represents the location of the image and the alt attribute is descriptive text for the image.
<img src="https://cdn.freecodecamp.org/curriculum/cat-photo-app/lasagna.jpg" alt="plate of lasagna">
This is the what code looks like rendered to the page.
To learn more about the img element, please read through this helpful img element tutorial.
Anchor elements
An anchor element represents a link on the web page.
Here is the basic syntax:
<a href="link-where-you-want-to-go">anchor text goes here</a>
This is what it looks like rendered to the page.
You use the href attribute to tell the hyperlink where to go.
href="link-where-you-want-to-go"
The anchor text is what gets displayed on the screen to users.
Here is an example of an anchor tag that links to freeCodeCamp.
<a href="https://www.freecodecamp.org/">freeCodeCamp</a>
This is what it looks like rendered to the page.
To learn more about HTML anchor elements, I suggest reading through these helpful articles.
Nesting anchor elements inside paragraphs
If you want to include links inside your paragraphs, then you can nest anchor tags inside the paragraph tags.
In this example we have the text "I love freeCodeCamp".
<p>I love freeCodeCamp</p>
If I wanted to turn the word freeCodeCamp into a link, then I would wrap it inside a set of anchor tags.
<p>I love <a href="https://www.freecodecamp.org/">freeCodeCamp</a></p>
This is what the result looks like rendered to the screen.
Nesting links inside paragraph tags is helpful when you want to direct your users to additional information concerning the main content on the page.
To learn more about nesting anchor tags inside paragraphs, I suggest reading through this helpful article.
Target attributes
You use the target="_blank" attribute inside the opening anchor tag like this:
<a href="website-link-goes-here" target="_blank">
When the user clicks on the link, a new browser tab will automatically open to that page.
In this example, I have nested a link inside a set of paragraph tags to direct people to freeCodeCamp.
<p>To learn how to code for free, please visit <a href="https://www.freecodecamp.org/learn" target="_blank">freeCodeCamp.org</a></p>
When you click on the freeCodeCamp link, then it will open up a new browser tab for you.
To learn more about the target attribute, I suggest reading through this helpful article.
Nesting images inside anchor tags
In HTML, we can use the <img> element to add images on the page. In this example, we are adding an image of five cats.
<img src="https://cdn.freecodecamp.org/curriculum/cat-photo-app/cats.jpg" alt="Five cats looking around a field."/>
If we wanted to make that image a clickable link, then we can place it inside a set of anchor tags.
<a href="https://en.wikipedia.org/wiki/Cat"><img src="https://cdn.freecodecamp.org/curriculum/cat-photo-app/cats.jpg" alt="Five cats looking around a field."/></a>
We can also add the target="_blank" attribute to have that link open up in a new tab.
<a target="_blank" href="https://en.wikipedia.org/wiki/Cat"><img src="https://cdn.freecodecamp.org/curriculum/cat-photo-app/cats.jpg" alt="Five cats looking around a field." /></a>
When you hover your mouse over the image, you will see the cursor pointer indicating that it is a link directing you to an article about cats.
Section elements
The section element is used to group sections of content in the HTML document.
Here is an example of the section element.
<h1>Let's learn about section elements</h1>
<section>
  <h2>Defintion</h2>
  <p>The section element is used to group sections of content in the HTML document.</p>
</section>
This is what the result looks like rendered to the page.
To learn more about section elements, please read through this DevDocs section element detailed explanation.
Unordered List elements
The ul list element is used to display a list of items in no particular order. The li element represents the individual list item.
Here is an example of a list of food items.
<h2>Favorite foods</h2>
<ul>
  <li>Salad</li>
  <li>Pizza</li>
  <li>Burger</li>
  <li>Carrots</li>
</ul>
This is what it looks like rendered to the screen.
To learn more about the unordered list element, please read through this helpful article.
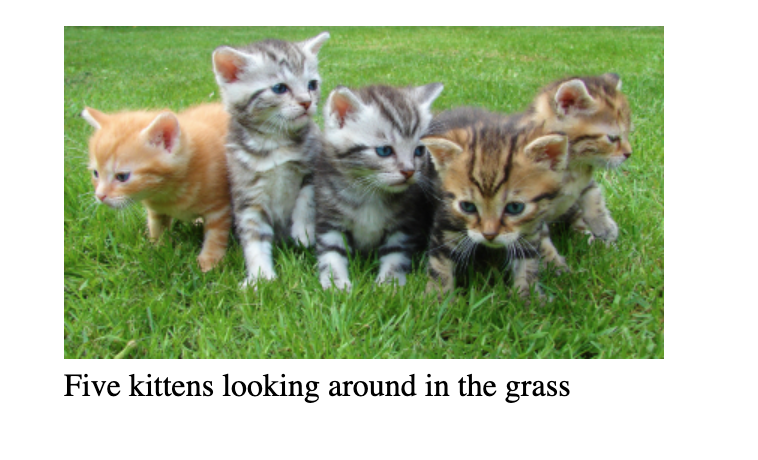
Figure and Figcaption elements
The figure element represents self contained content which is often used with images and captions. The optional figcaption is a short descriptive text for the image.
In this example, we have an image of five kittens in the grass with a small caption underneath.
<figure>
  <img src="https://cdn.freecodecamp.org/curriculum/cat-photo-app/cats.jpg" alt="Five cats looking around a field." />
  <figcaption>Five kittens looking around in the grass</figcaption>
</figure>
This is what it looks like rendered on the page.
To learn more about the figure and figcaption elements, please read through this helpful DevDocs explanation.
Emphasis elements
The em element is used to place extra emphasis on a section of text.
In this example we have the sentence, "We need to get out of the building now!"
<p>We need to get out of the building now!</p>
If I wanted to place emphasis on the word now, then I can wrap it in <em> tags.
<p>We need to get out of the building <em>now</em>!</p>
This is what the result looks like rendered to the page.

To learn more about emphasis elements, please read through this helpful DevDocs explanation.
Ordered List elements
The ol element is used to display a list of items in a particular order. The li element represents the individual list item.
Here is an example of a set of steps for a recipe.
<h1>How to bake a cake</h1>
<h2>Directions for recipe</h2>
<ol>
  <li>Prep the oven</li>
  <li>Whisk the flour, sugar and cocoa in a bowl</li>
  <li>Mix the milk, vegetable oil, eggs, and vanilla</li>
  <li>Bake for 30 minutes</li>
  <li>Remove from oven, cool for 10 minutes and frost cake</li>
</ol>
This is what the result looks like rendered on the page.
To learn more about ordered list elements, please read through this helpful article.
Strong elements
Strong elements are sections of text that represent a sense of urgency or seriousness.
In this example we have the following sentence:
<p>Danger! Unsafe area ahead</p>
We can use strong tags to emphasize the strong sense of seriousness of the word "Danger".
<p><strong>Danger!</strong> Unsafe area ahead</p>
Here is what the result looks like rendered to the page.
Form elements
Form elements are used to collect data from a user like names and email addresses. Examples of forms might be survey forms or forms to join a mailing list.
Here is the basic syntax for a form:
<form action="url-where-data-should-be-sent-to">
  <!--inputs go inside here-->
</form>
The action attribute is the URL of where the user data will be sent. Inside the form tags, there will be inputs which is where the user provides their information.
Inputs will be covered more in the next section.
Form text inputs and submit buttons
The text input is a text field where users can enter in their information. These inputs go inside the form element.
Here is the basic syntax:
<form action="url-where-data-should-be-sent-to">
  <input type="text">
</form>
type="text" tells the computer that this is a text input.
Here is what the result looks like rendered to the page.
The name attribute is used to represent the value of the data being submitted.
<input type="text" name="username">
The placeholder text is used to provide users information on what should go inside the text inputs.
In this example, the placeholder text shows users an example username. Once you start typing in the input, the placeholder text disappears.
<input type="text" name="username" placeholder="Ex.codergirlrules">
The submit button is used to submit the form information to the server. type="submit" tells the computer what type of button it is.
<button type="submit">Submit form</button>
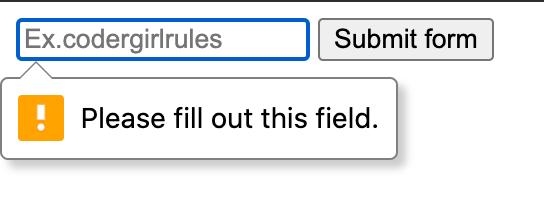
The required attribute is used to ensure that a user has to fill out the required inputs before submitting the form. If you try to submit a form without completing the required inputs then a message will pop up directing you to fill out that information.
<input required type="text" name="username" placeholder="Ex.codergirlrules">
To learn more about form inputs, please read through this article.
Form radio buttons
Radio buttons represent a group of options that a user can choose from. Only one option in that group can be selected at a time.
Here is the basic syntax:
<input type="radio">
This is what it looks like rendered to the screen.
In this example we are using a group of radio buttons where the user can choose between beef, chicken, fish or other. When using a group of radio buttons, all of the buttons in the group must have the same value for the name attribute.
<input type="radio" id="beef" name="food">Beef
<input type="radio" id="chicken" name="food">Chicken
<input type="radio" id="fish" name="food">Fish
<input type="radio" id="other" name="food">Other
Try out the example below and notice how you can only select one option at a time. Notice how all of the inputs have the same name="food" value.
You can learn more about the radio buttons by reading through this DevDocs radio button documentation.
Label elements
The label element associates the label text with the input.
Here is an example of using the label element to associate the text of "Beef" with the input.
  <label for="beef">Beef</label>
  <input type="radio" id="beef" name="food">
The for attribute is used to connect the label to the input so when a user clicks on the label text it will select the input. The value of the for attribute is the same as the id of the input.
Try out the example below by clicking on the label text. You will see that the radio input is selected.
You can also nest the input inside the label element. In this case you do not need to use the for attribute because the association between the two elements is implicit.
  <label>Beef
    <input type="radio" id="beef" name="food">
  </label>
To learn more about the label element, please read through this helpful article.
Fieldset and Legend elements
The fieldset element is used to group form controls which are inputs and labels. The legend element is used to provide a caption for the fieldset element.
Here is an example of the fieldset element:
<form action="">
  <fieldset>

  </fieldset>
</form>
This is what it looks like rendered to the screen.

Here is an example of the legend element:
<form action="">
  <fieldset>
    <legend>Choose your favorite programming language</legend>
  </fieldset>
</form>
This is what it looks like rendered to the screen.

Here is the complete example of how the fieldset and legend elements work with form inputs and labels.
<form action="">
  <fieldset>
    <legend>Choose your favorite programming language</legend>

    <input type="radio" id="JavaScript" name="programming">
    <label for="JavaScript">JavaScript</label>

    <input type="radio" id="Python" name="programming">
    <label for="Python">Python</label>

    <input type="radio" id="Rust" name="programming">
    <label for="Rust">Rust</label>
  </fieldset>
</form>
Form checkbox elements
checkbox elements are boxes where a user can select multiple options in a form.
Here is an example of a checkbox:
    <input type="checkbox" id="London" name="London">
    <label for="London">London</label>
This is what is looks like rendered to the page.
Here is a full example using multiple checkboxes for different cities.
<form action="">
  <fieldset>
    <legend>Cities you would like to visit</legend>

    <input type="checkbox" id="London" name="London">
    <label for="London">London</label>

    <input type="checkbox" id="Barcelona" name="Barcelona">
    <label for="Barcelona">Barcelona</label>

    <input type="checkbox" id="Venice" name="Venice">
    <label for="Venice">Venice</label>

    <input type="checkbox" id="Tokyo" name="Tokyo">
    <label for="Tokyo">Tokyo</label>
  </fieldset>
</form>
Try out the example below and you will be able to select multiple options.
To learn more about checkbox elements, please read through the DevDocs checkbox documentation.
Value and checked attributes
The value attribute represents the value for the input.
Here is an example.
<input type="checkbox" id="London" name="London" value="London">
The checked attribute is used to indicate which inputs should be checked by default on page load.
Here is an example.
    <input type="checkbox" id="London" name="London" value="London" checked>
    <label for="London">London</label>
Here is what the result looks like rendered to the page.
Footer elements
The footer element is located at the bottom of the HTML document and contains information like copyrights, or links to other related information for the page.
Here is a basic example:
<footer>
  <p>© 2022 Jessica Wilkins</p>
</footer>
To learn more about the footer element, please read through this DevDocs explanation of the footer element.
Head and title elements
The <head> tags contain information that is processed by machines. Inside the <head> tags, you will nest metadata which is data that describes the document to the machine.
<head>
  <!--important meta data goes inside here-->
  <!--title element also goes inside here-->
</head>
The <title> tag is the title for the web page. This text is shown in the browser's title bar.
<title>HTML 5 Boilerplate</title>
This is an example of what a head would look like on a real web page. None of this information is displayed on the web page itself.
 <head>
    <meta charset="UTF-8">
    <meta name="viewport" content="width=device-width, initial-scale=1.0">
    <meta http-equiv="X-UA-Compatible" content="ie=edge">
    <title>HTML 5 Boilerplate</title>
    <link rel="stylesheet" href="style.css">
  </head>
For a detailed description of each meta tag listed, please read through this article on an HTML5 Boilerplate.
lang attribute
The lang attribute inside the opening <html> tag sets the language for the page. It is also good to include it for accessibility reasons, because screen readers will know how to properly pronounce the text.
<html lang="en">
DOCTYPE
The first line in your HTML code should be the doctype declaration. A doctype tells the browser what version of HTML the page is written in.
<!DOCTYPE html>
If you forget to include this line of code in your file, then some of the HTML 5 tags like <article>, < footer >, and <header> may not be supported by the browser.